
Tutorial – Where are the nearest OBGYN emergency rooms and maternity wards?
If you're in Portugal, you're probably aware of the recent constraints in access to obstetric emergency rooms.
If you're somewhere else, I can sum up the situation by saying that the shortage of available doctors in the public sector has led to service disruption across the country. As a result, pregnant women would go to an emergency room only to find them closed and have to go elsewhere, losing vital time in the process.
The Portuguese health national service has since published a list of obstetric and gynaecological emergency rooms/maternity wards. That list includes addresses, contact numbers and opening times.
That got me thinking about access to obstetric emergency rooms while on vacation (it's August, after all 🏖).
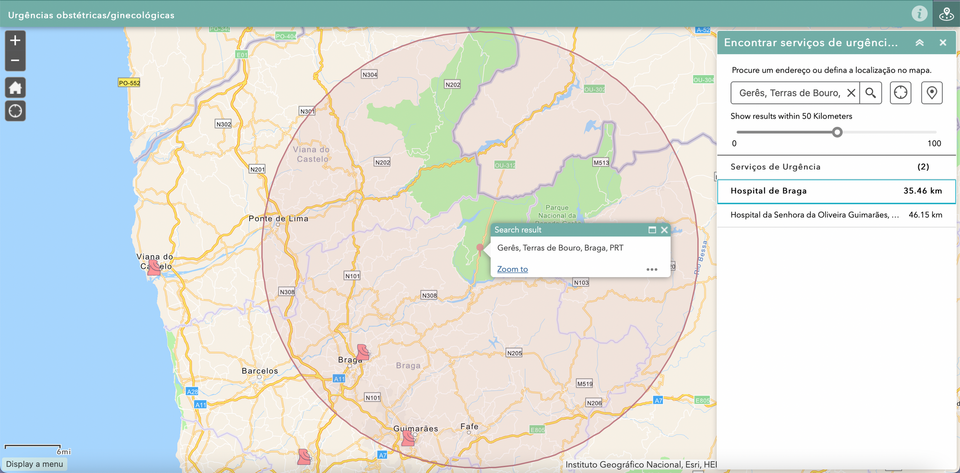
What if I mapped those locations and created an app? Pregnant women can find the nearest emergency rooms wherever they are in the country (opening times are not considered at this stage).
So, in this month's tutorial, I'm sharing how I used Web AppBuilder to create an app to find the nearest emergency room to any given point. Here's the high-level workflow I followed:
- Choose the tool: ArcGIS Web AppBuilder.
- Prepare the data: Extract the data from the source and add it to ArcGIS Online.
- Create a visualisation: Configure Theme, Map, Attribute and two Widgets: Near me (including routing service) and About.
- Share your work: Preview the app in different screen sizes and publish it for public access.
🤔 But Cristina, I am not pregnant… so why even check out this tutorial?
- You have a list of locations (it can be anything, really: retail stores, social services, leisure facilities), and your users wish to find the nearest one, wherever they are.
- You want to provide directions to locations in a focused way, without the noise of Google Maps.
- You must improve visibility and access to your community's public services and infrastructures in a map-centric way.
1 Choose the tool
Choose → Prepare → Create → Share
There are three main options when you want to build customised apps with ArcGIS Online:
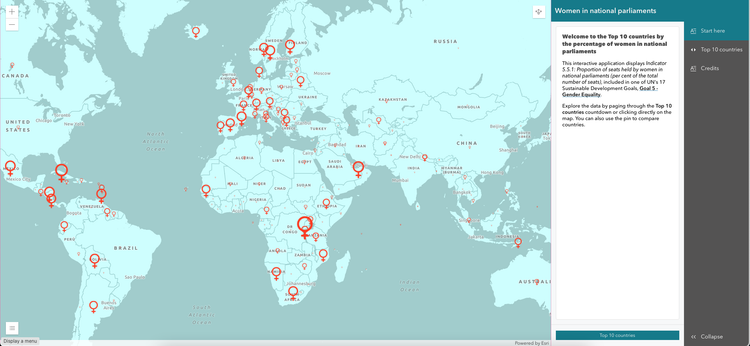
- Instant Apps, featured in the tutorial How to create a top 10 countdown in ArcGIS Online.
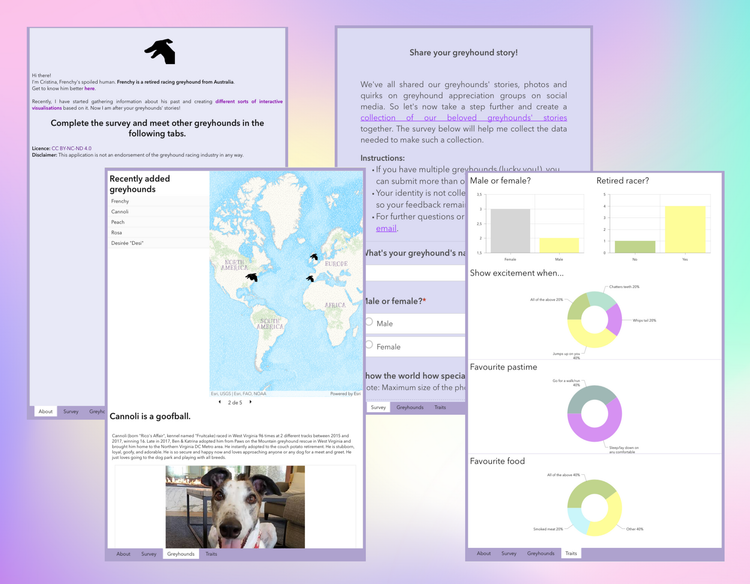
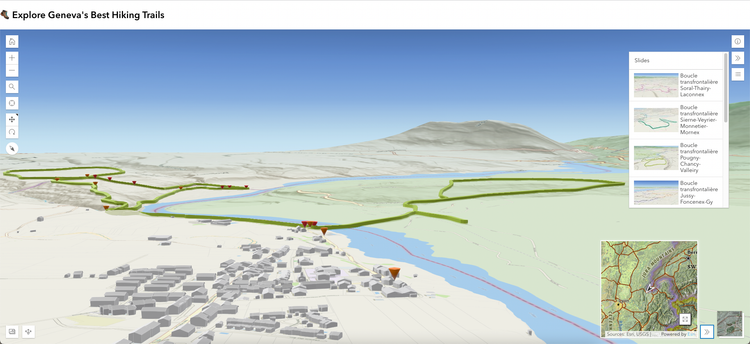
- Experience Builder, featured in the tutorial How to create a 3-in-1 app to crowdsource data, perform analytics and share stories.
- Web AppBuilder, which offers a wide range of widgets. We will use it in this month's tutorial.
Web AppBuilder is available in ArcGIS Online. If you do not have an account but want to give the app a try, have a look at the free options in the post below:
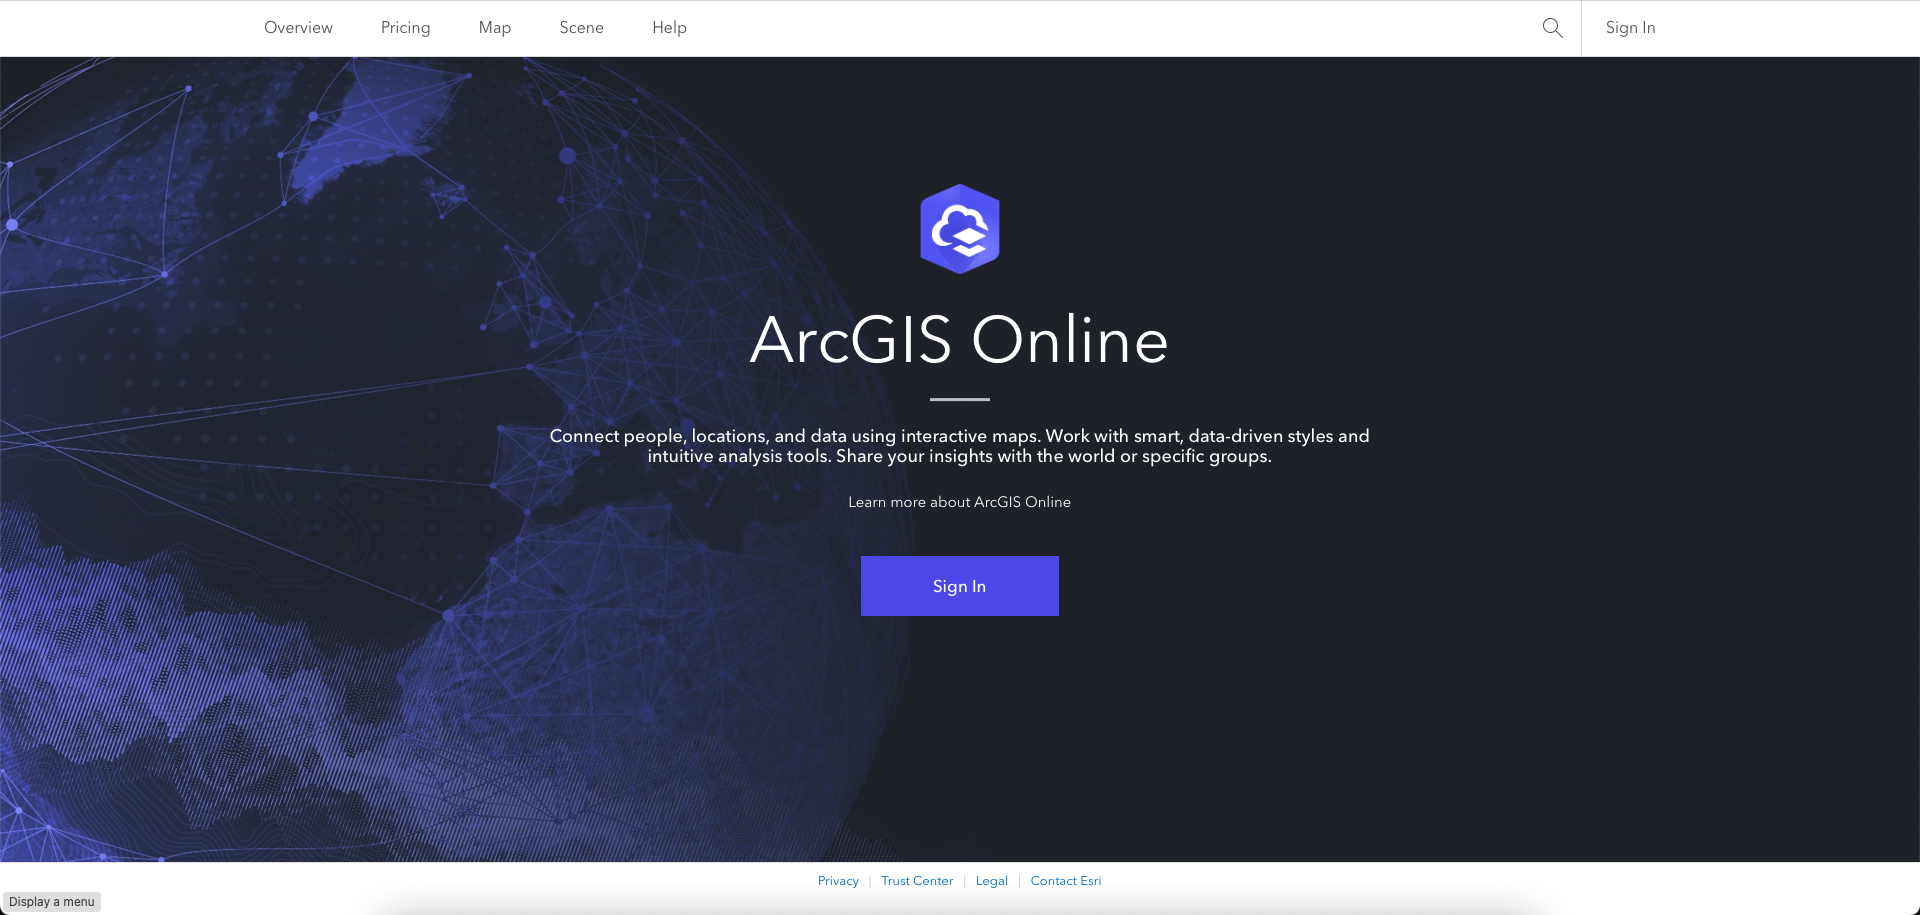
Once you create your account (if you haven't got one yet), you're ready to proceed.
2 Prepare the data
Choose → Prepare → Create → Share
2.1 Extract the data from the source
In this tutorial, we're going to use the data available in the Portuguese national health service portal (SNS), more specifically on the Serviços de Urgência Obstétrica/Ginecológica – SNS page.
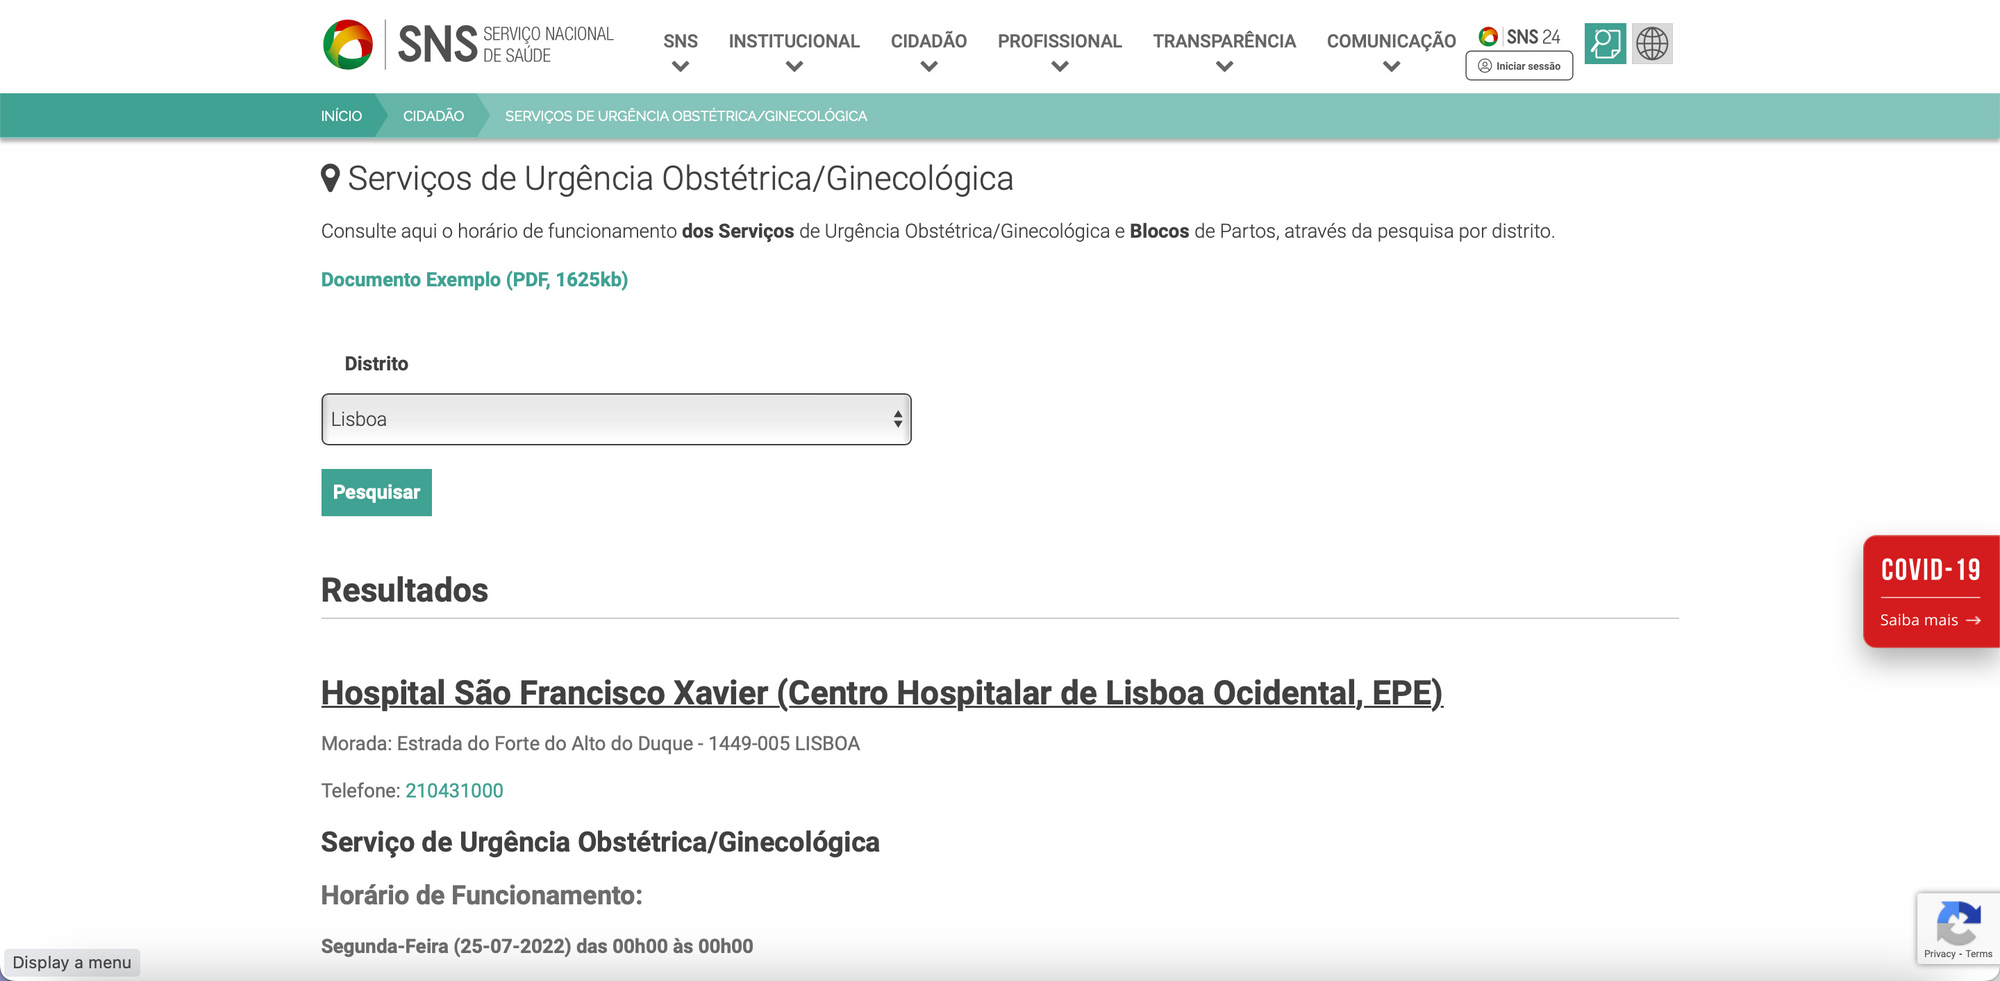
We're going to extract three attributes from the list:
- name
- address
- phone number
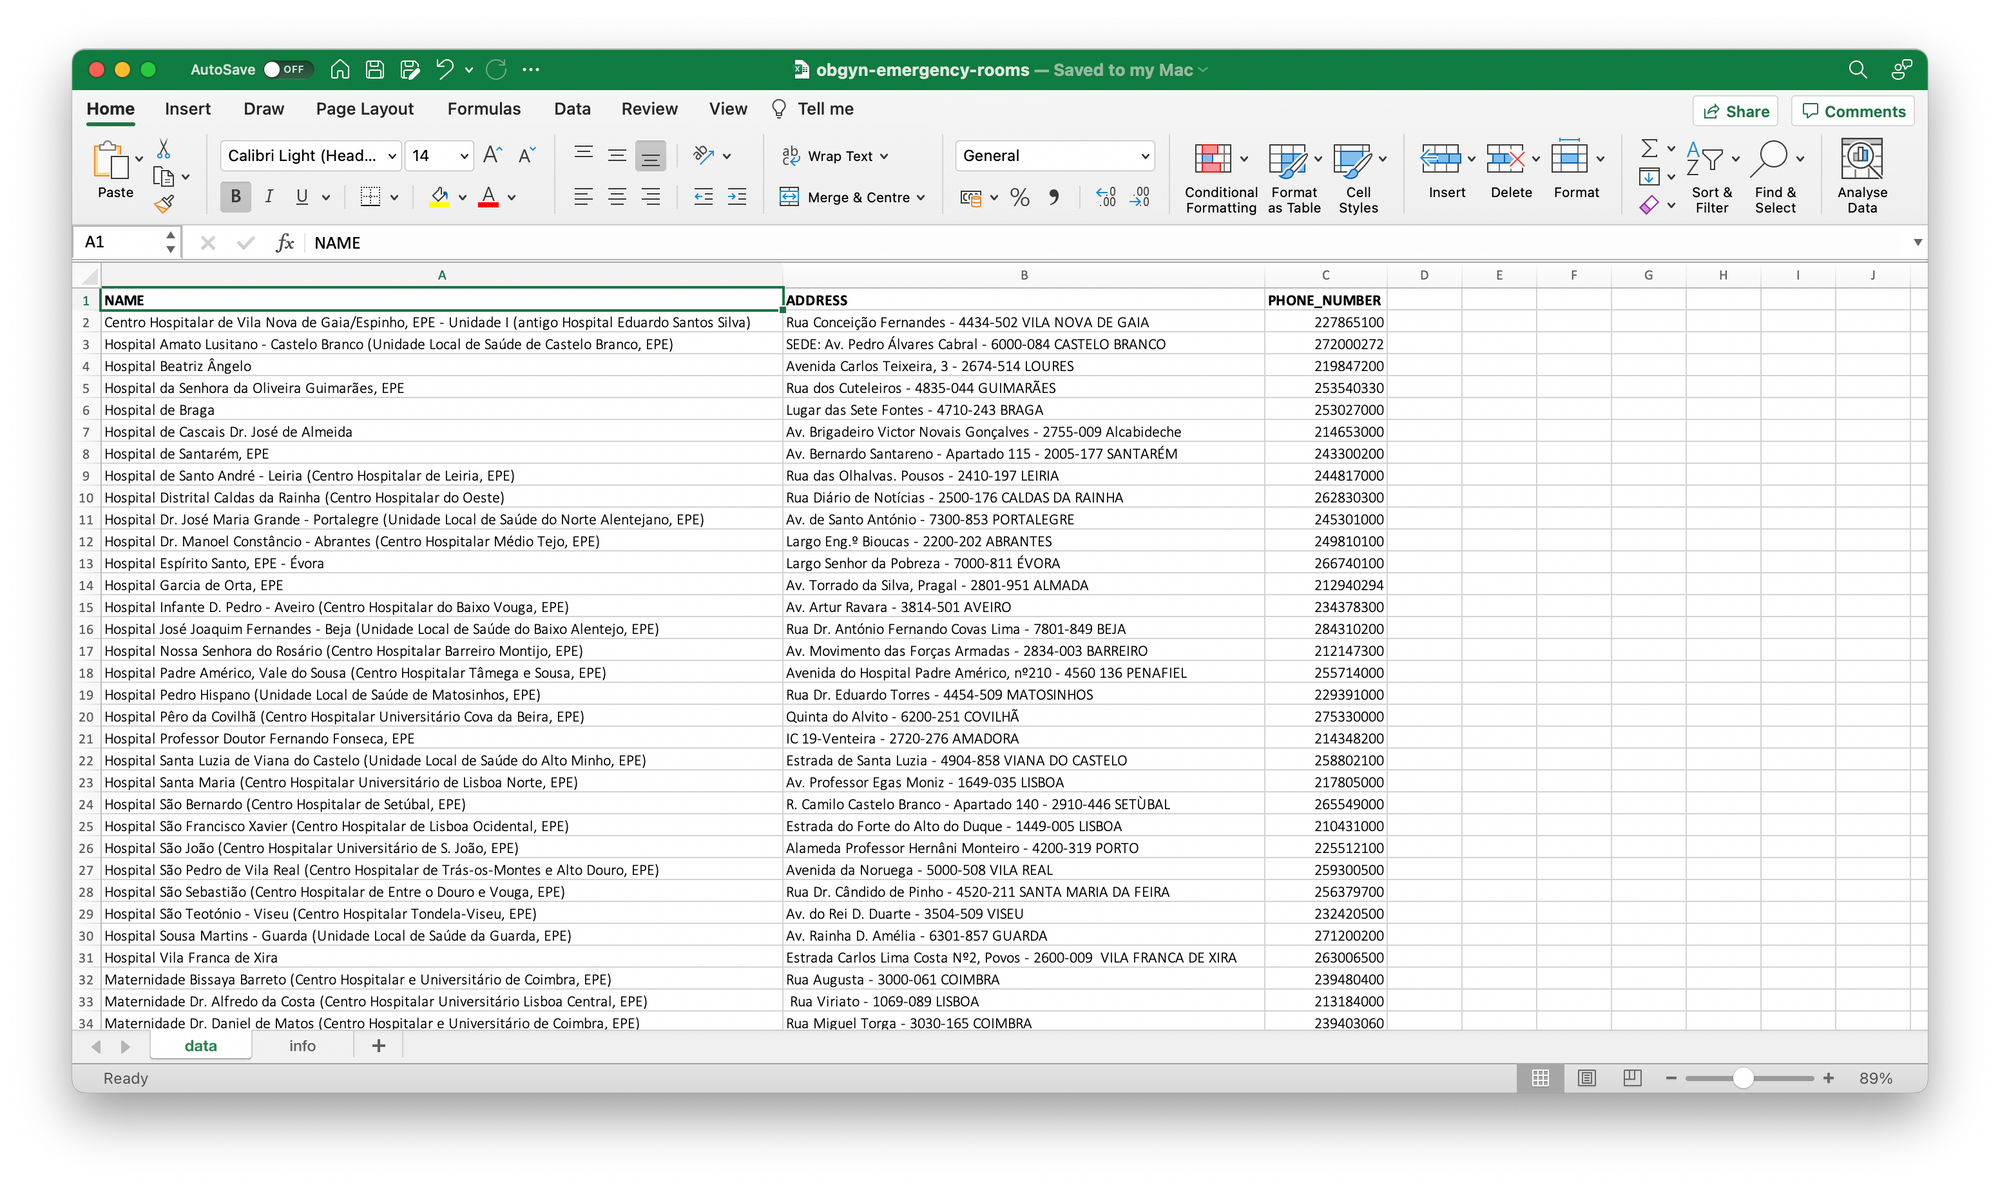
Create a spreadsheet and organise the data as such: one column for each attribute and one row for each service.
2.2 Add the dataset to ArcGIS Online
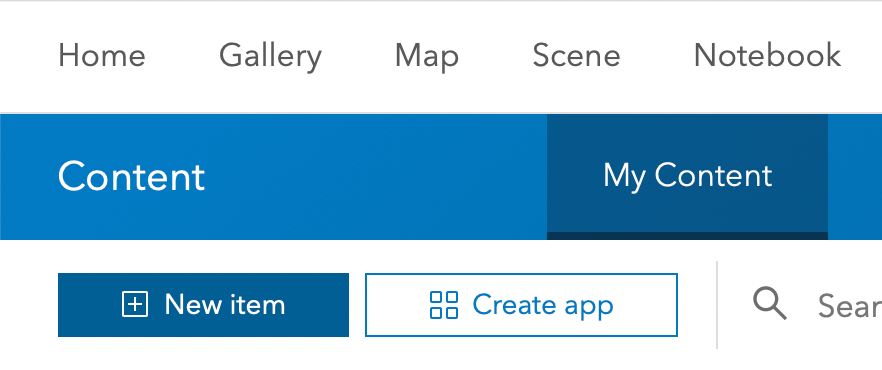
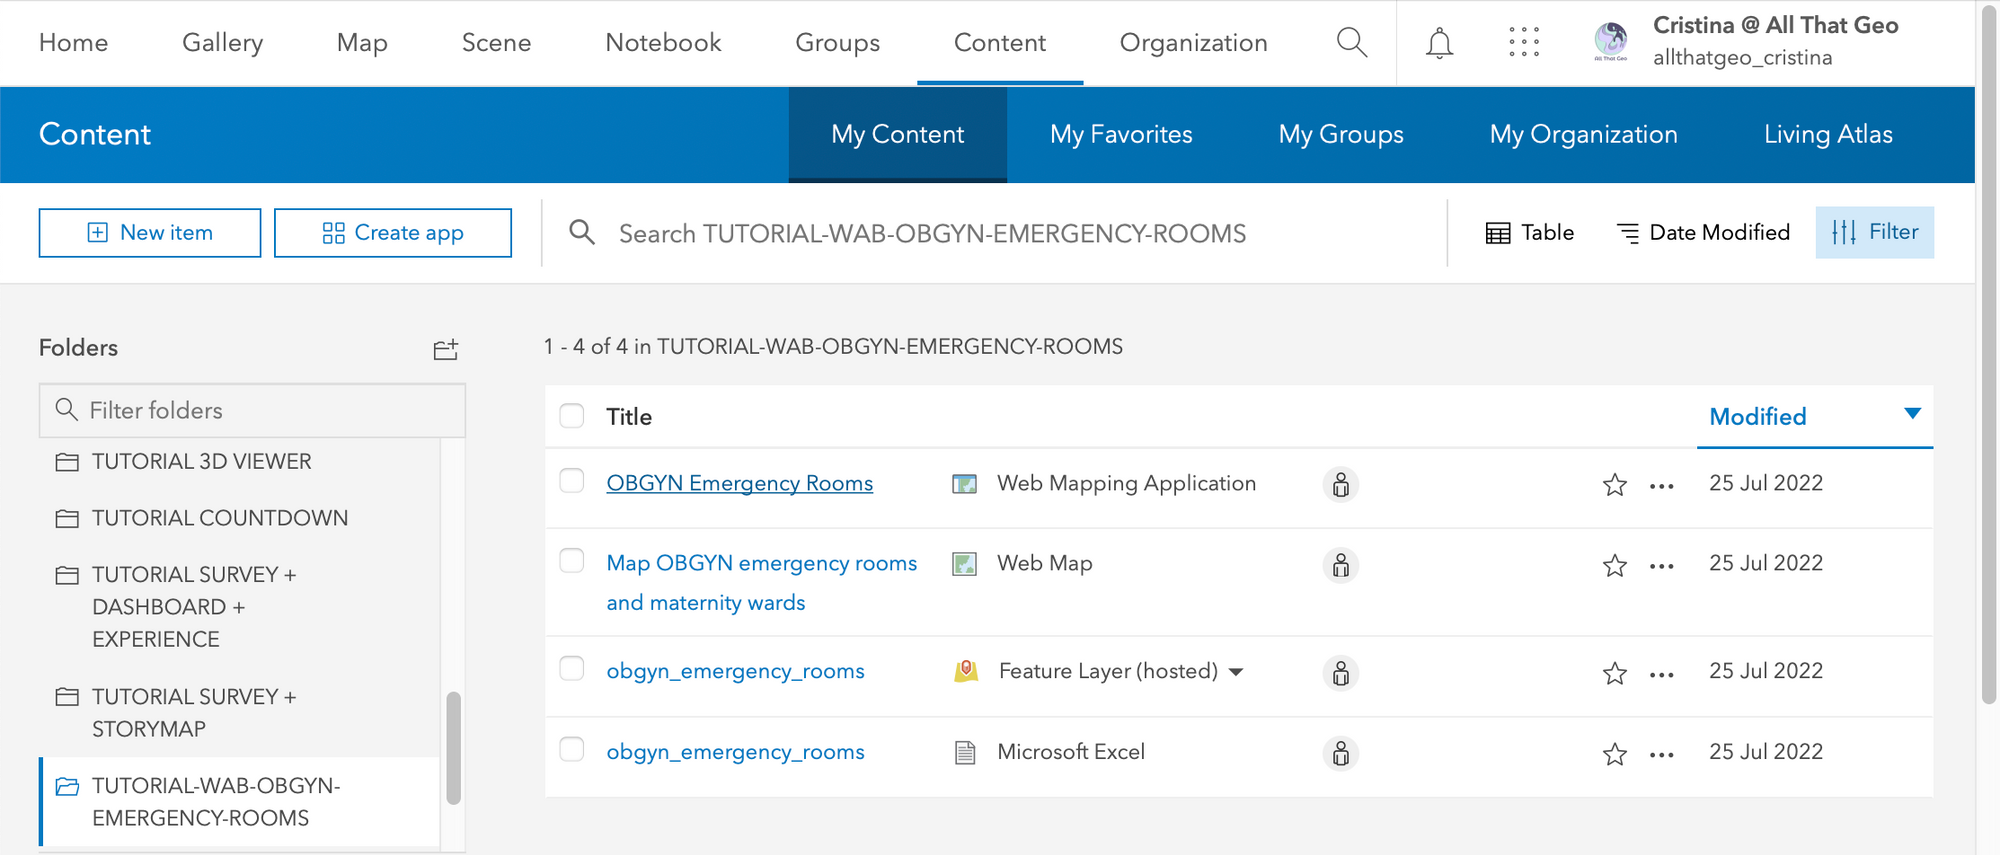
Now we're going to import the spreadsheet to ArcGIS Online. First, log in to your account and find the Content tab.

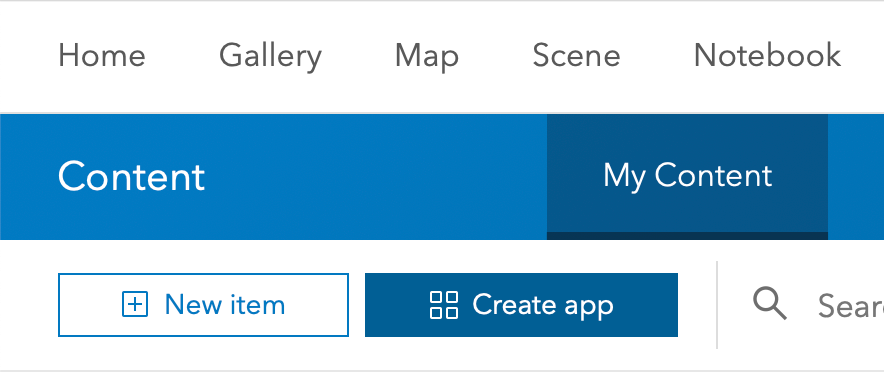
In My Content, click New item.
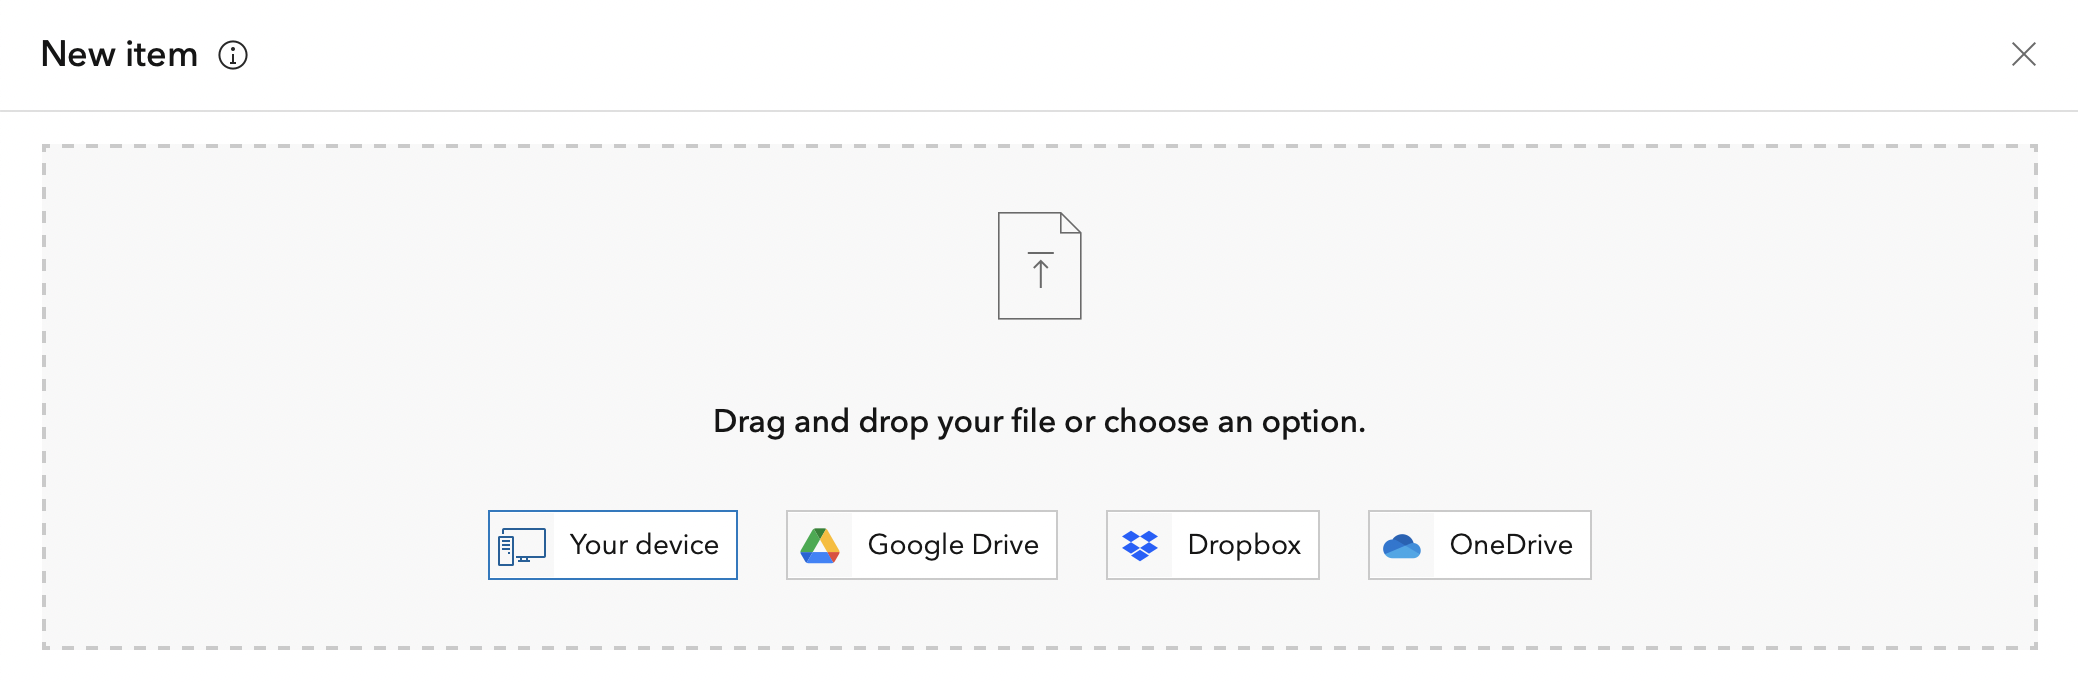
Get the file from Your device.
Choose to Add obgyn-emergency-rooms.xls and create a hosted feature layer or table. By doing this, you'll publish it and make it available to reuse in maps and apps.
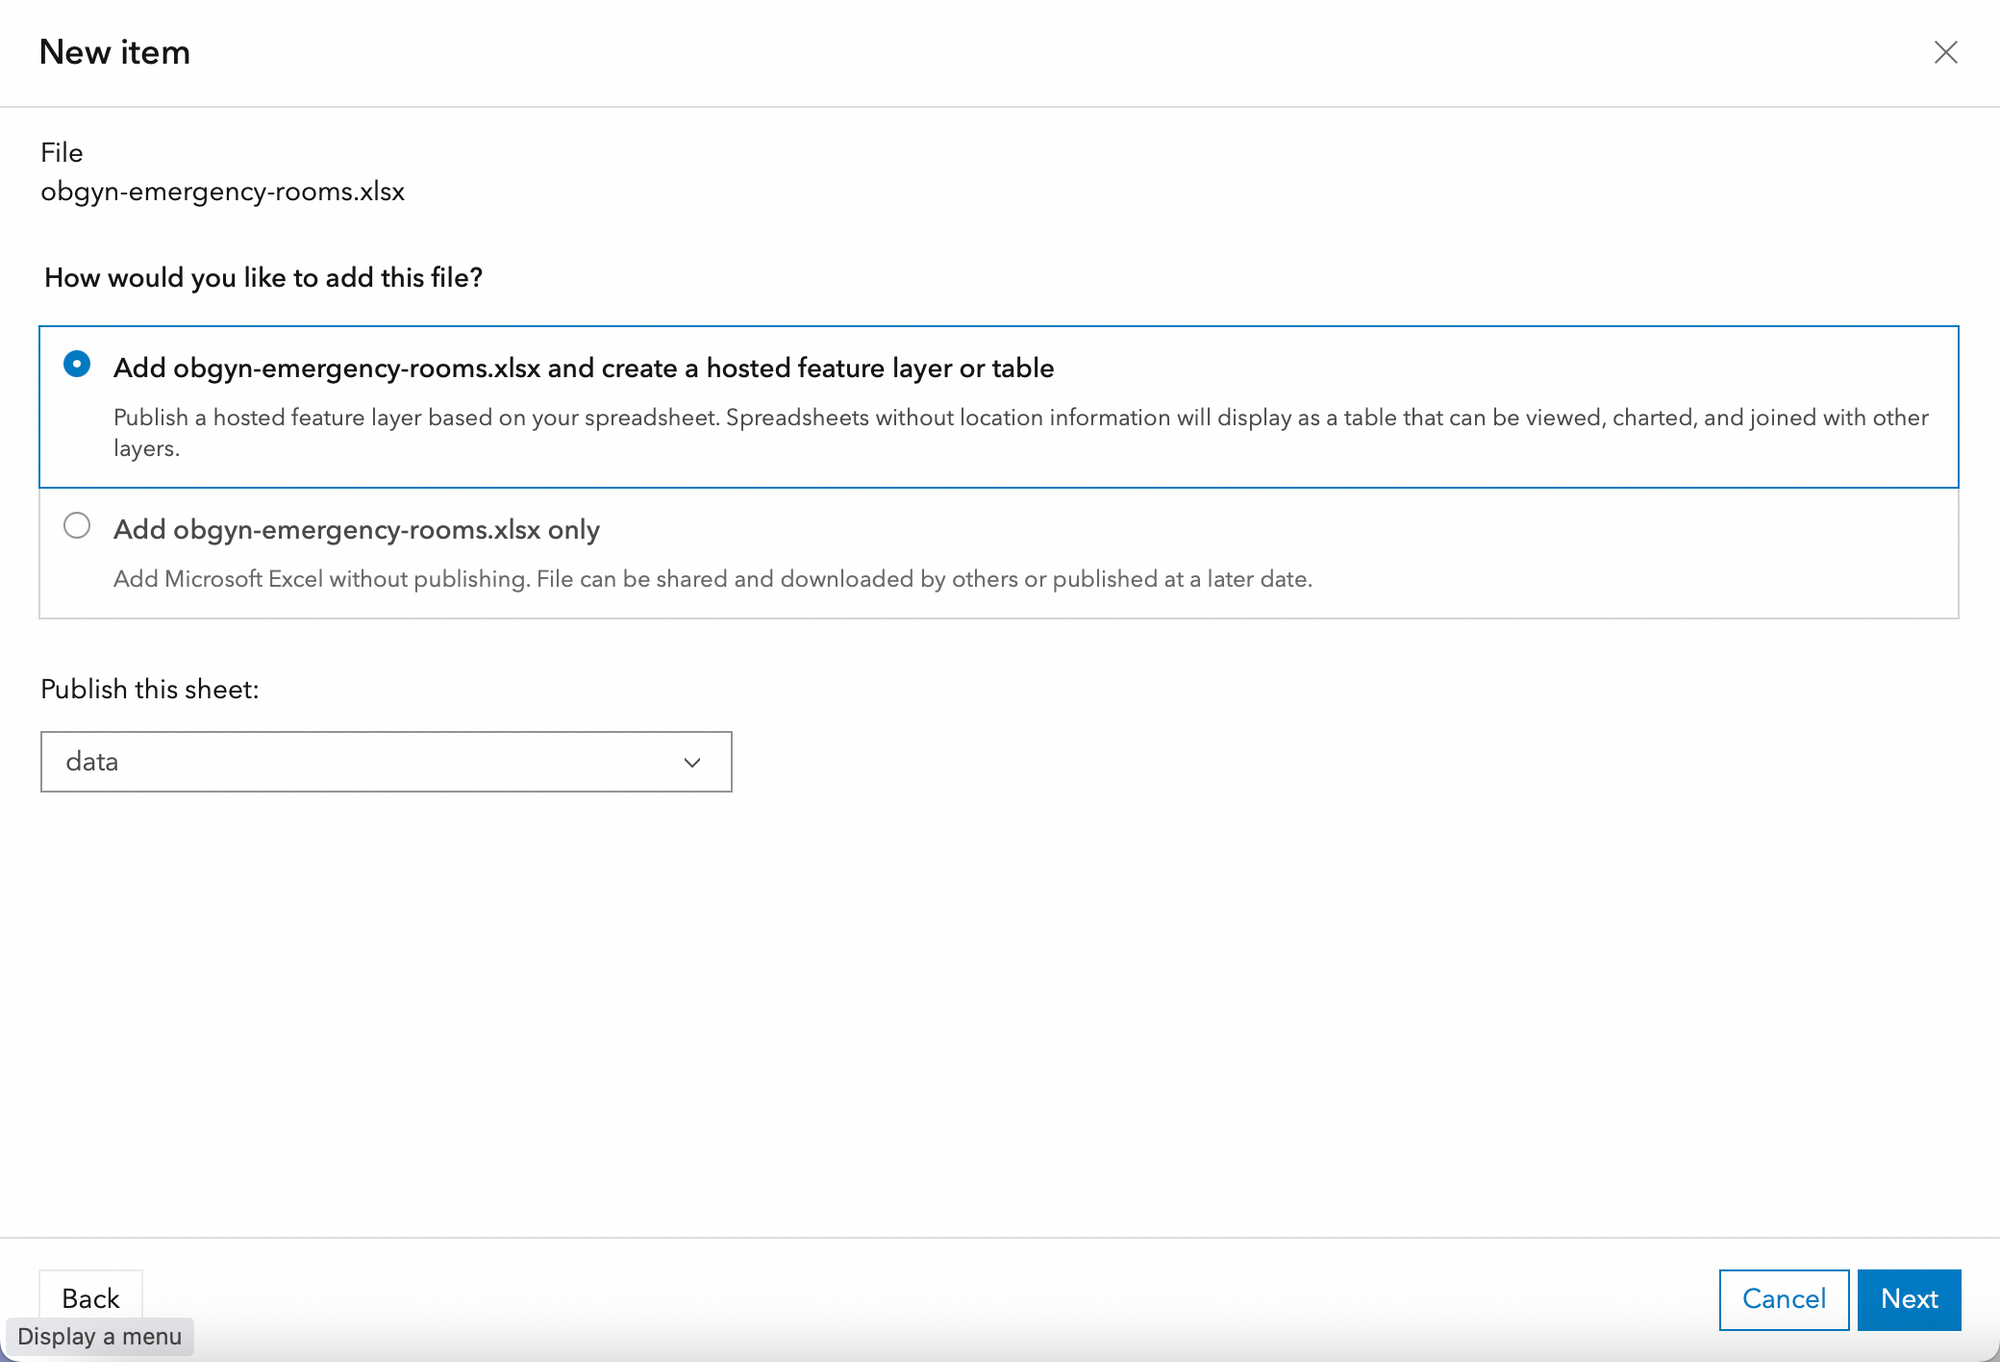
Hit Next.
Now make sure all three attributes were correctly added.
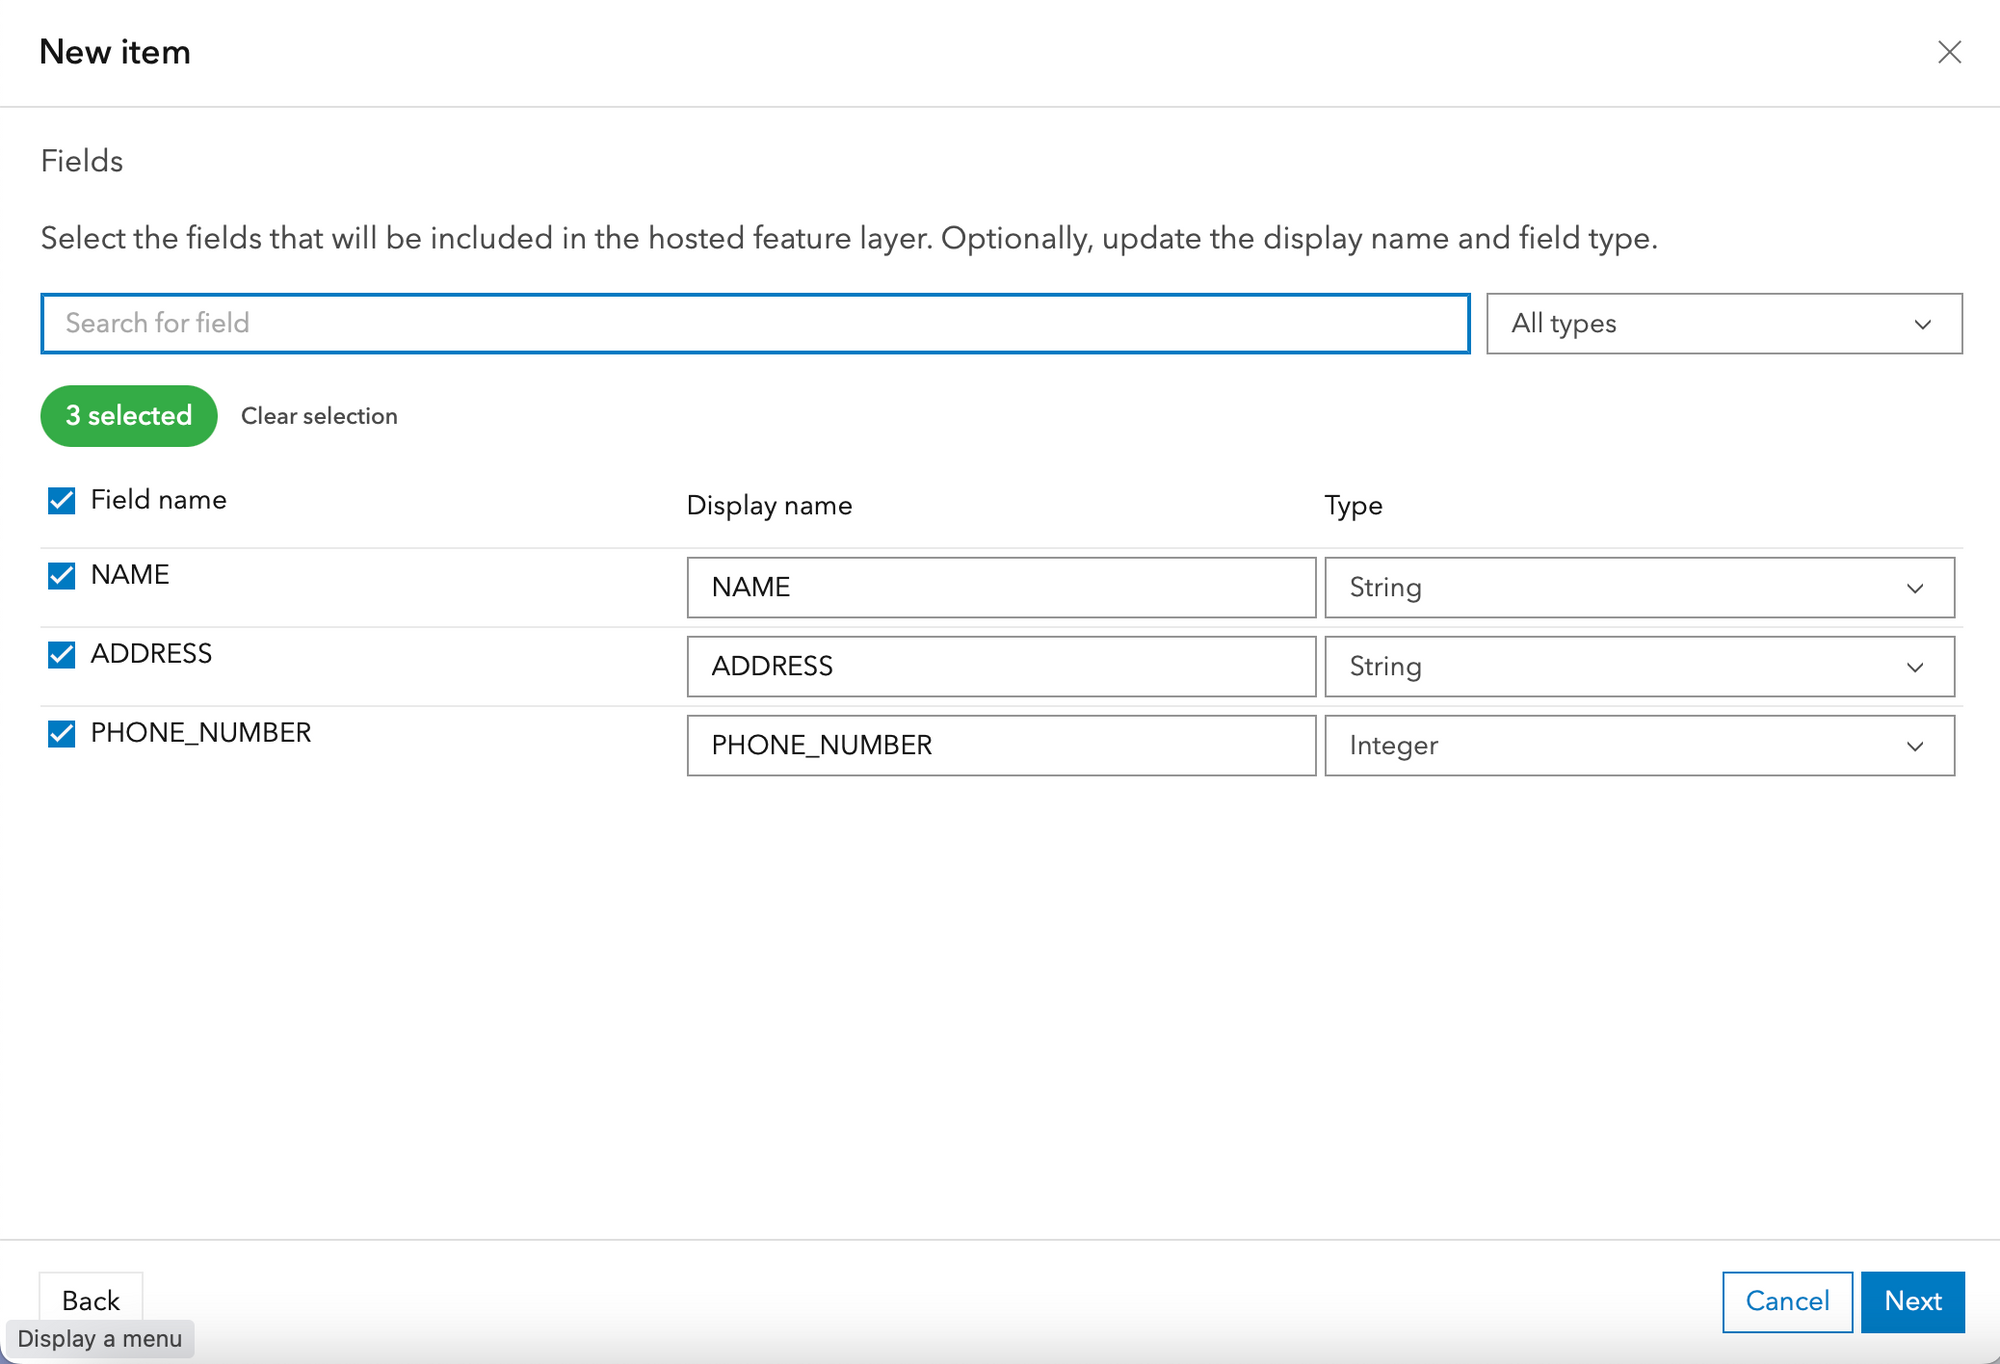
Hit Next.
Now it's time to determine how to handle the location. We do have addresses in the dataset but not coordinates to map them. That is why we will use the ArcGIS World Geocoding Service Locator.
Specify the Region (a country the data corresponds to).
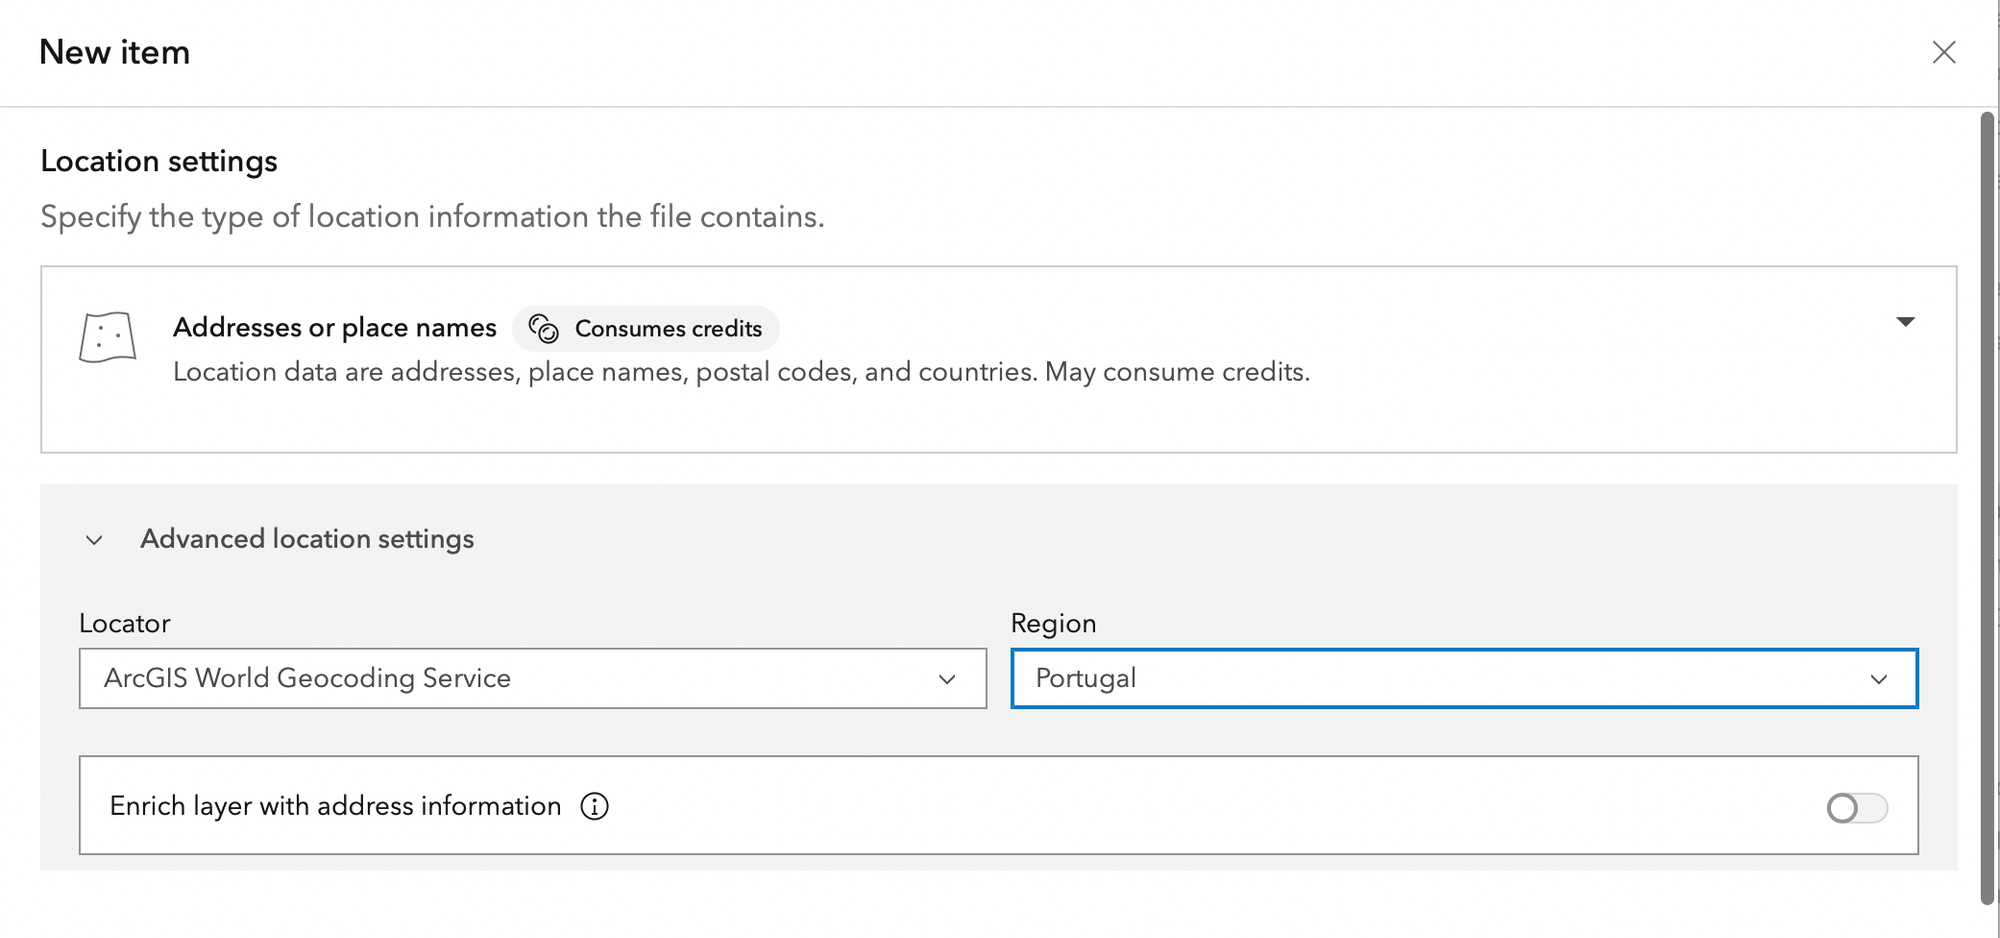
Scroll down and specify the field to be geolocated - in our case, ADDRESS.
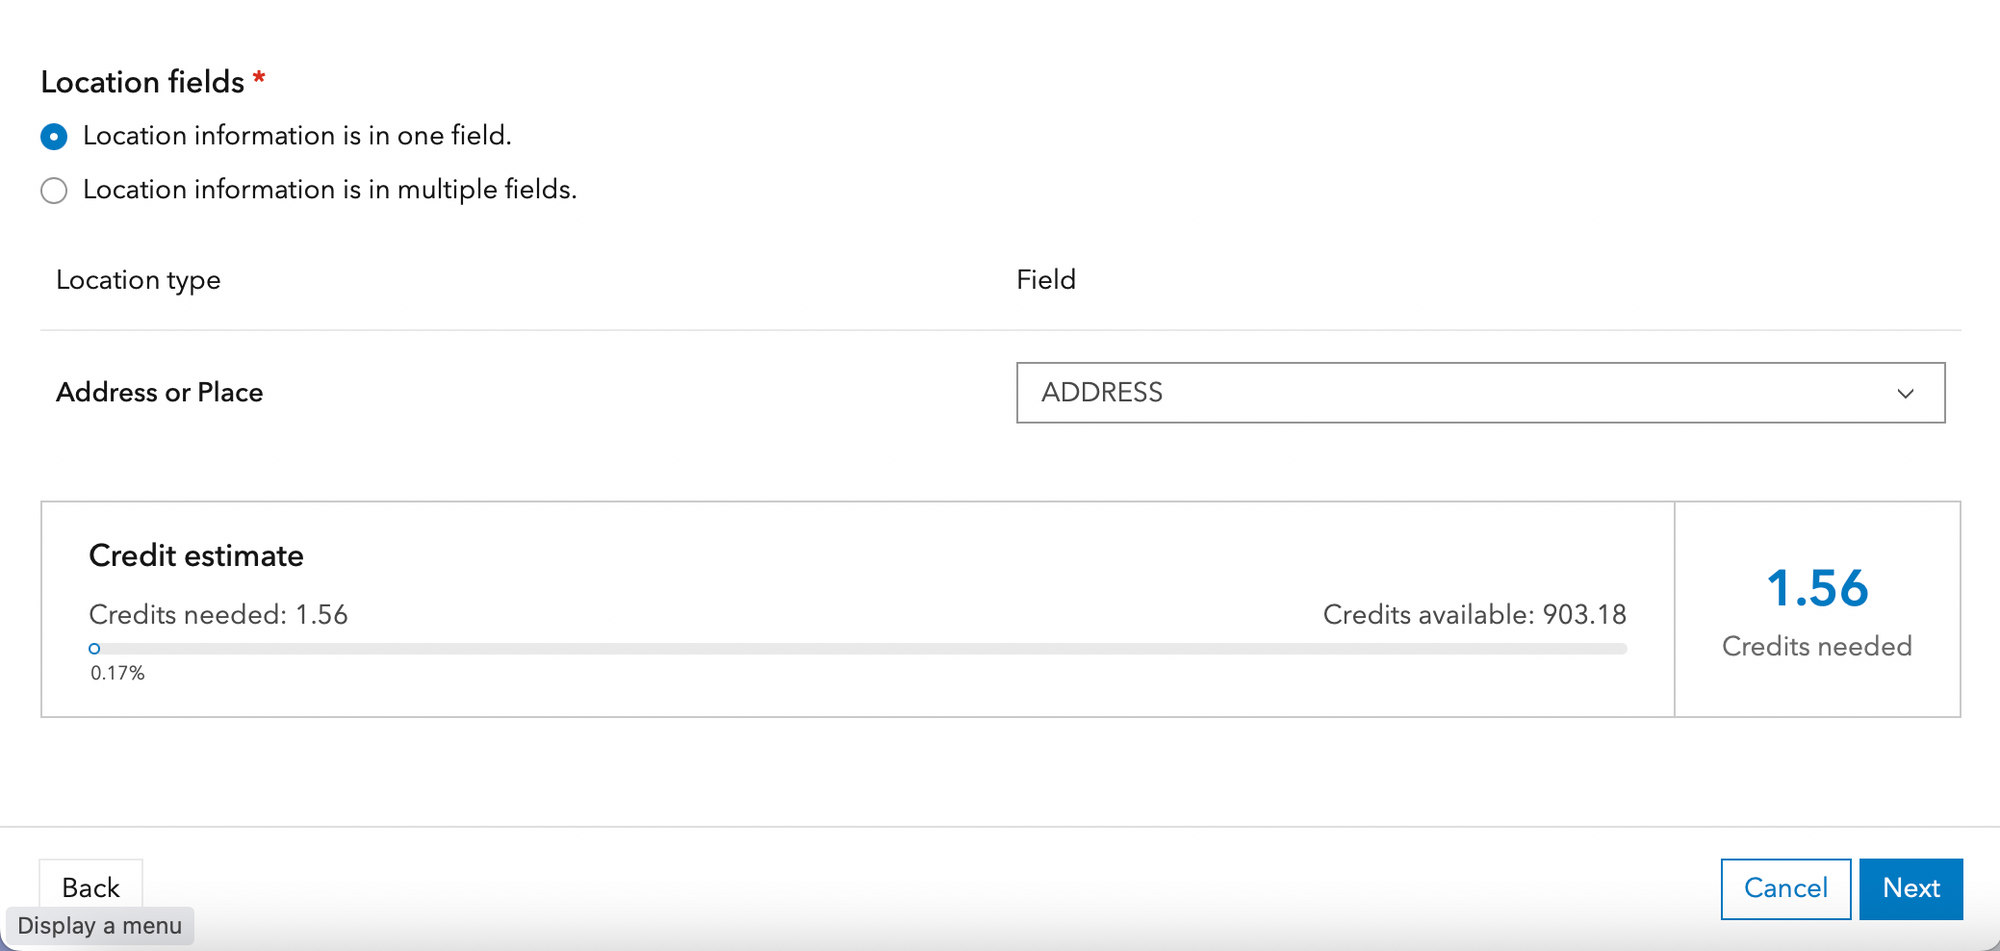
Hit Next.
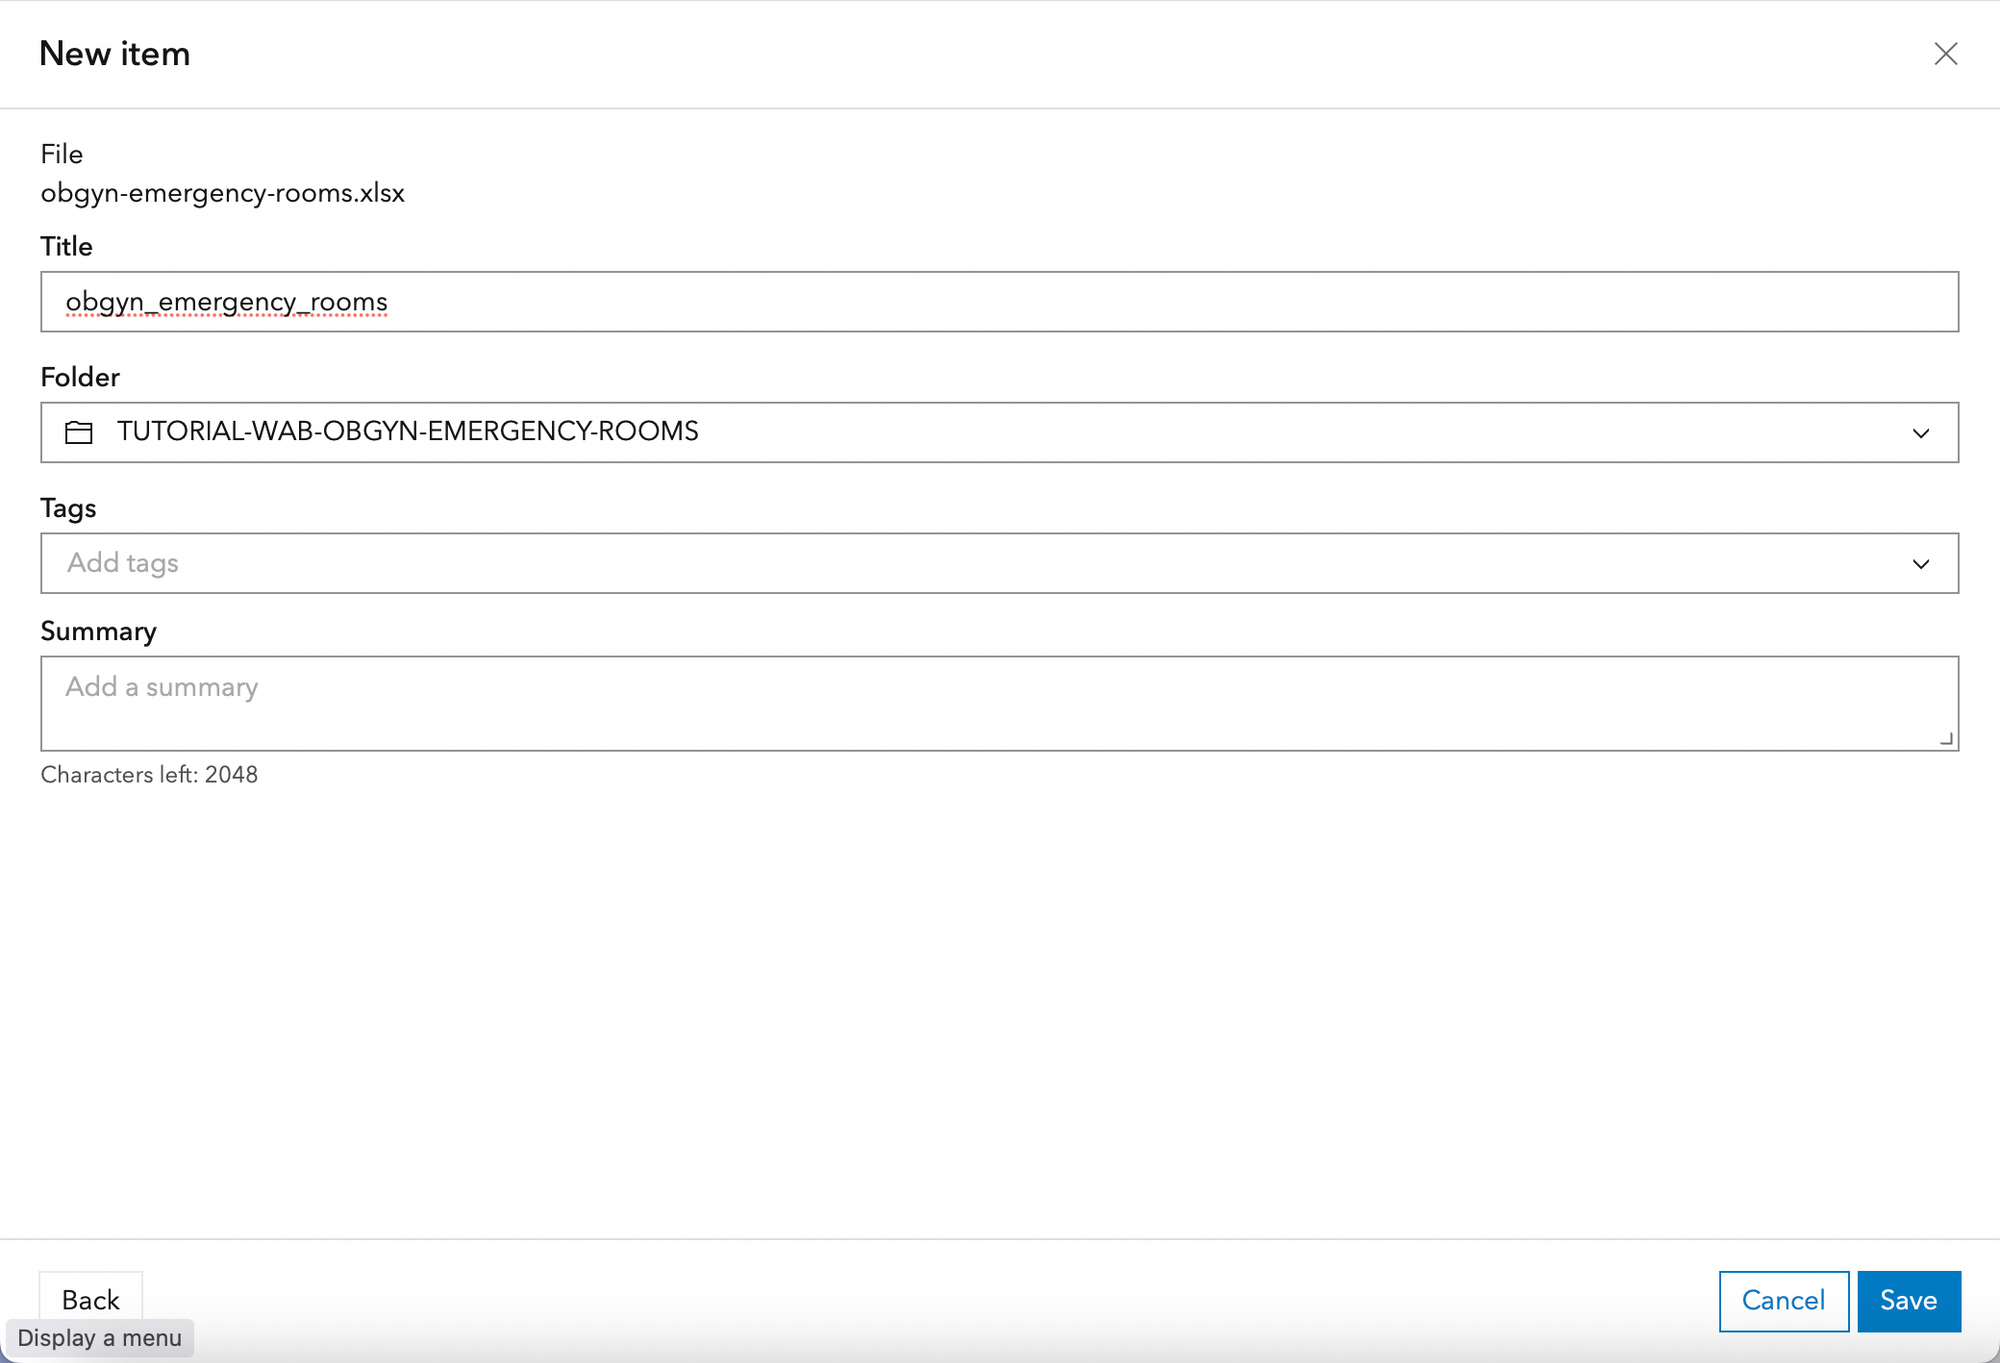
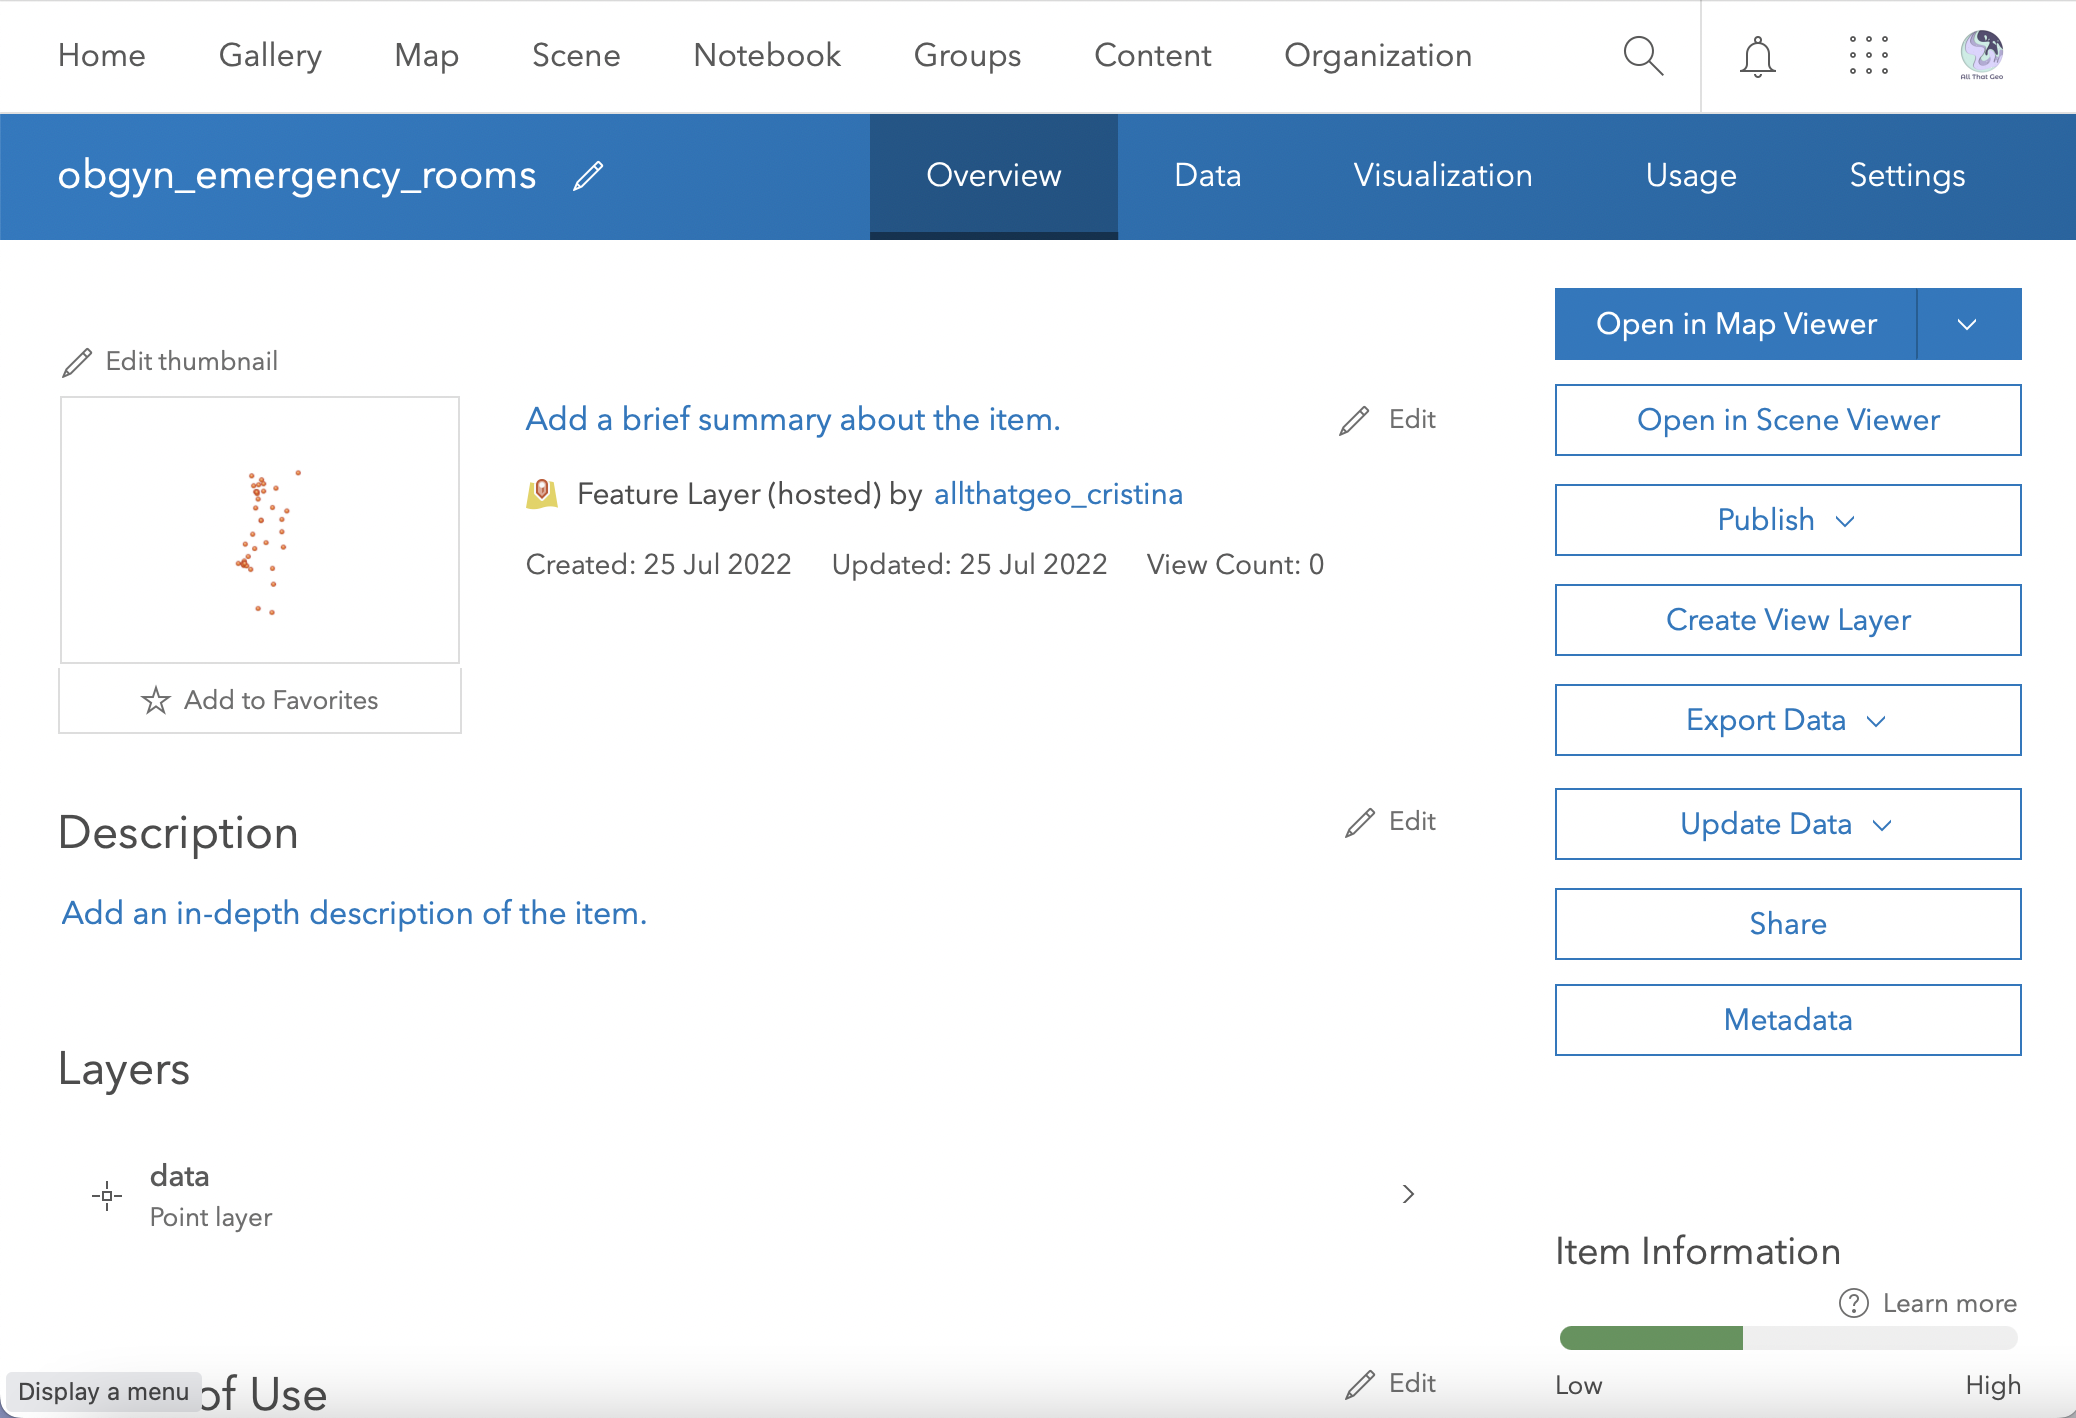
Finally, give a Title to the feature layer, e.g. obgyn_emergency_rooms, save it in a Folder of your choice, and hit Save.
In our case, all 39 addresses were correctly geocoded. If you're using another dataset and some of your locations did not get a match, or if you want to check if there were accurately mapped, click Yes. Otherwise, click No to proceed.
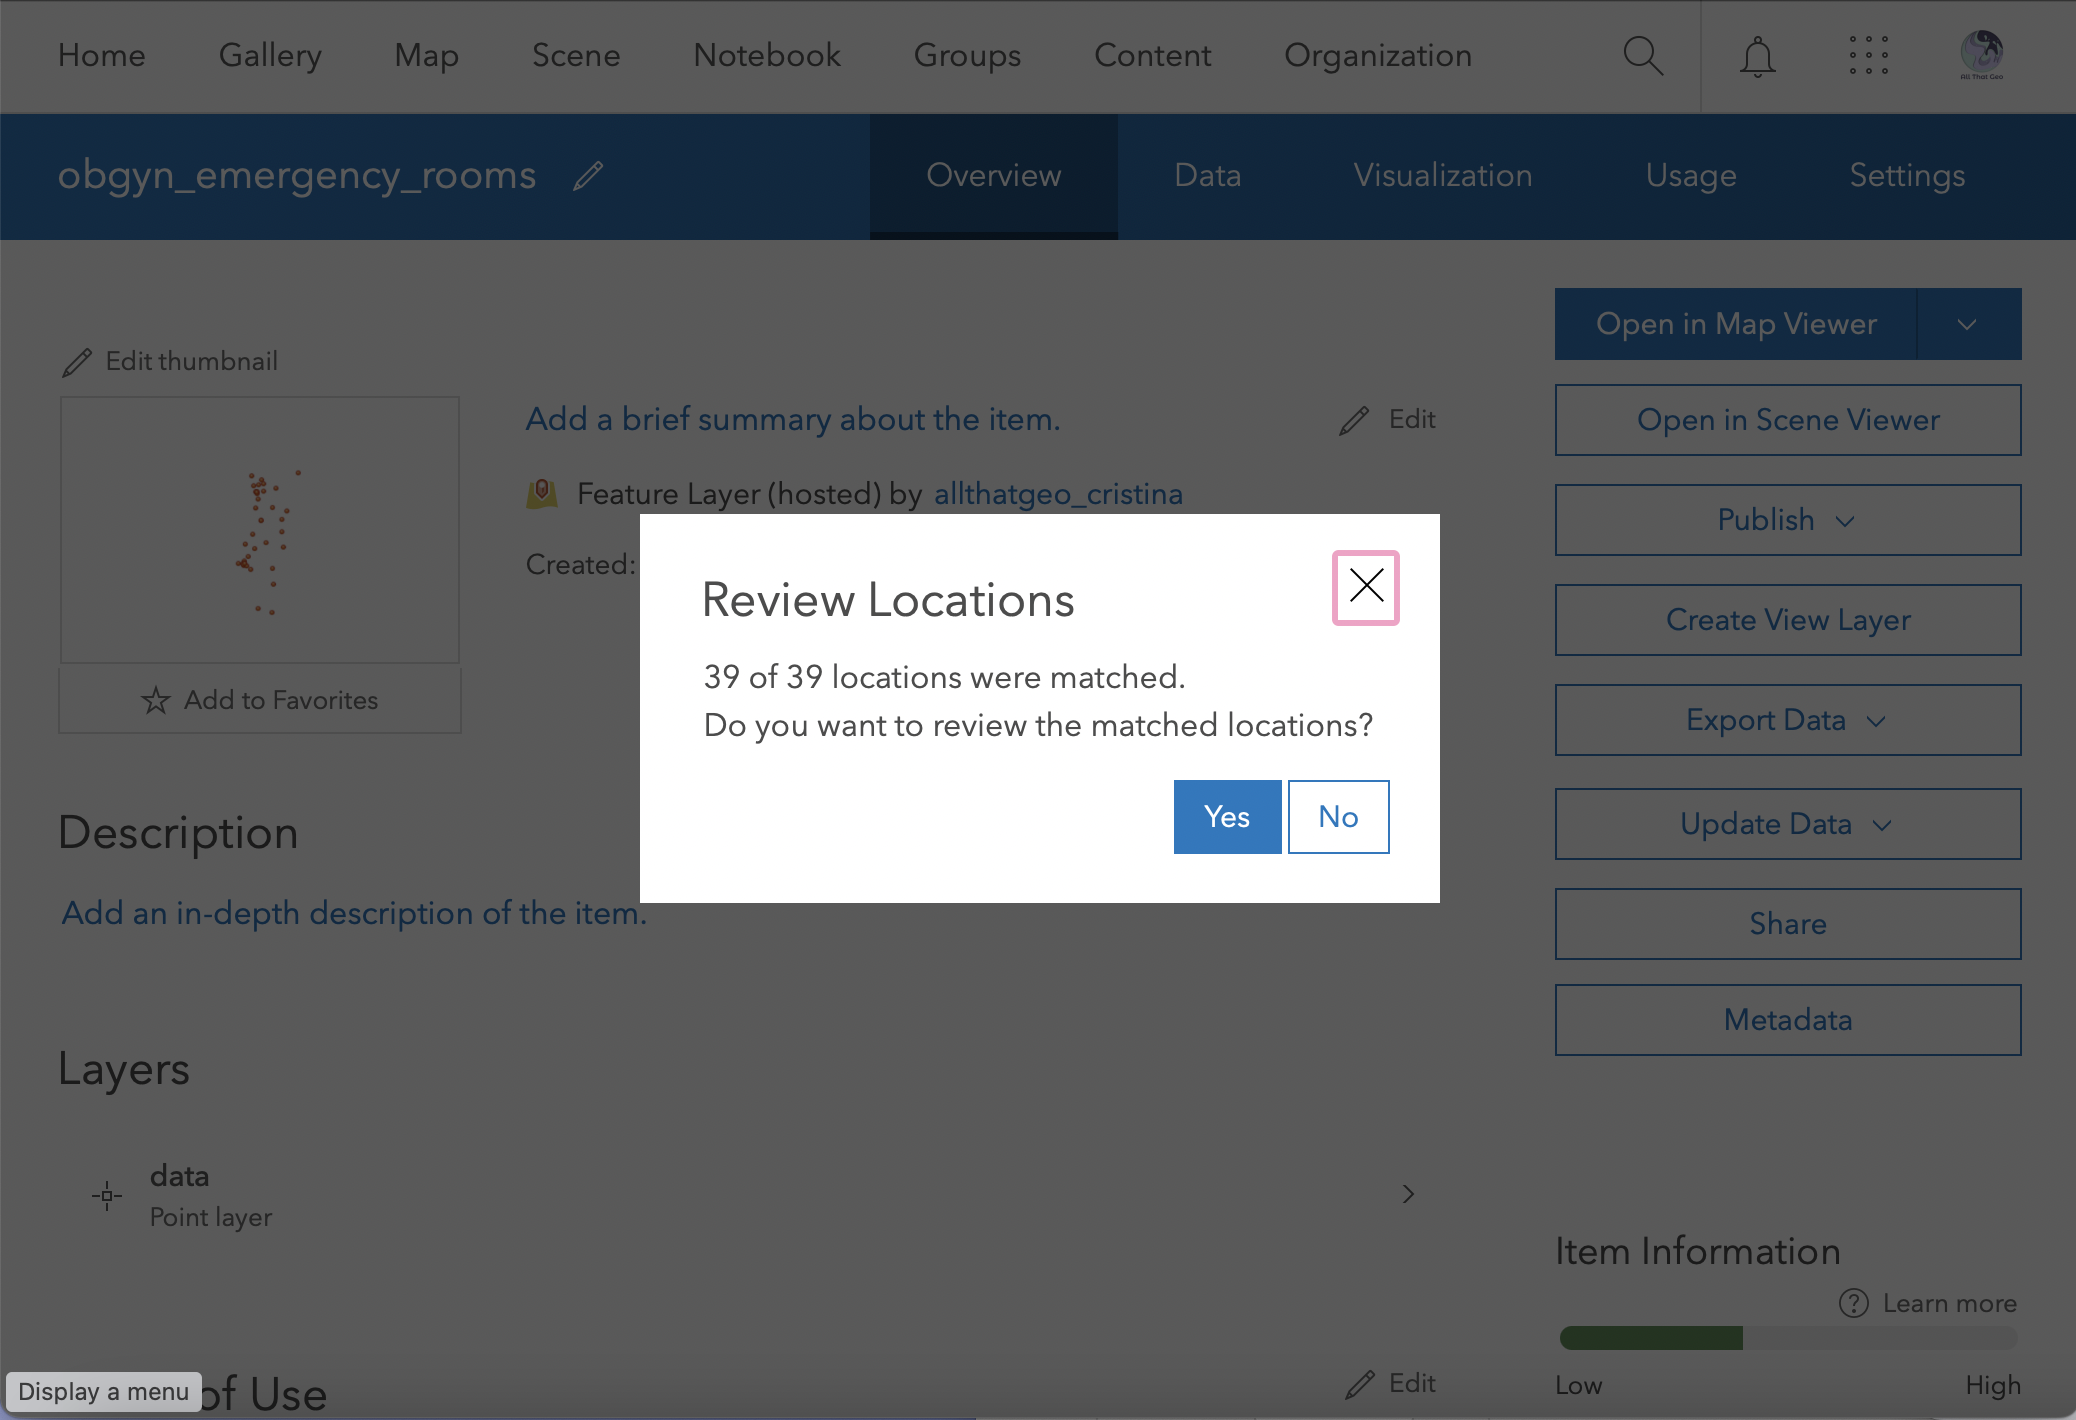
You are now taken to the feature layer's Overview page. Since we want to create a map out of the data, click on Open in Map Viewer.
3 Create a visualisation
Choose → Prepare → Create → Share
3.1 Create a web map
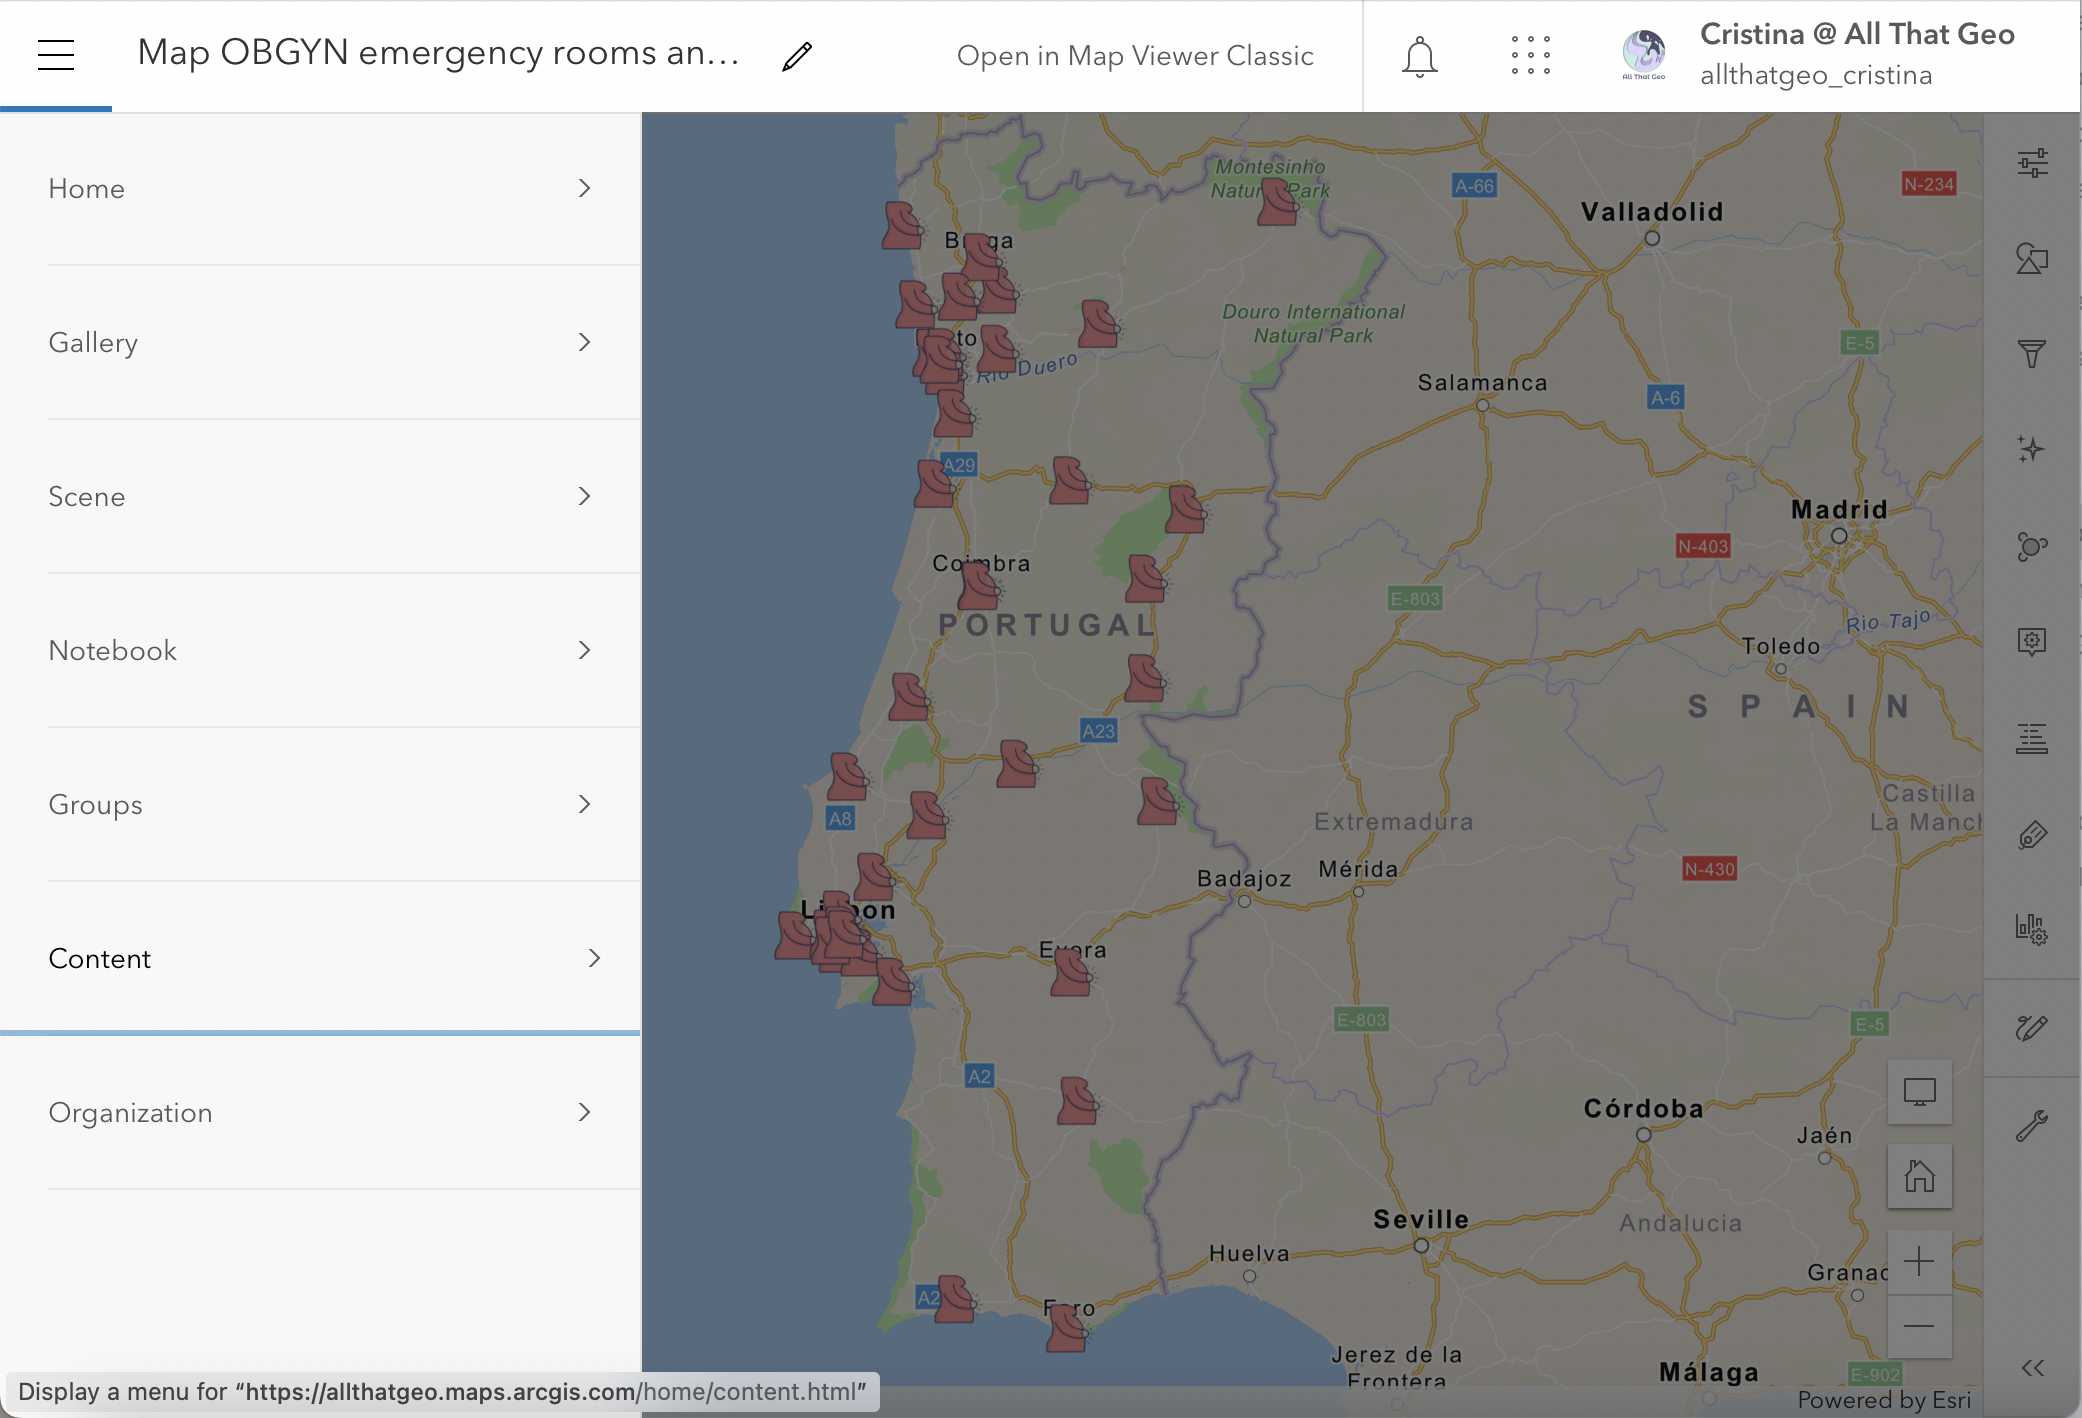
Notice how the locations show on the map. Start by saving the map (Save as icon on the left).
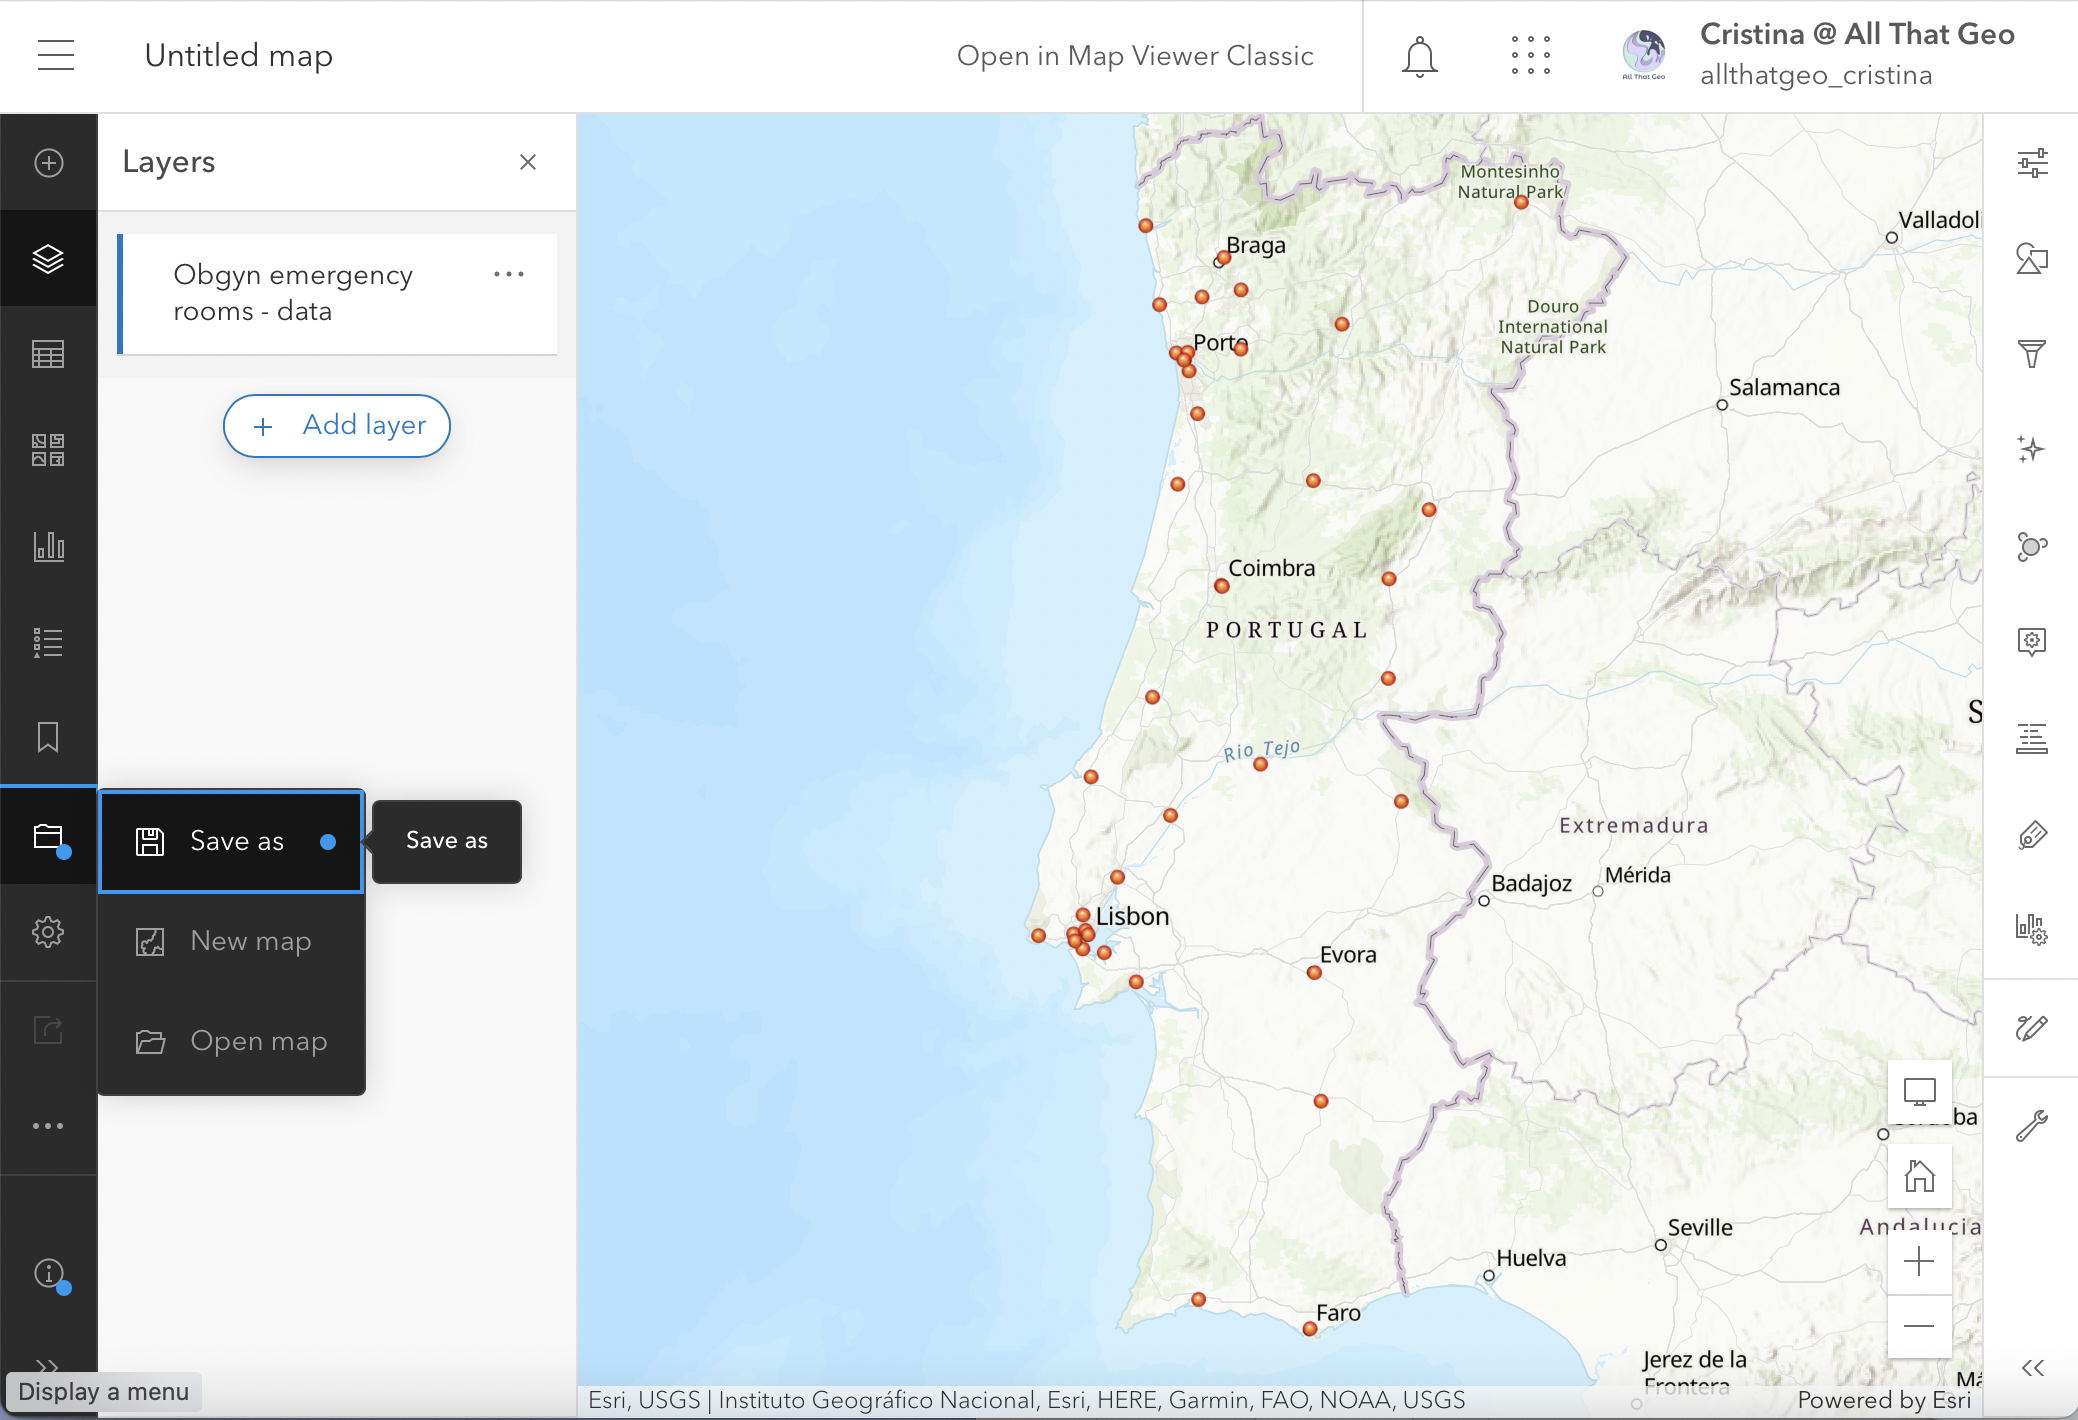
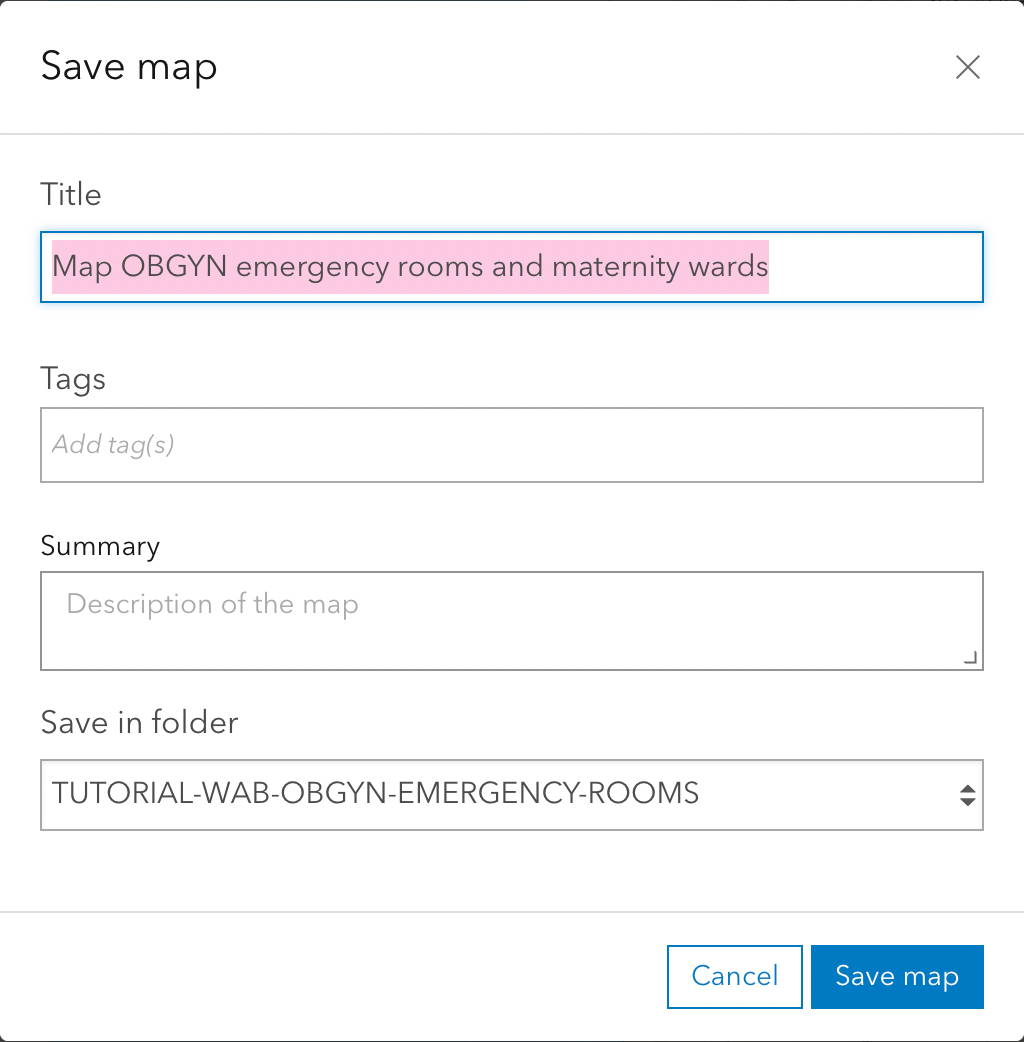
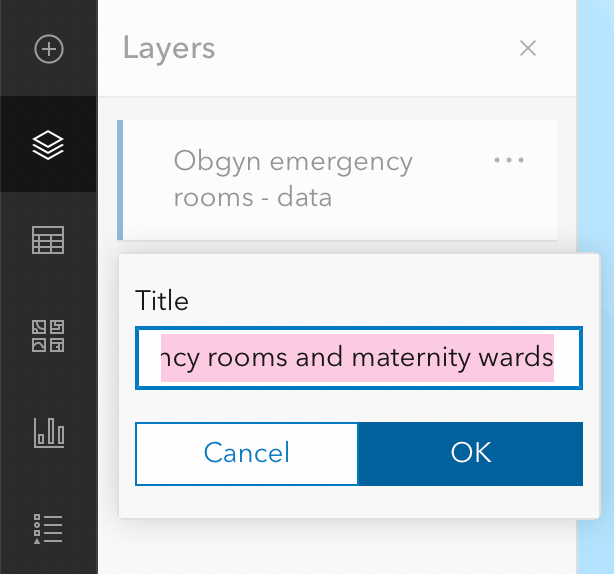
Give a Title to the map (e.g. Map OBGYN emergency rooms and maternity wards) and save it in a Folder of your choice. Hit Save map.
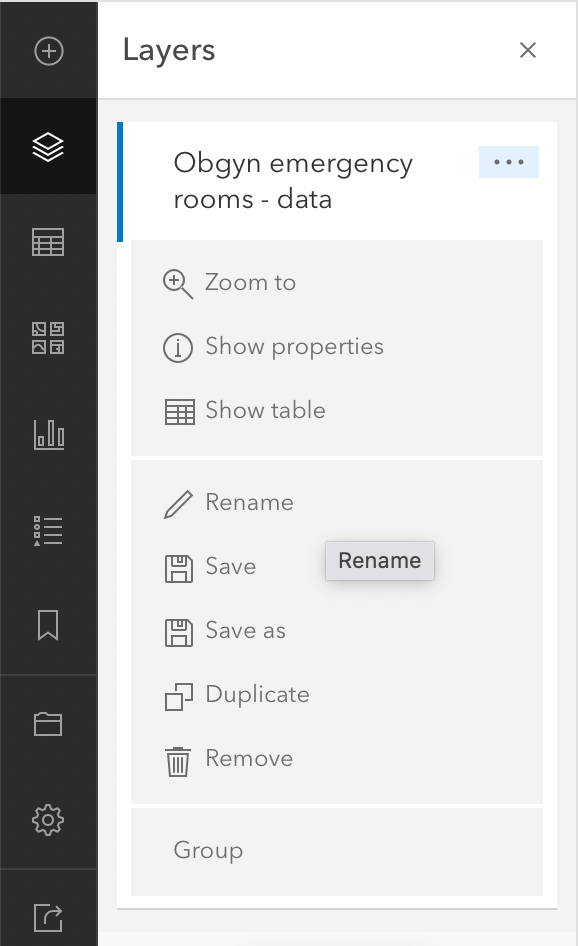
Notice the Layers pane on the left. We will rename the layer to OBGYN emergency rooms and maternity wards.
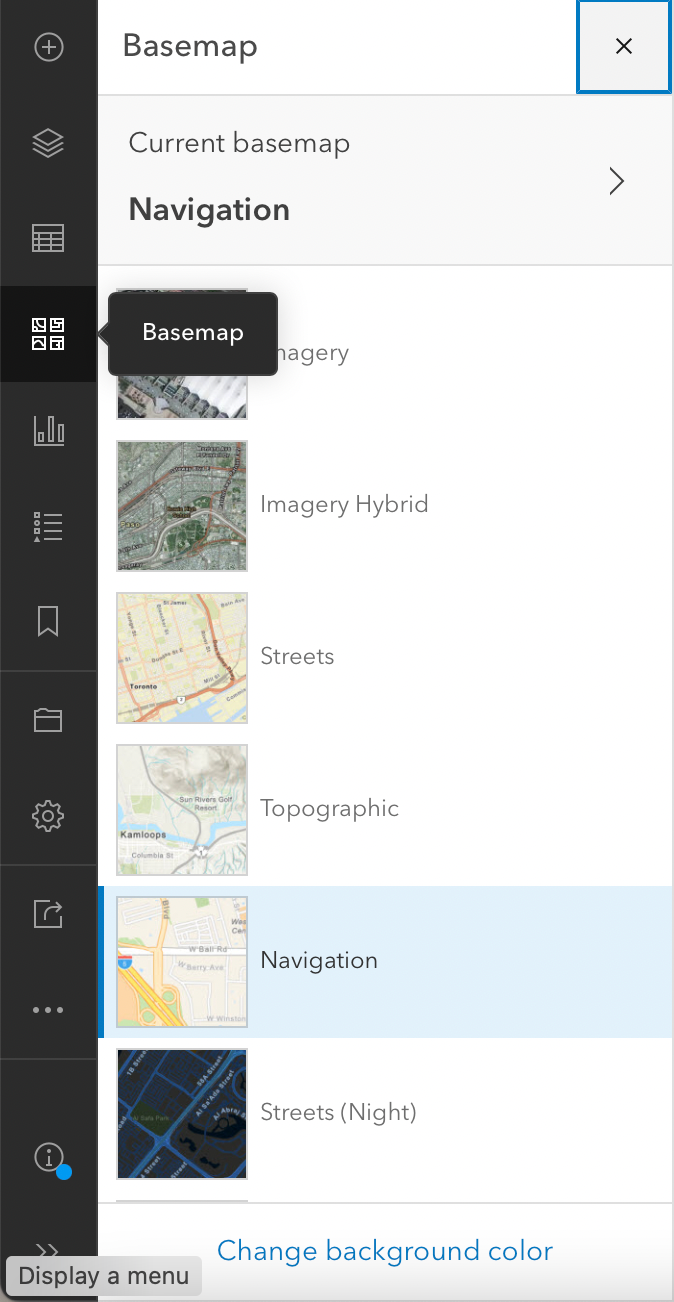
Let's change the basemap. Click on the Basemap icon on the left and choose whichever you prefer.
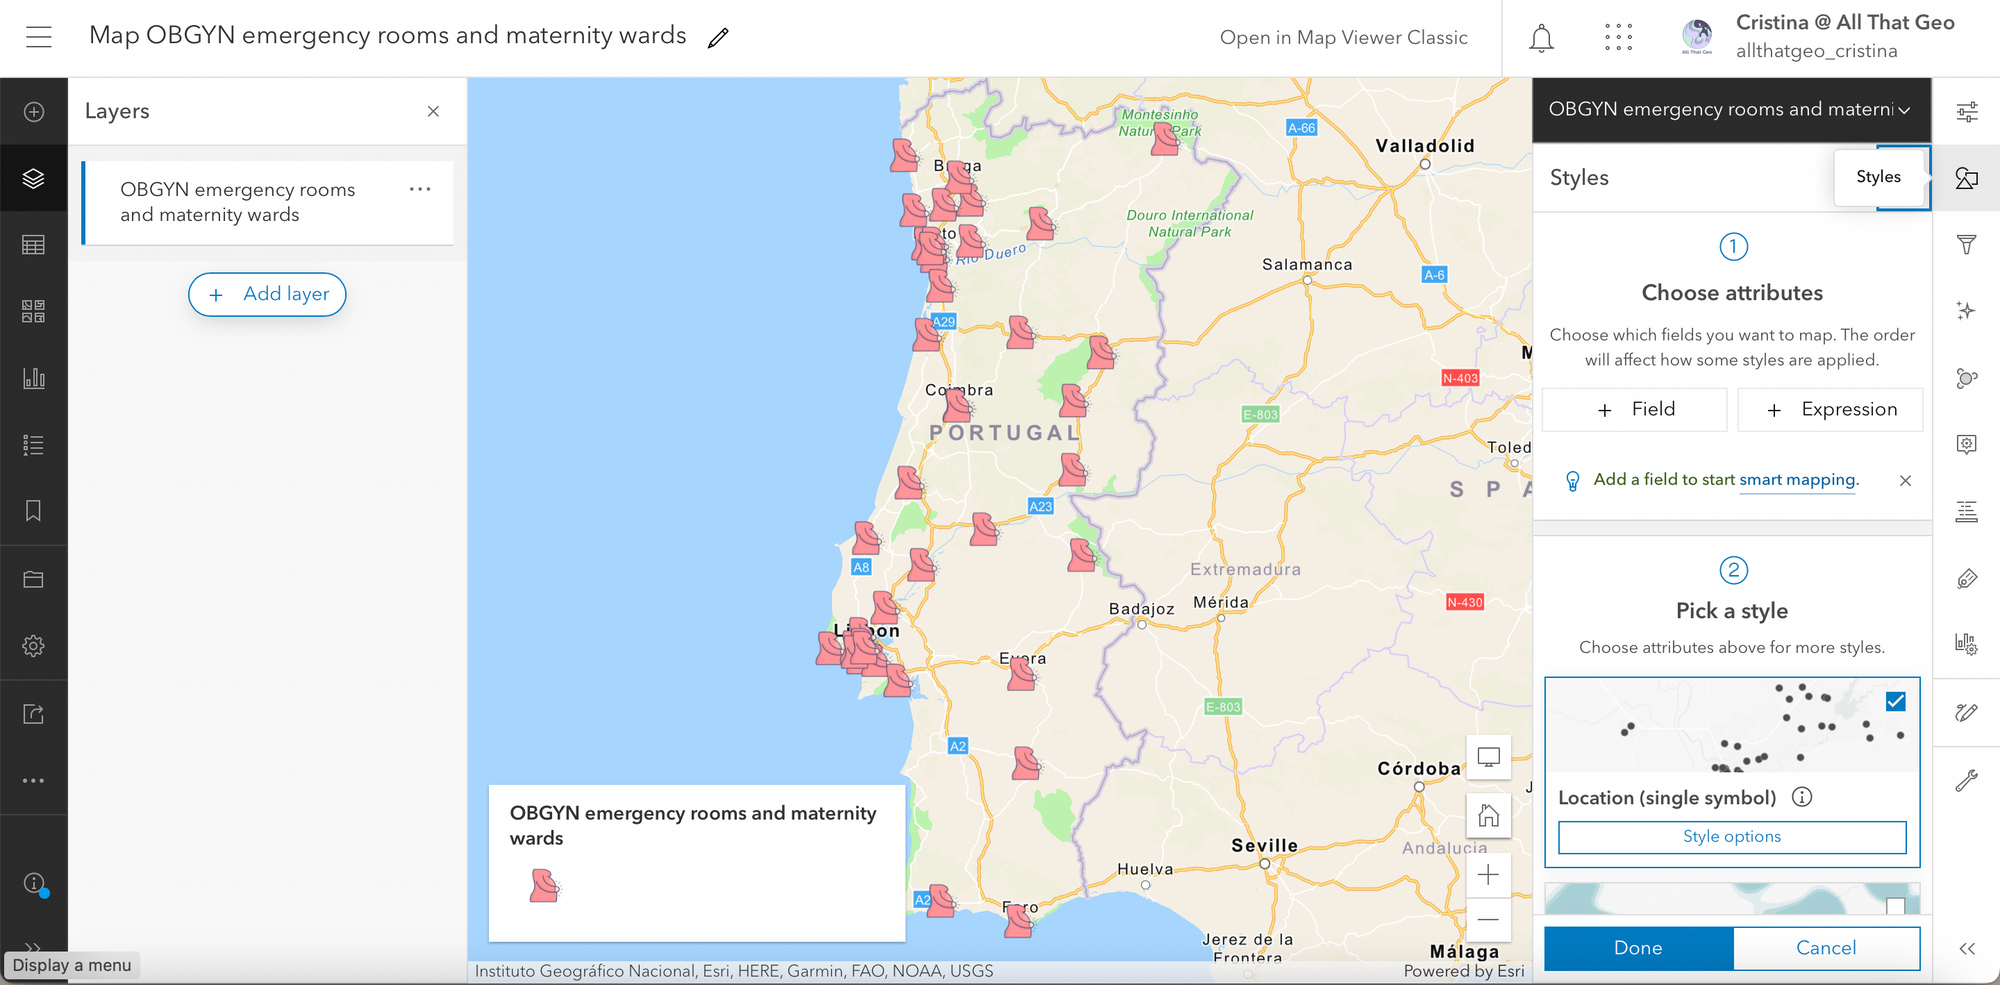
You can also change the points' symbology if you wish. To do so, click on Styles on the left and then on Location (single symbol) > Style options.
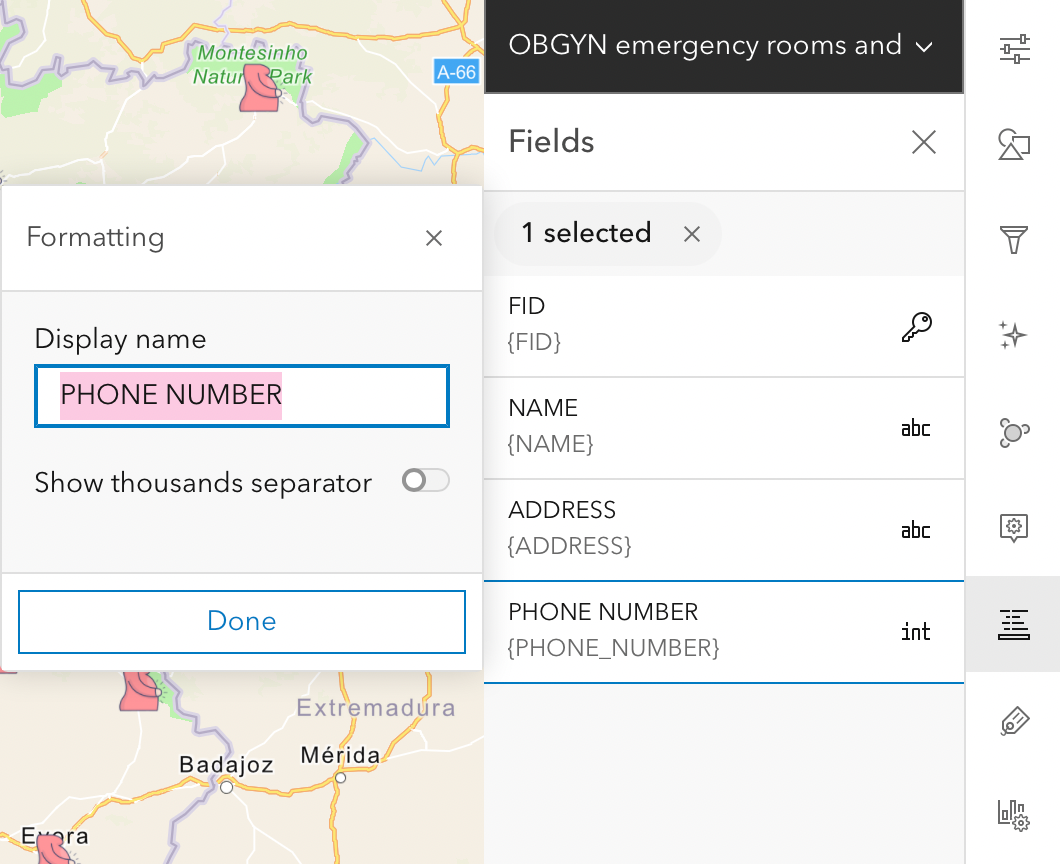
Now we'll customise the Fields' name to eliminate any undesirable formatting.
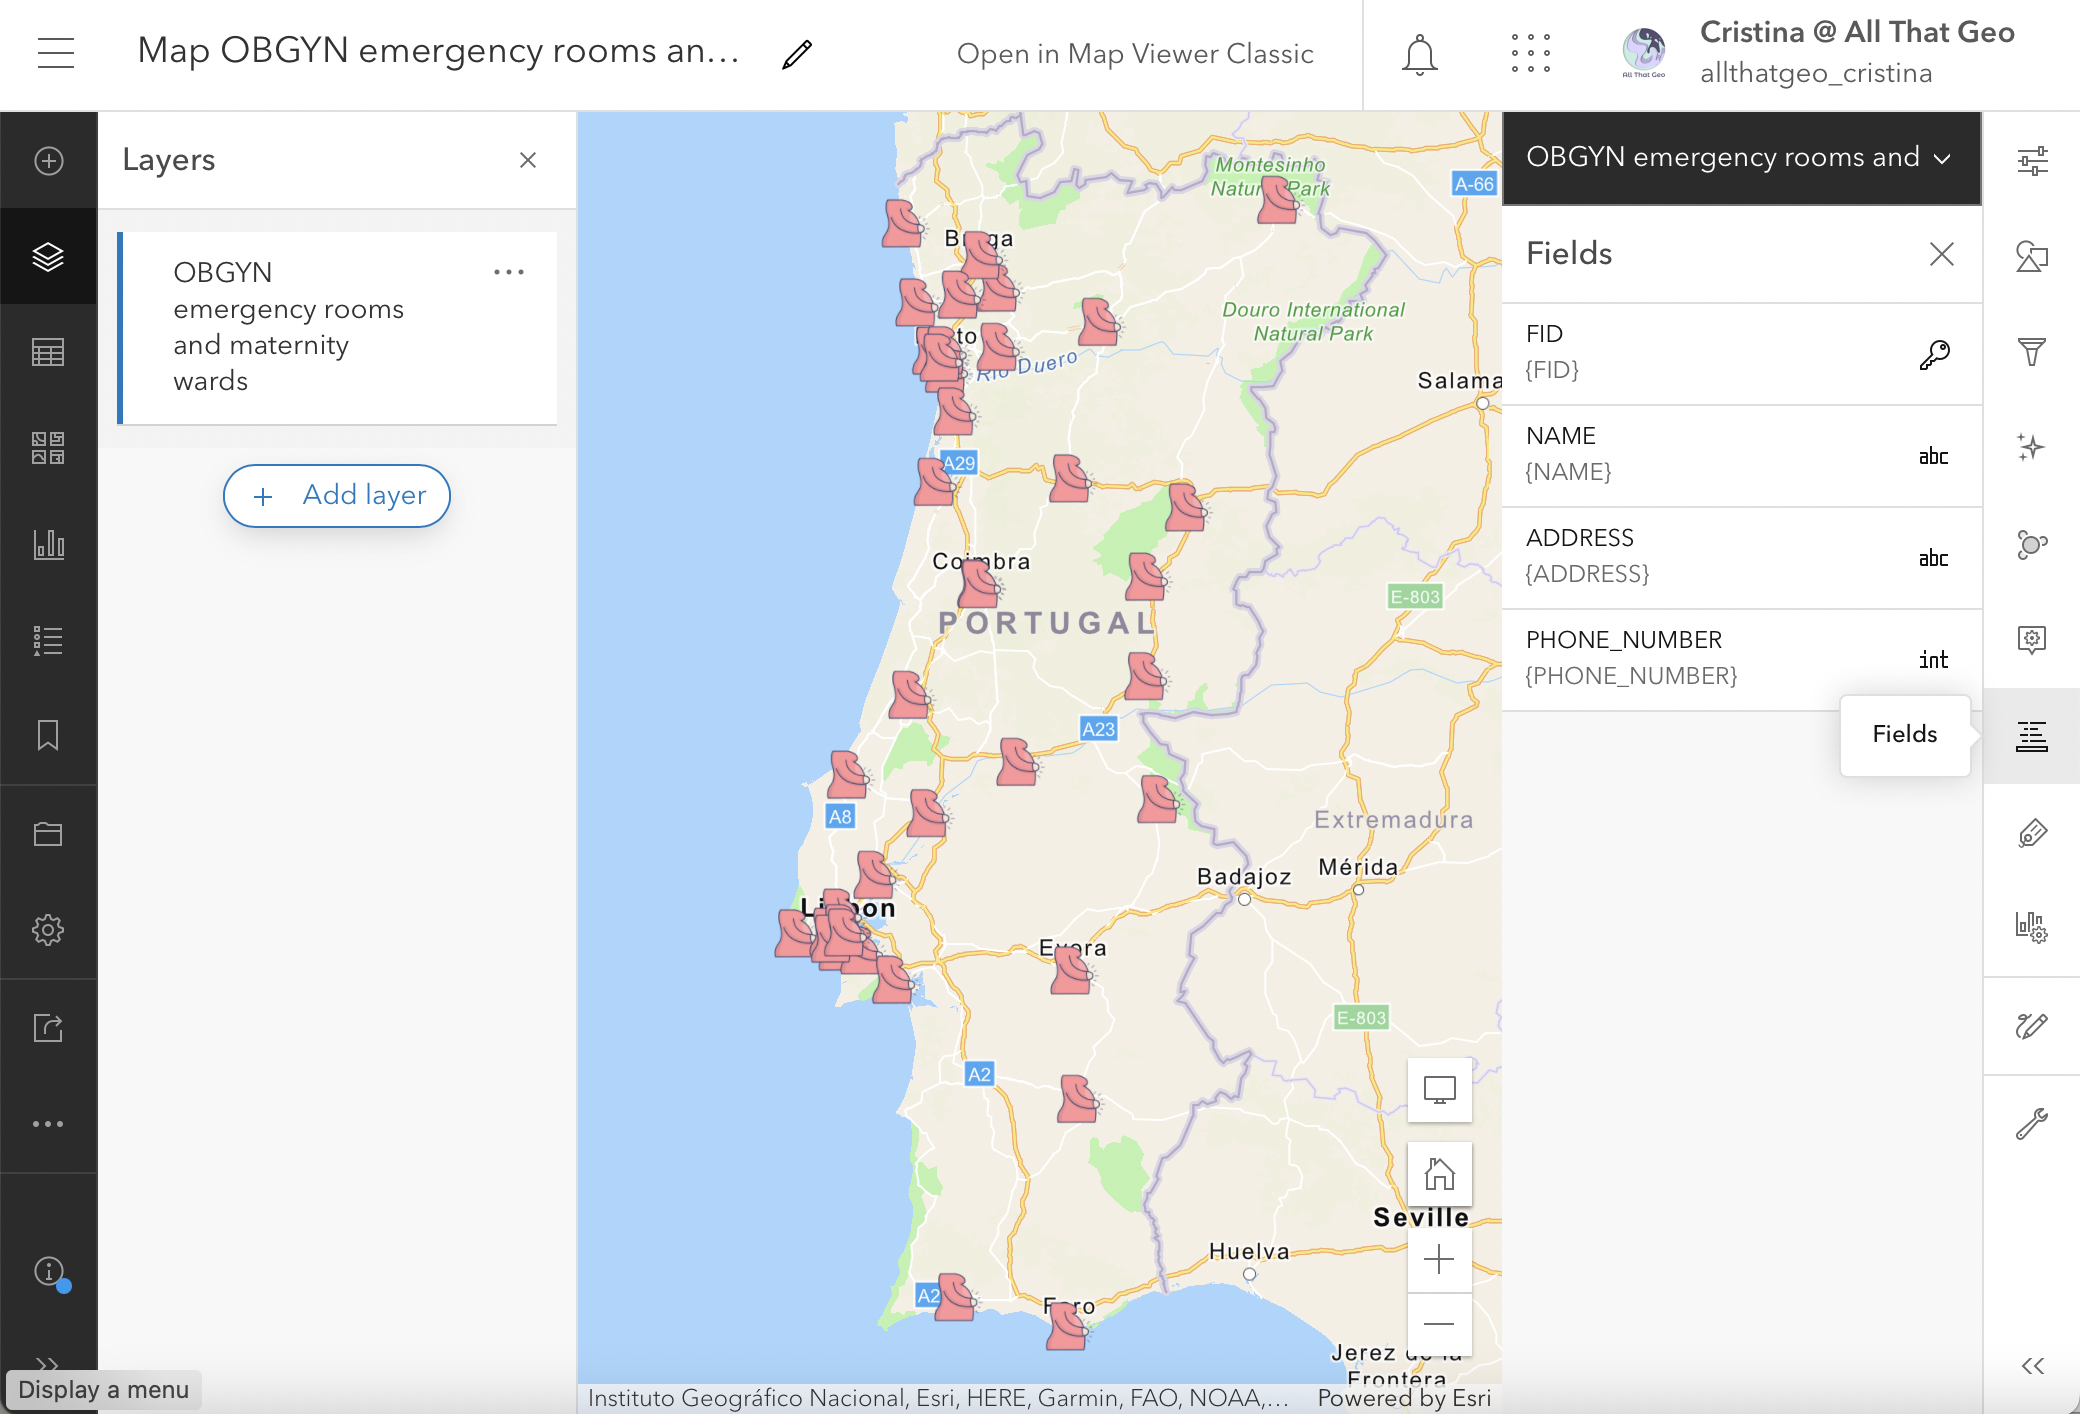
Select PHONE_NUMBER and remove the underscore from the Display name. Also, turn off the Show thousands separator. Click Done.
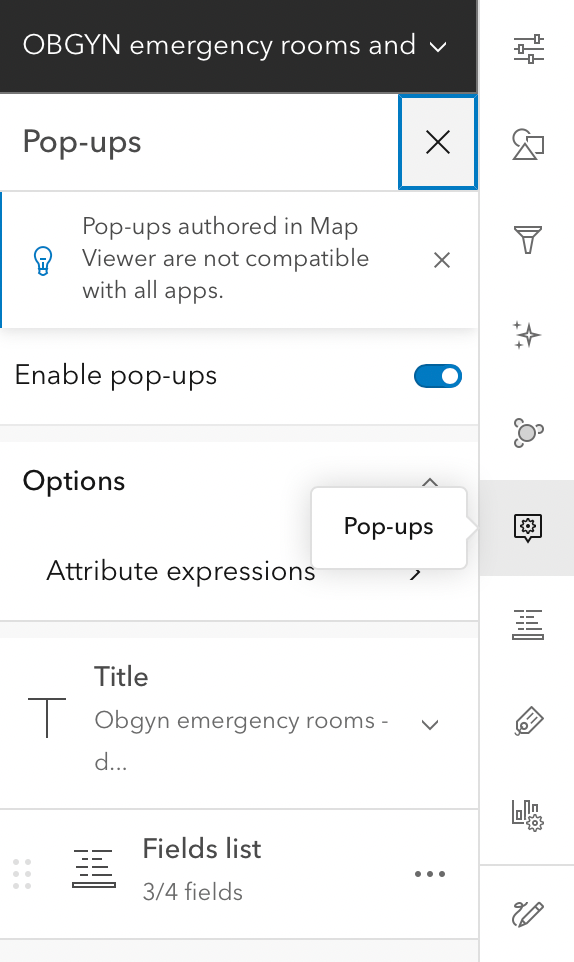
Now click on Pop-ups (on the right). Make sure they are enabled.
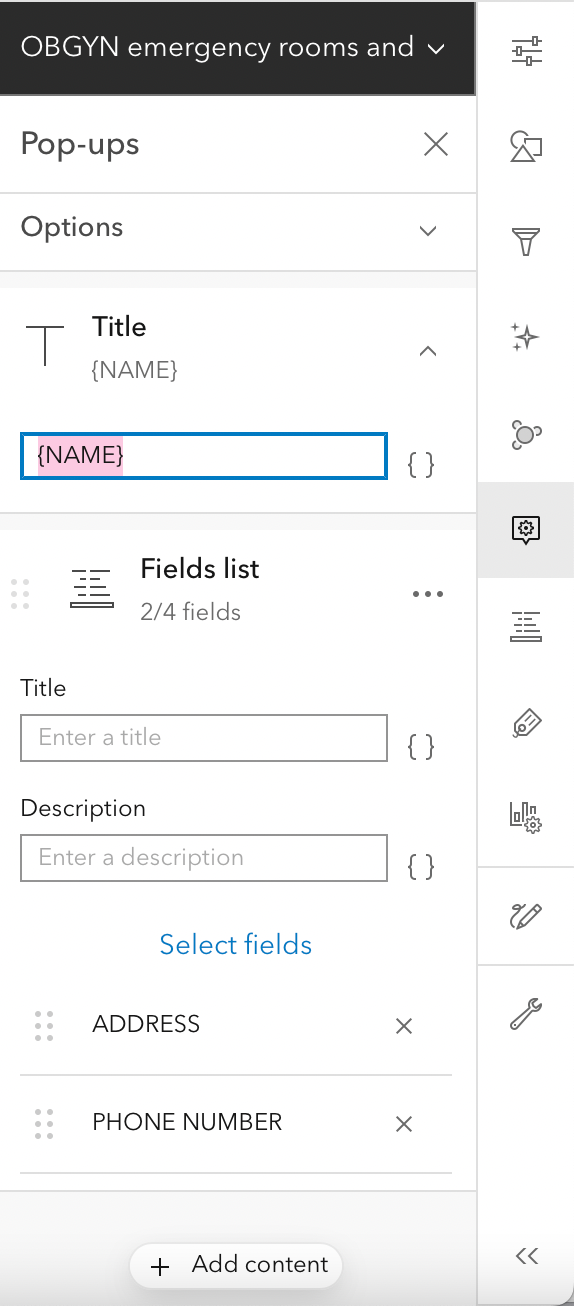
Under Options > Title, clear the existing text and get the attribute NAME from the list {}. Then, remove the attribute NAME from the Fields list.
Save the app after customising the appearance of field names and pop-ups.
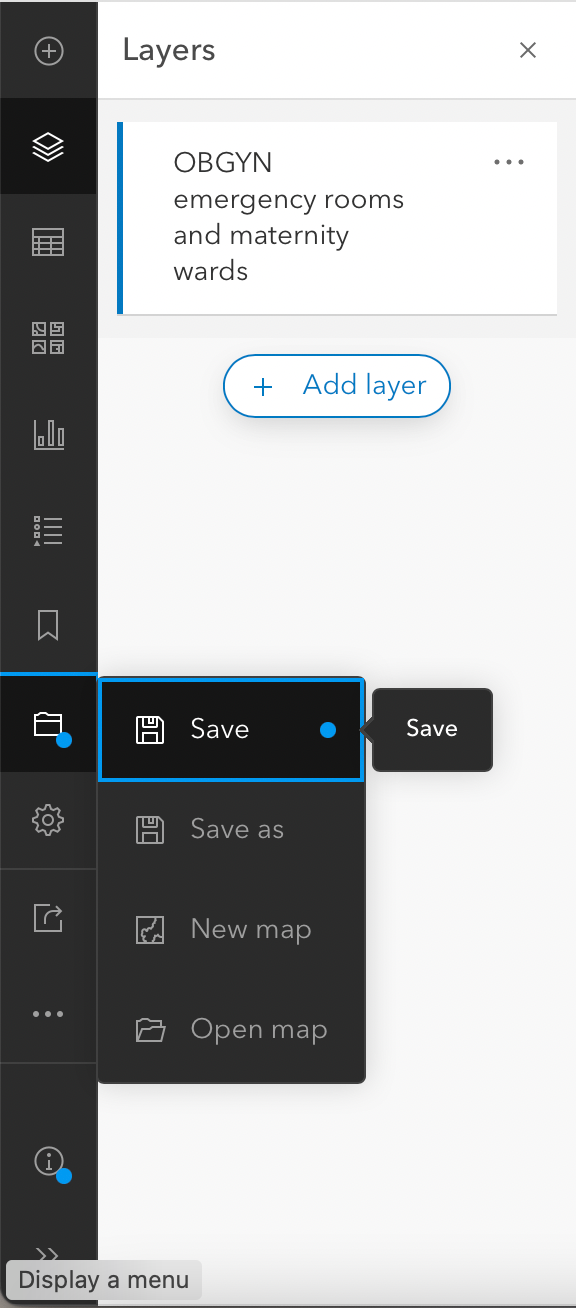
The map is now ready to be used in the app! Go back to Content.
3.2 Build an app
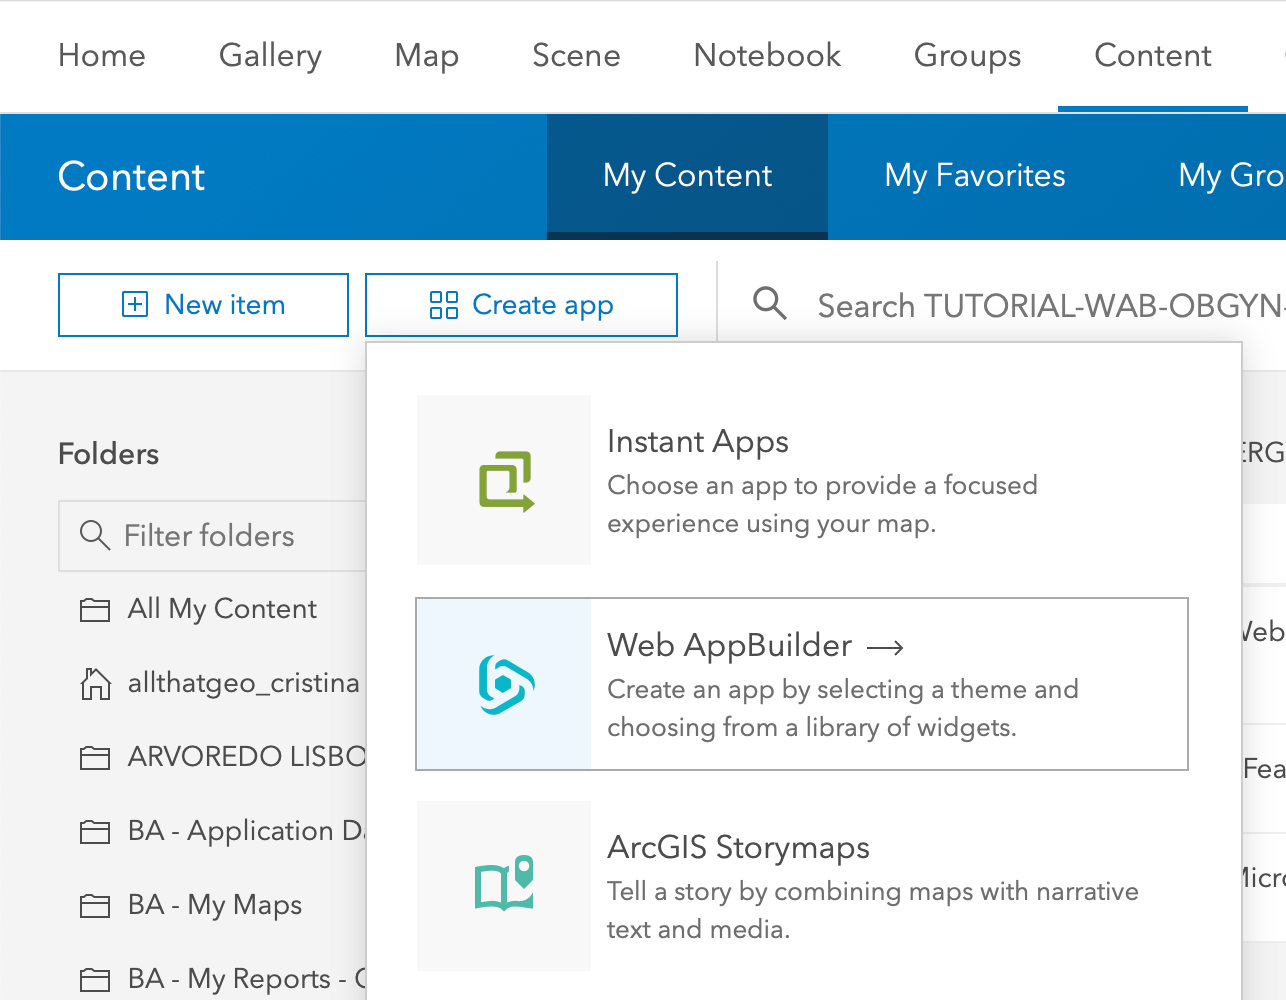
In My Content, click on Create app.
Choose Web AppBuilder.
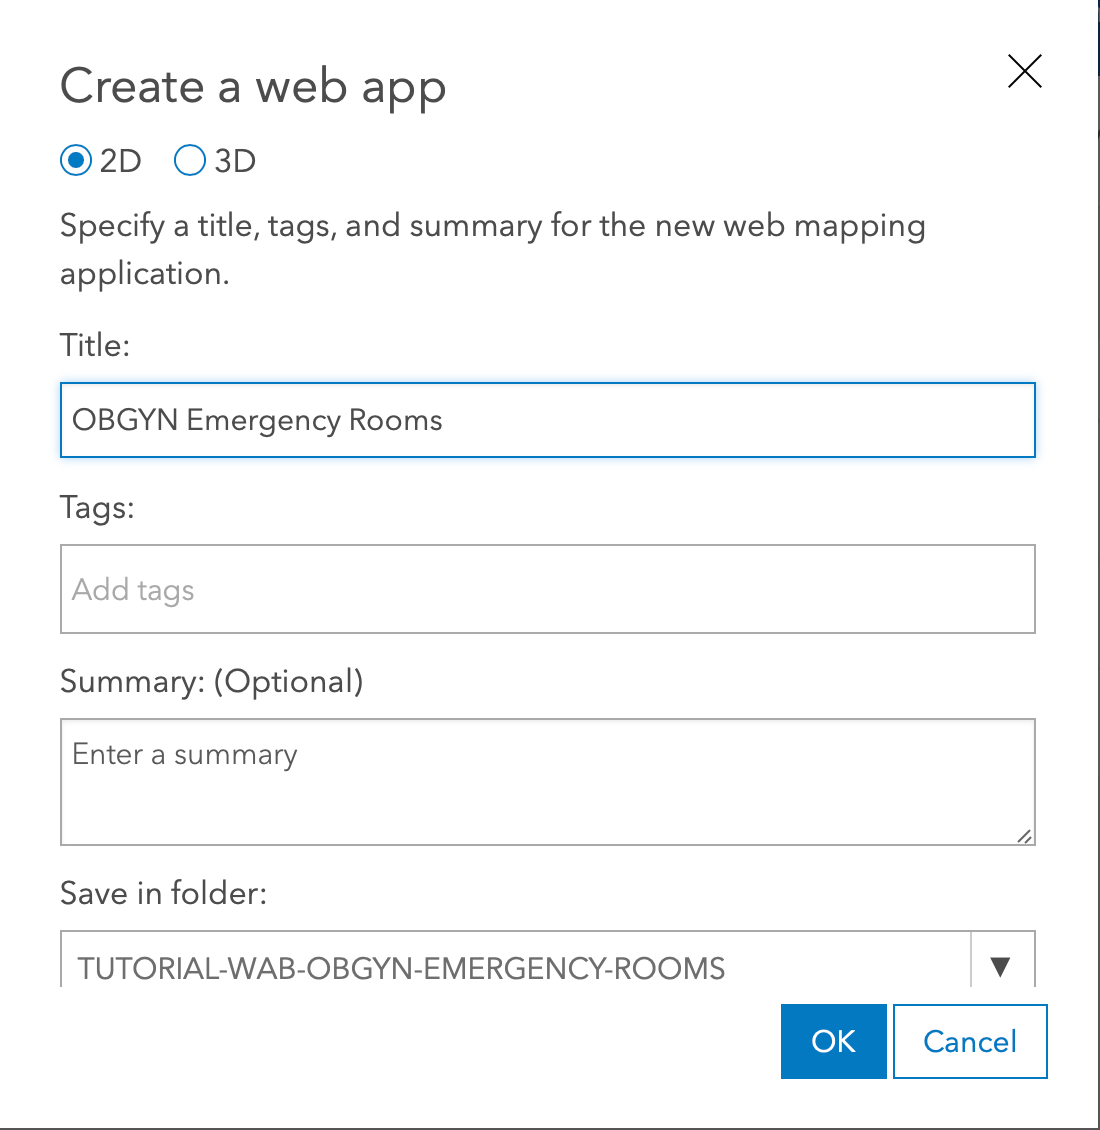
Give it a Title, e.g. OBGYN Emergency Rooms, and save it in your chosen folder. Hit OK.
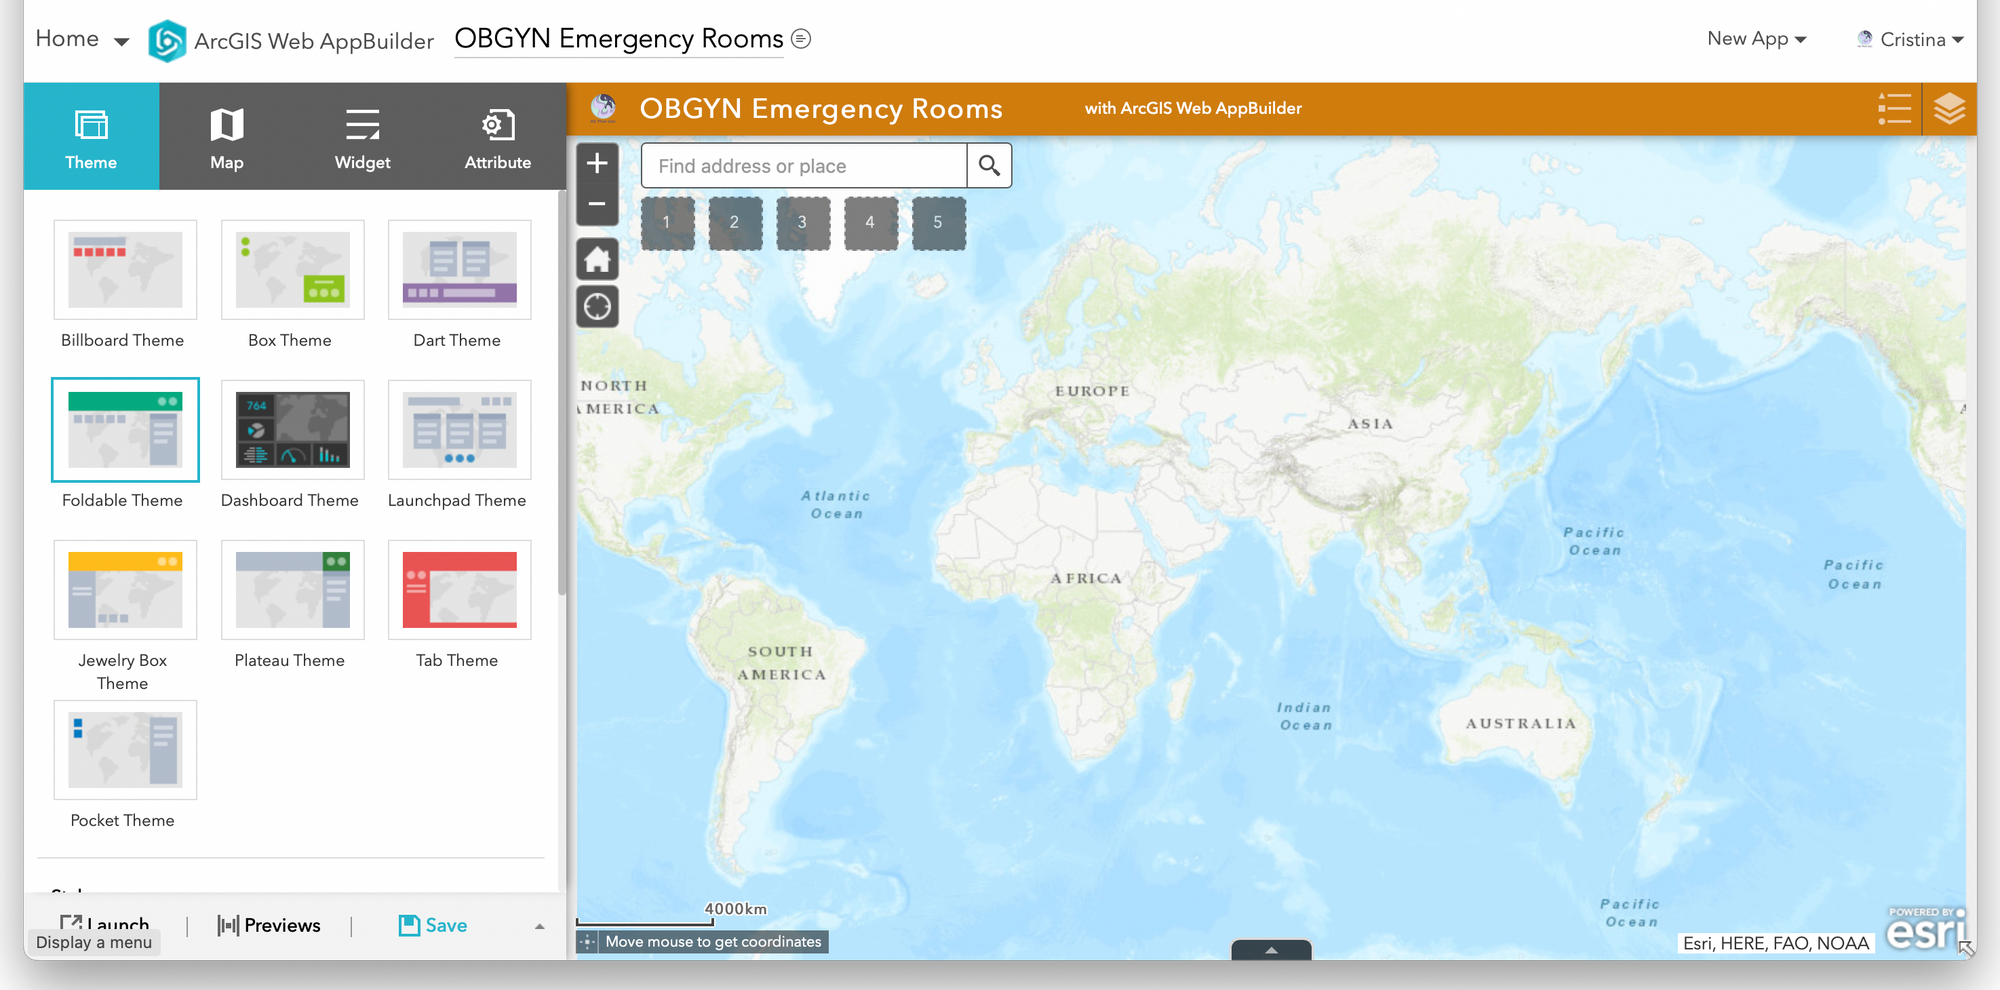
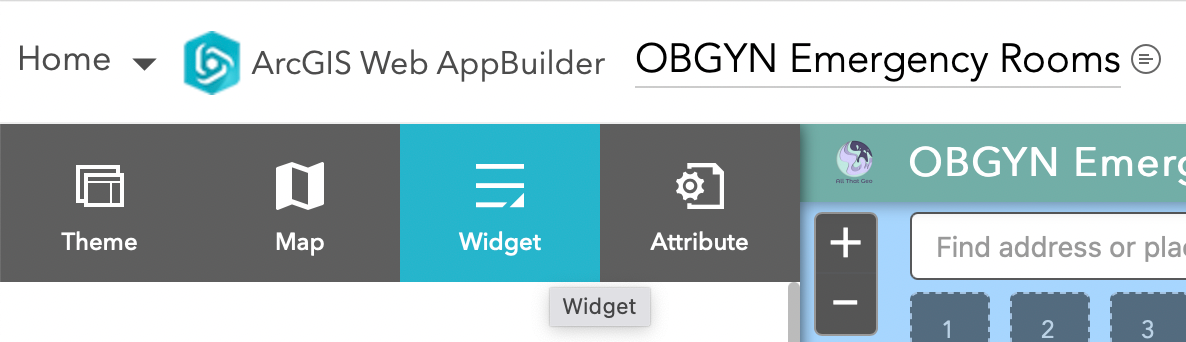
You are taken to the builder interface. Notice the four different tabs on the left:
- Theme
- Map
- Widget
- Attribute
We're going to customise the app one tab at a time.
Theme configuration
In Theme, you can choose from different themes for your app. We'll keep the current one, Foldable Theme.
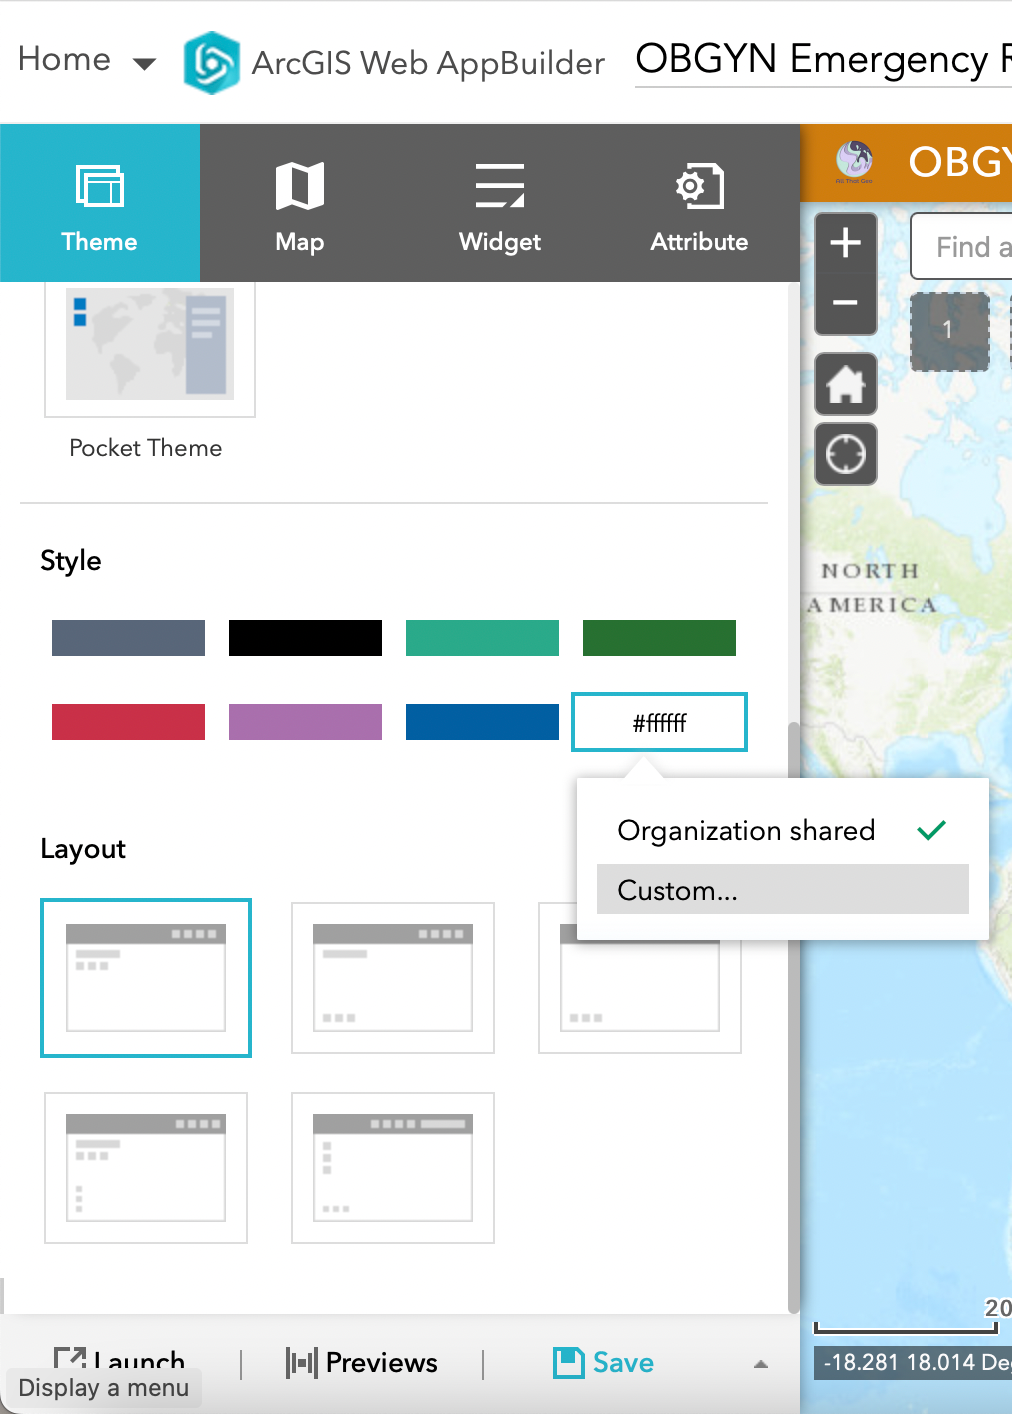
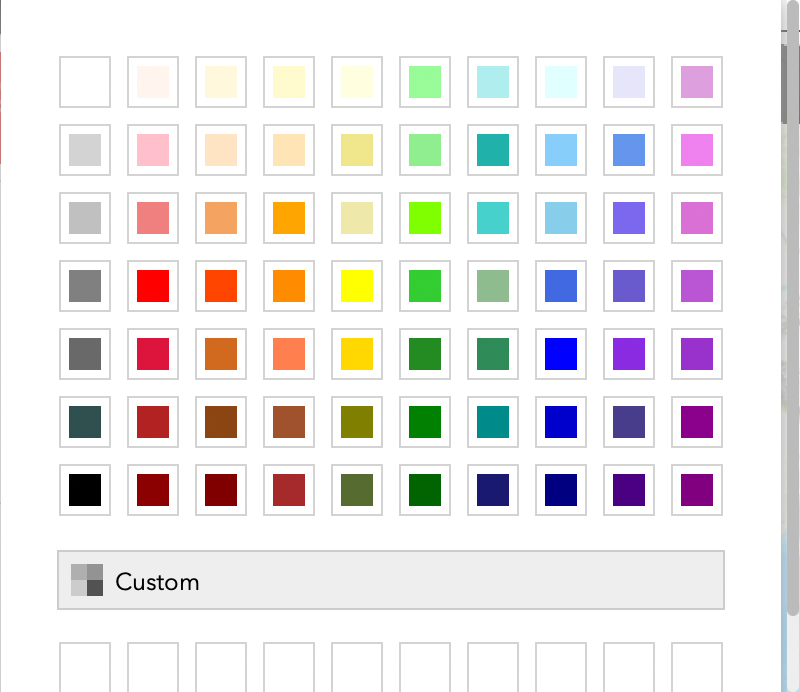
Scroll down, and you'll find, under style, different colours to choose from. I've already retrieved a colour (#72aea7) that goes well with the map symbology. If you, too, want to give the theme a specific colour, click on the last option and choose Custom...
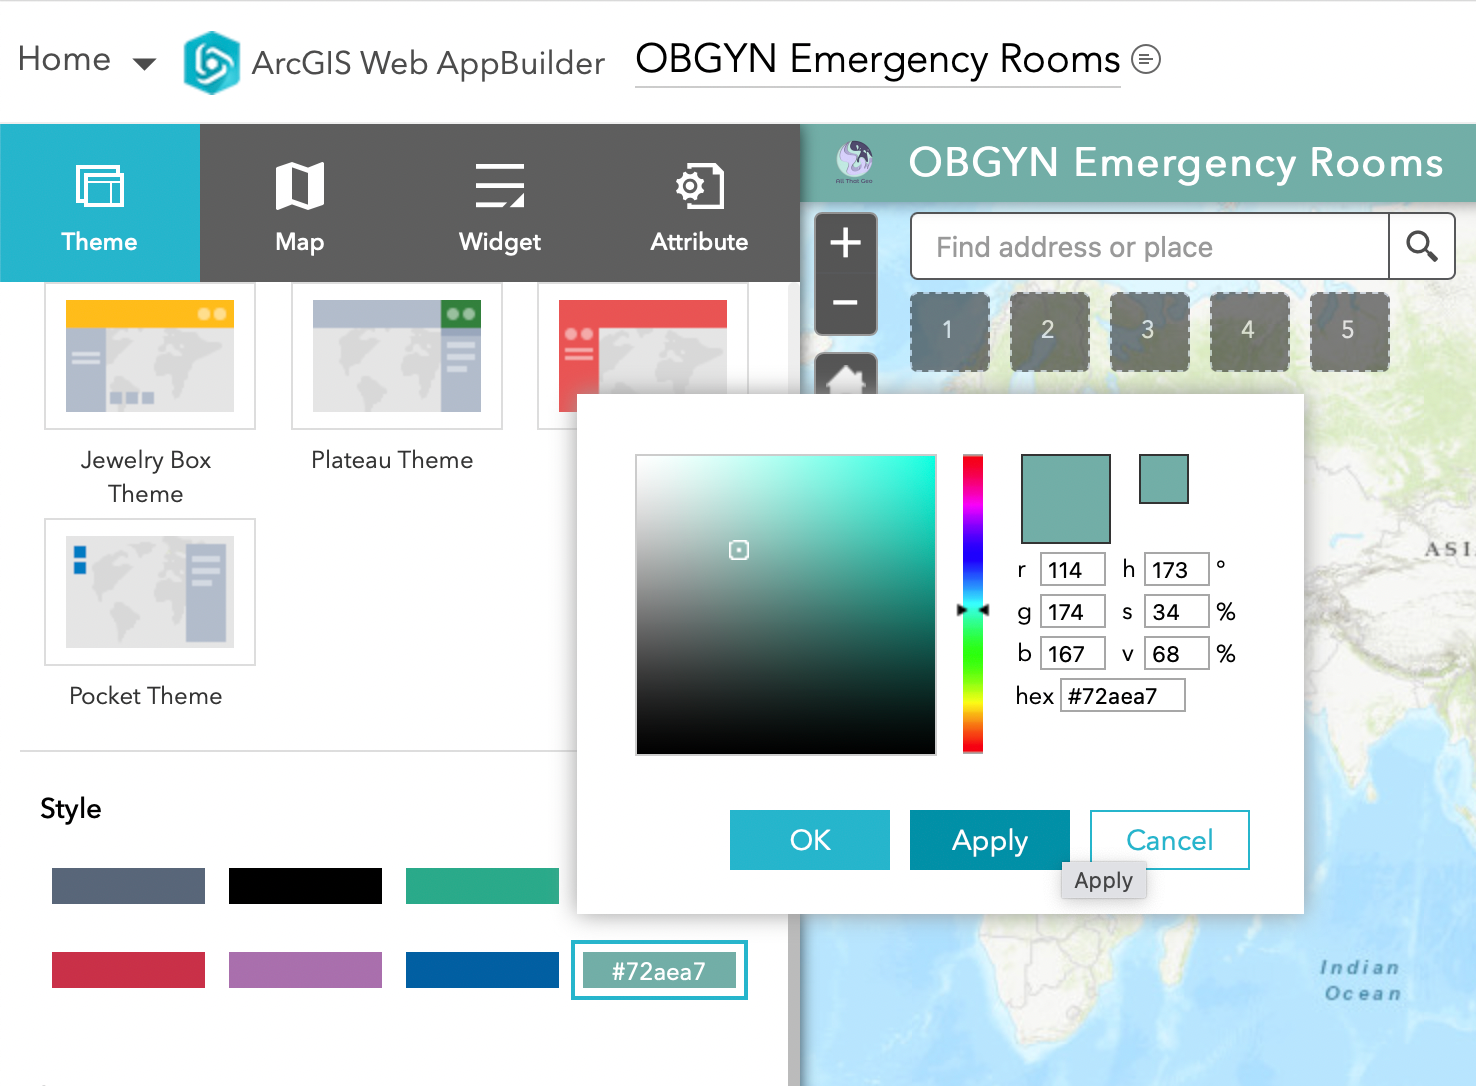
Click on Custom again and enter your colour. Click Apply to test it, then OK.

Map configuration
Let's now move to the second tab, Map. This is where you point the app to the desired map. Click on Choose web map.
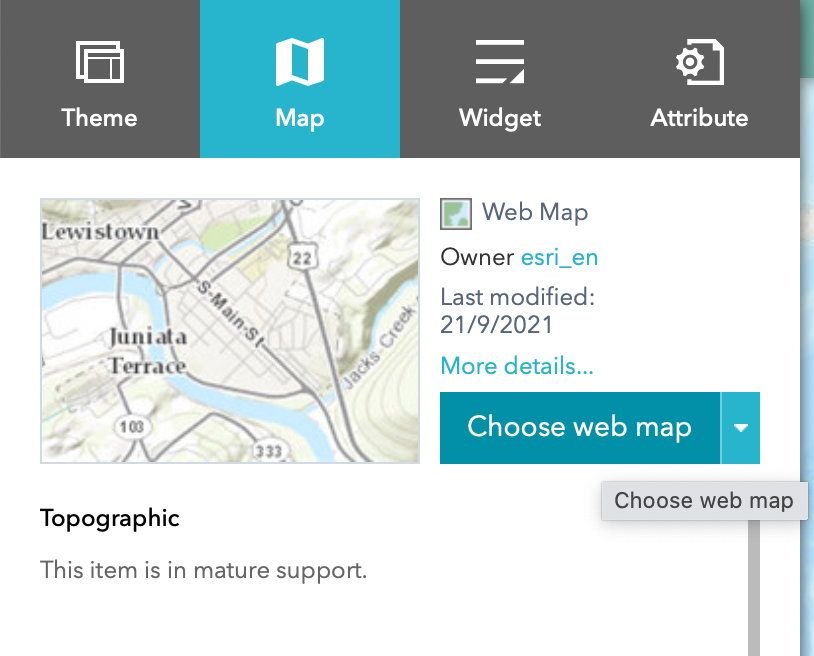
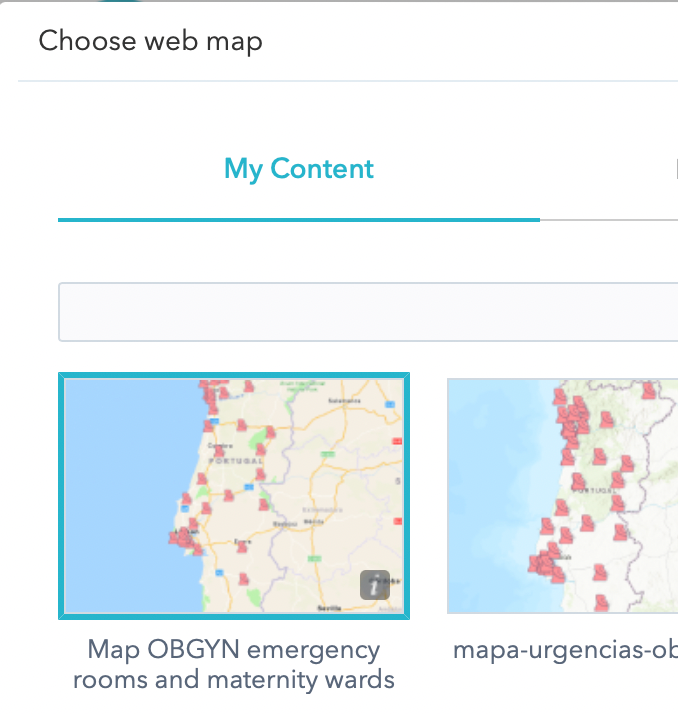
Find the Map OBGYN emergency rooms and maternity wards from My Content. Click OK.
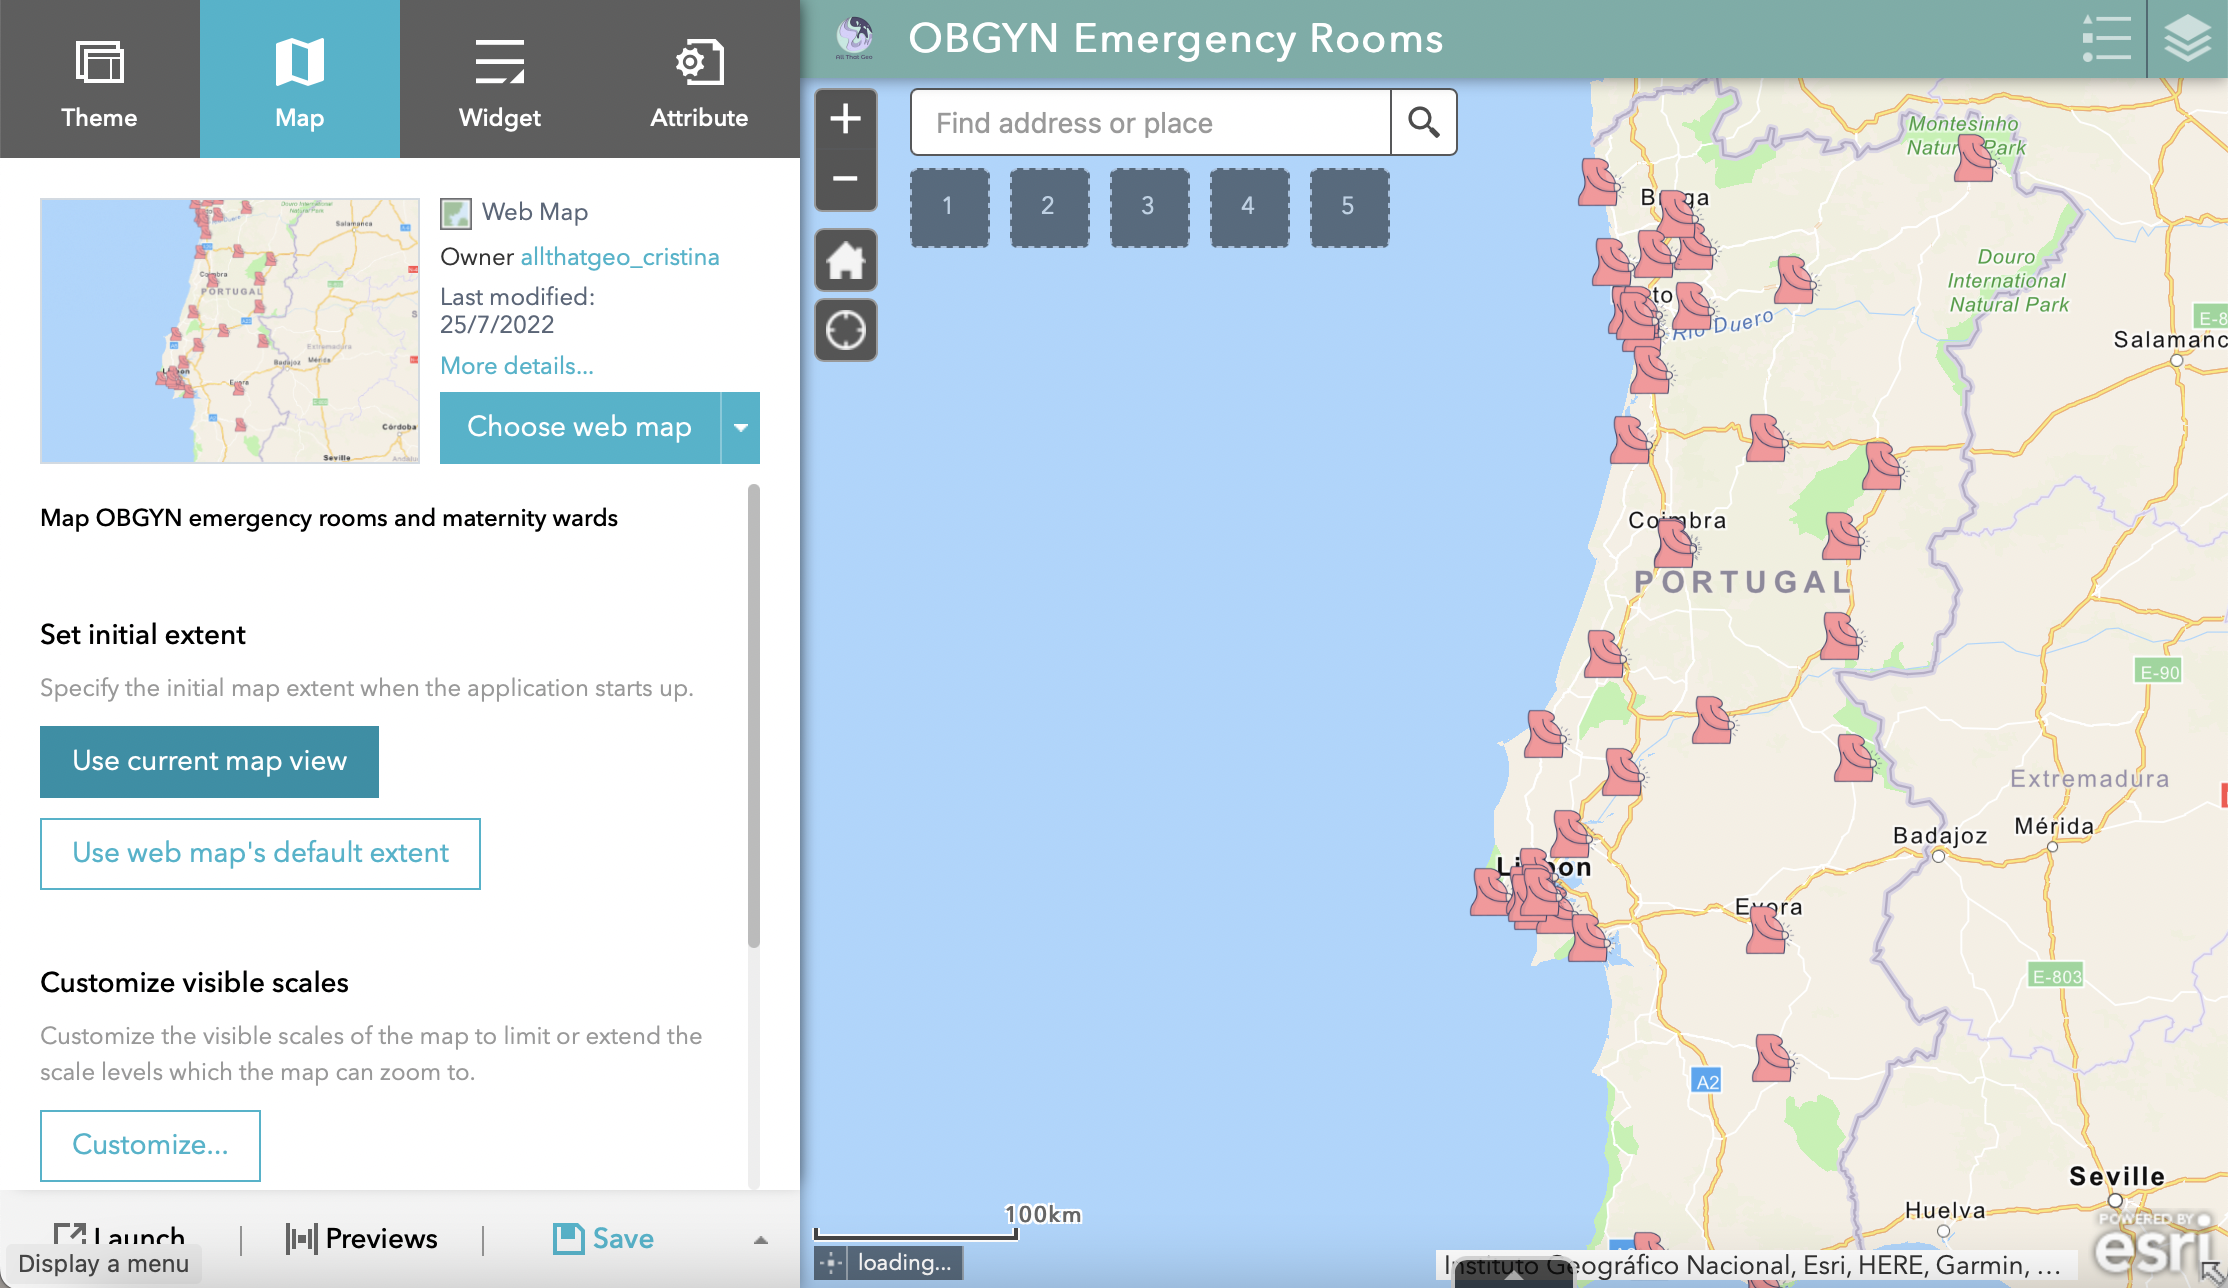
Now that we're halfway through the app's configuration hit Save (bottom of the page).
Widget configuration: Near me
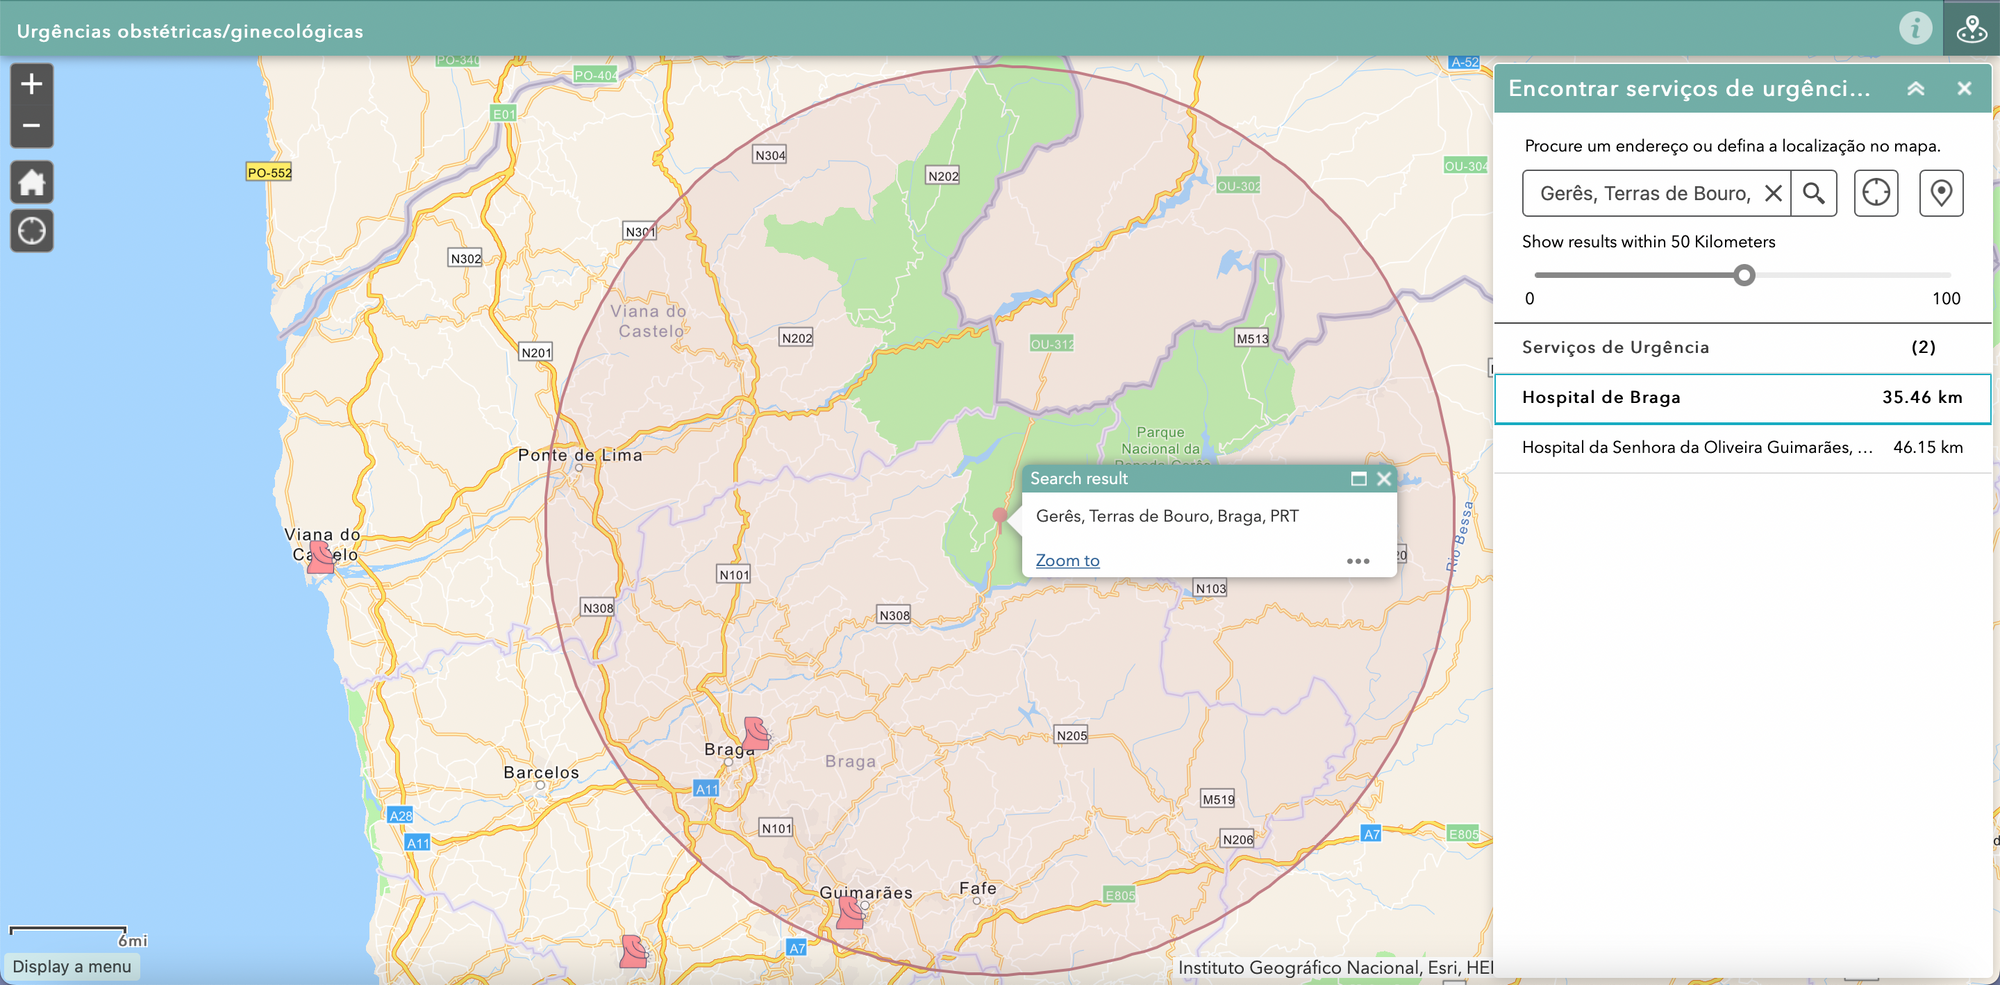
Remember the idea behind this app? We want to show the nearest service to any given point on the map. So that is why we're going to use the Near Me widget.
Let's move on to the Widget tab.
Click on Set the widgets in this controller.
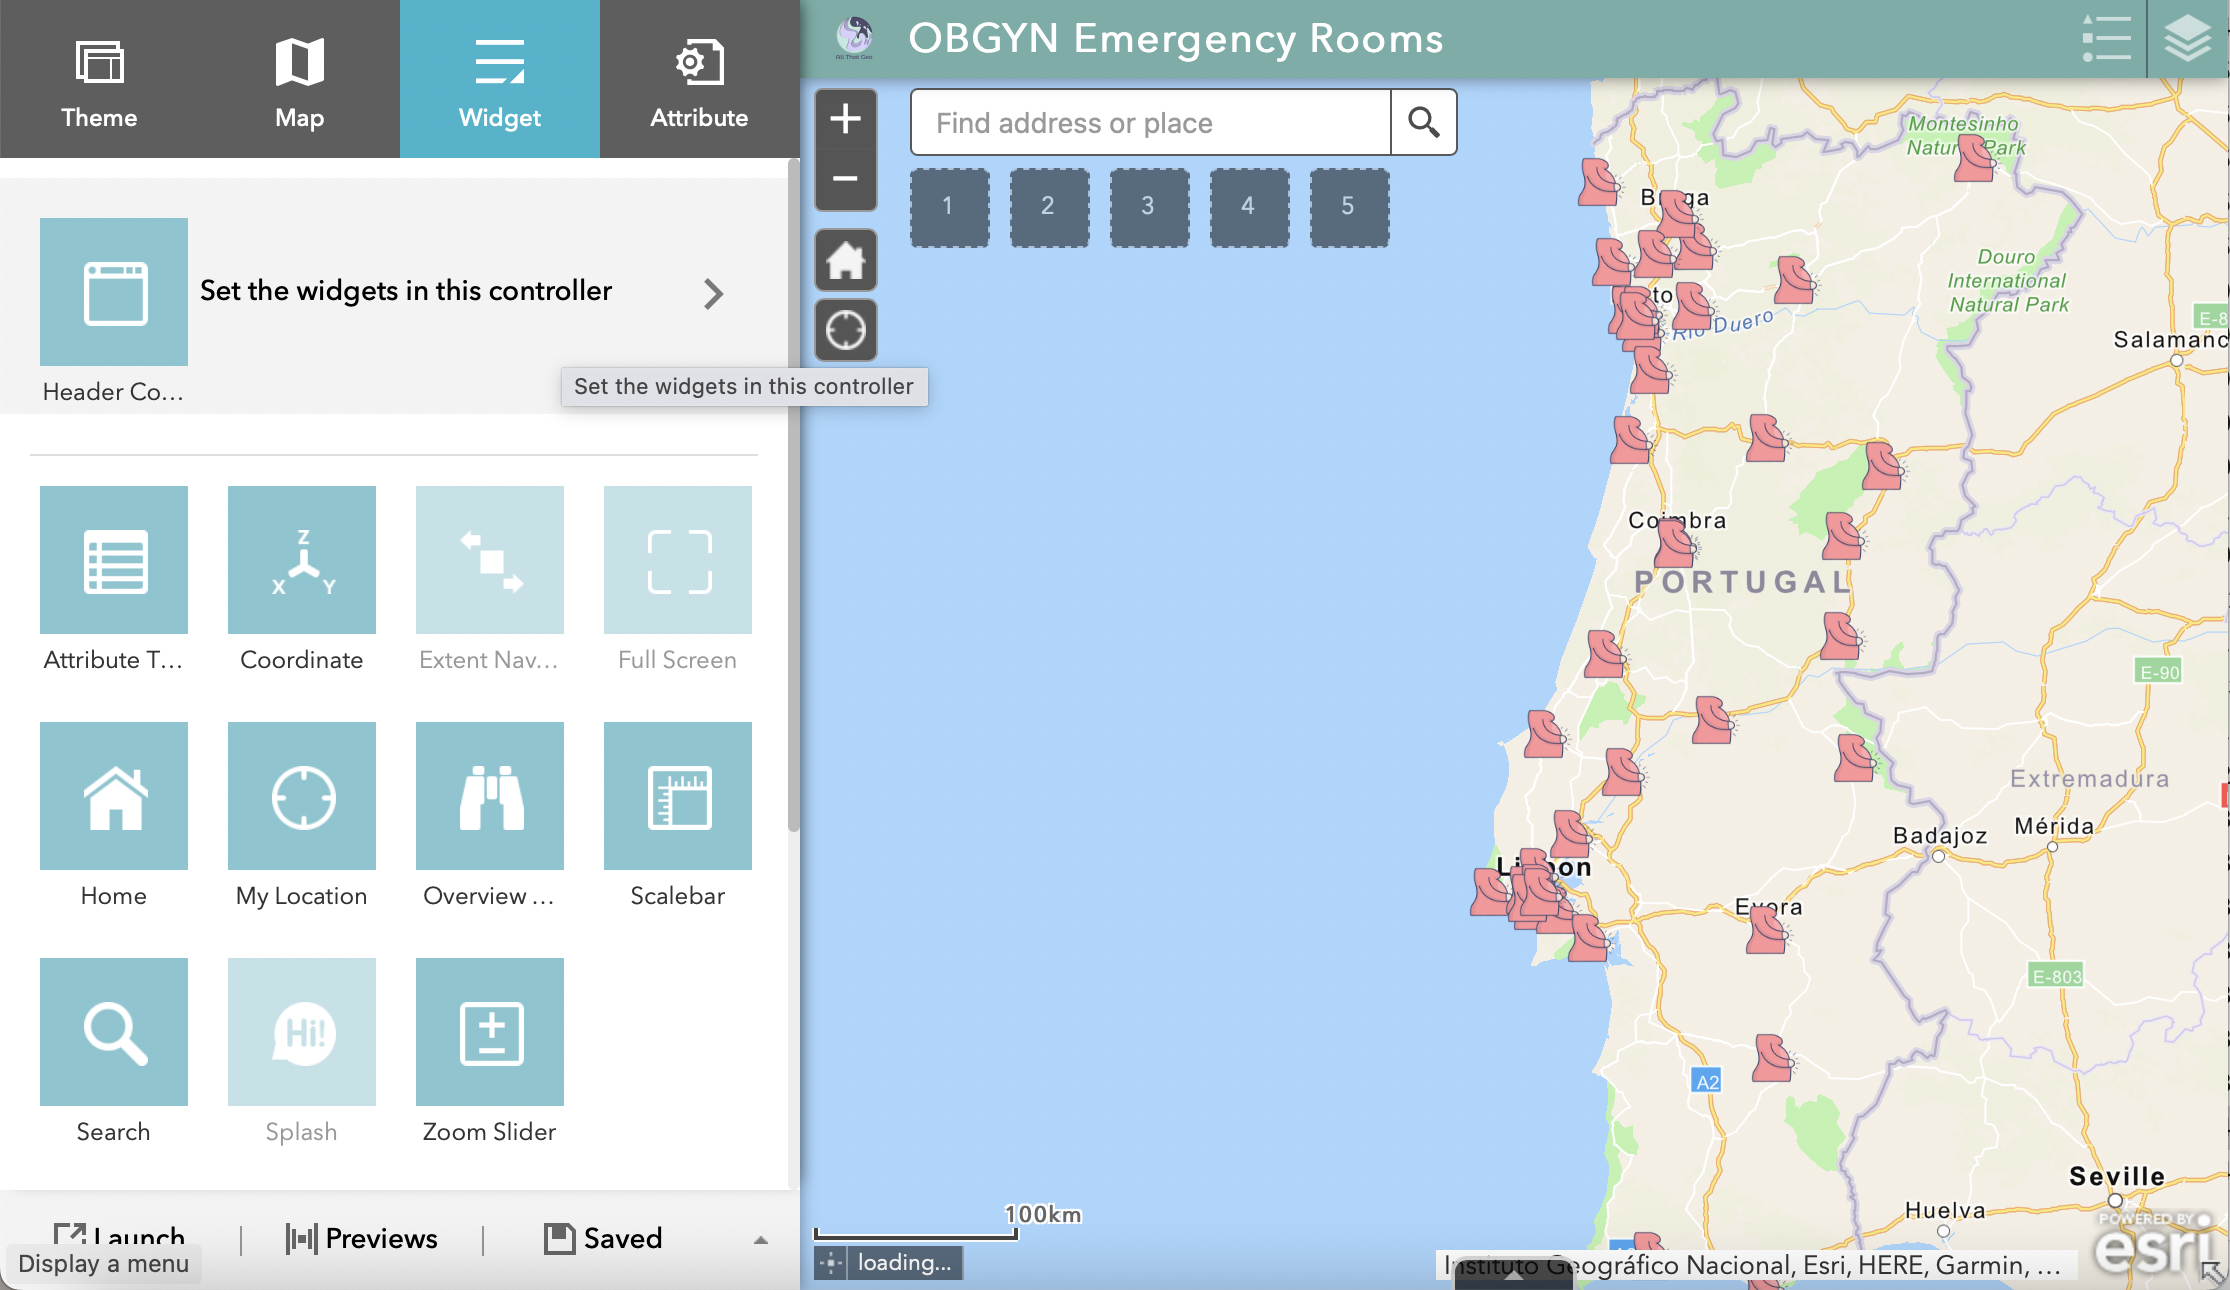
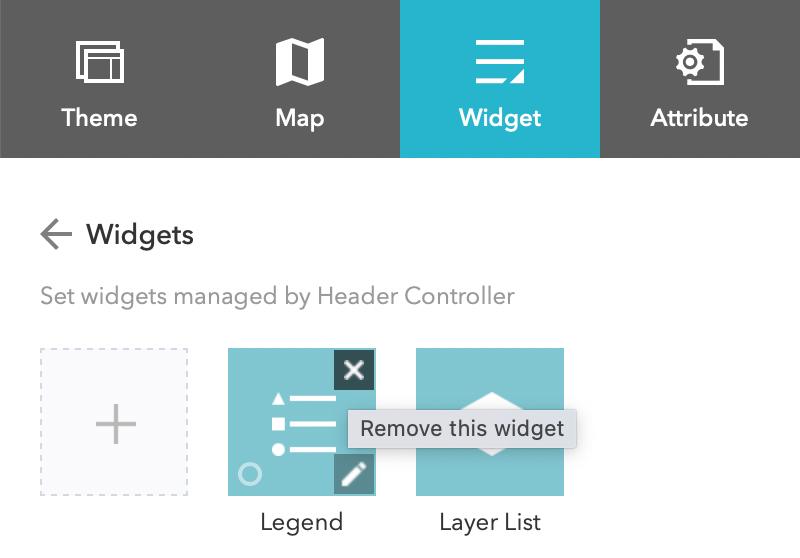
We're removing the existing widgets and adding new ones. To remove the two widgets, click on the X for both. When asked if you're sure you want to remove this widget, click OK.
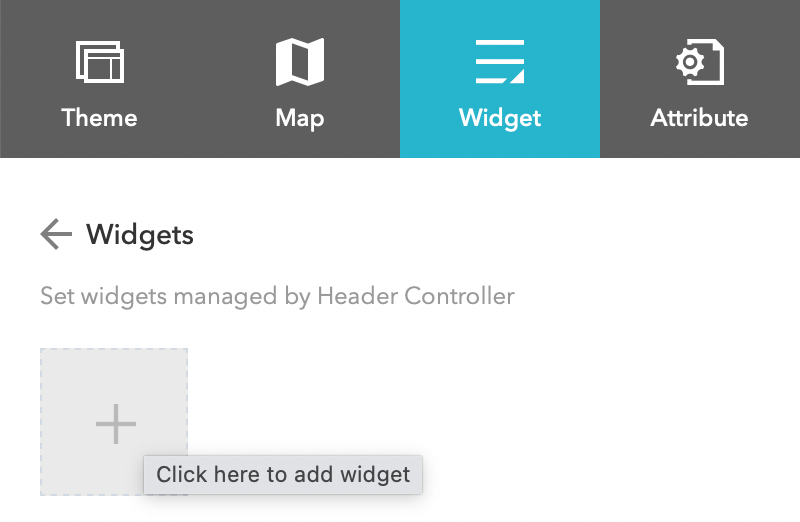
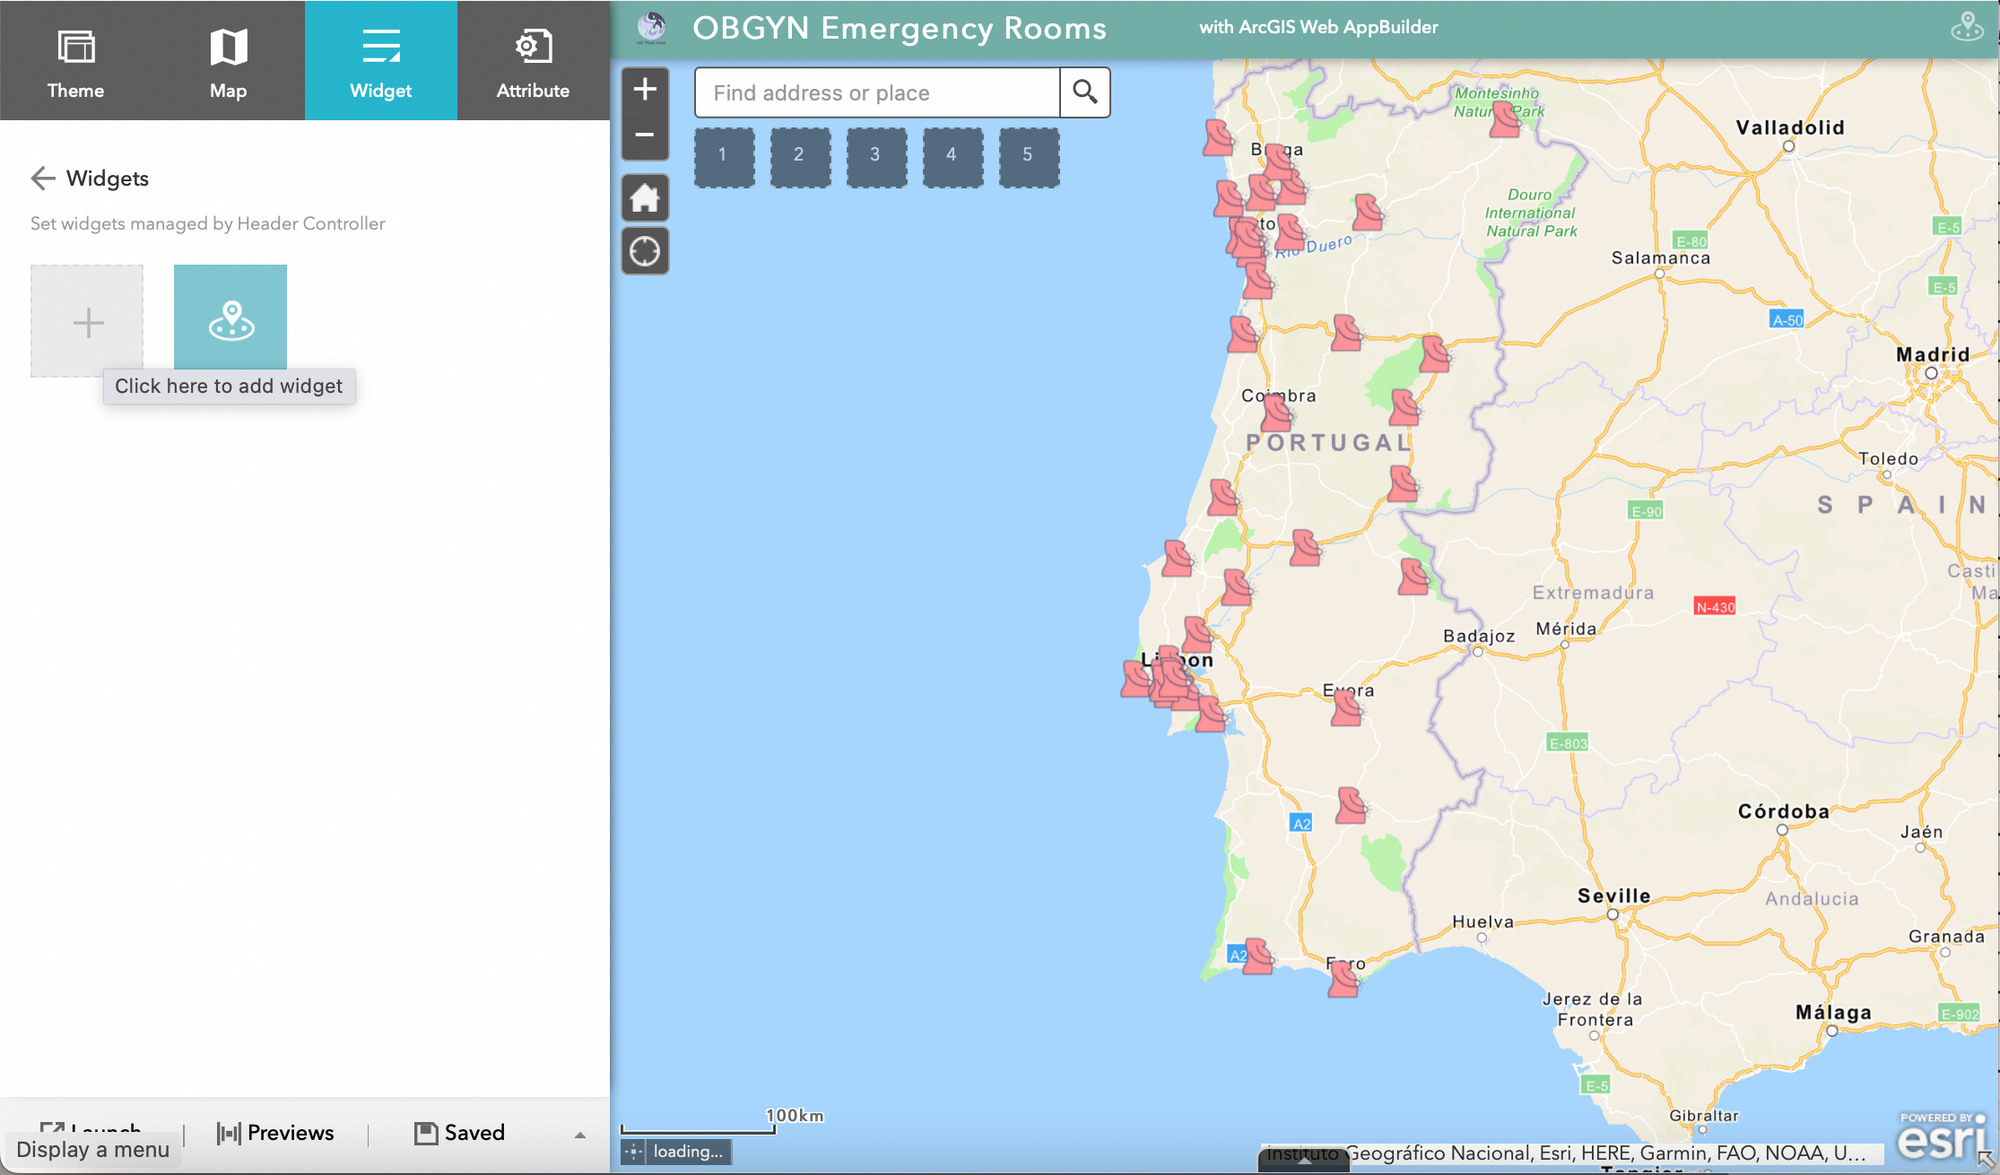
Now that we have a clean slate let's add our widgets. First, click on the + sign.
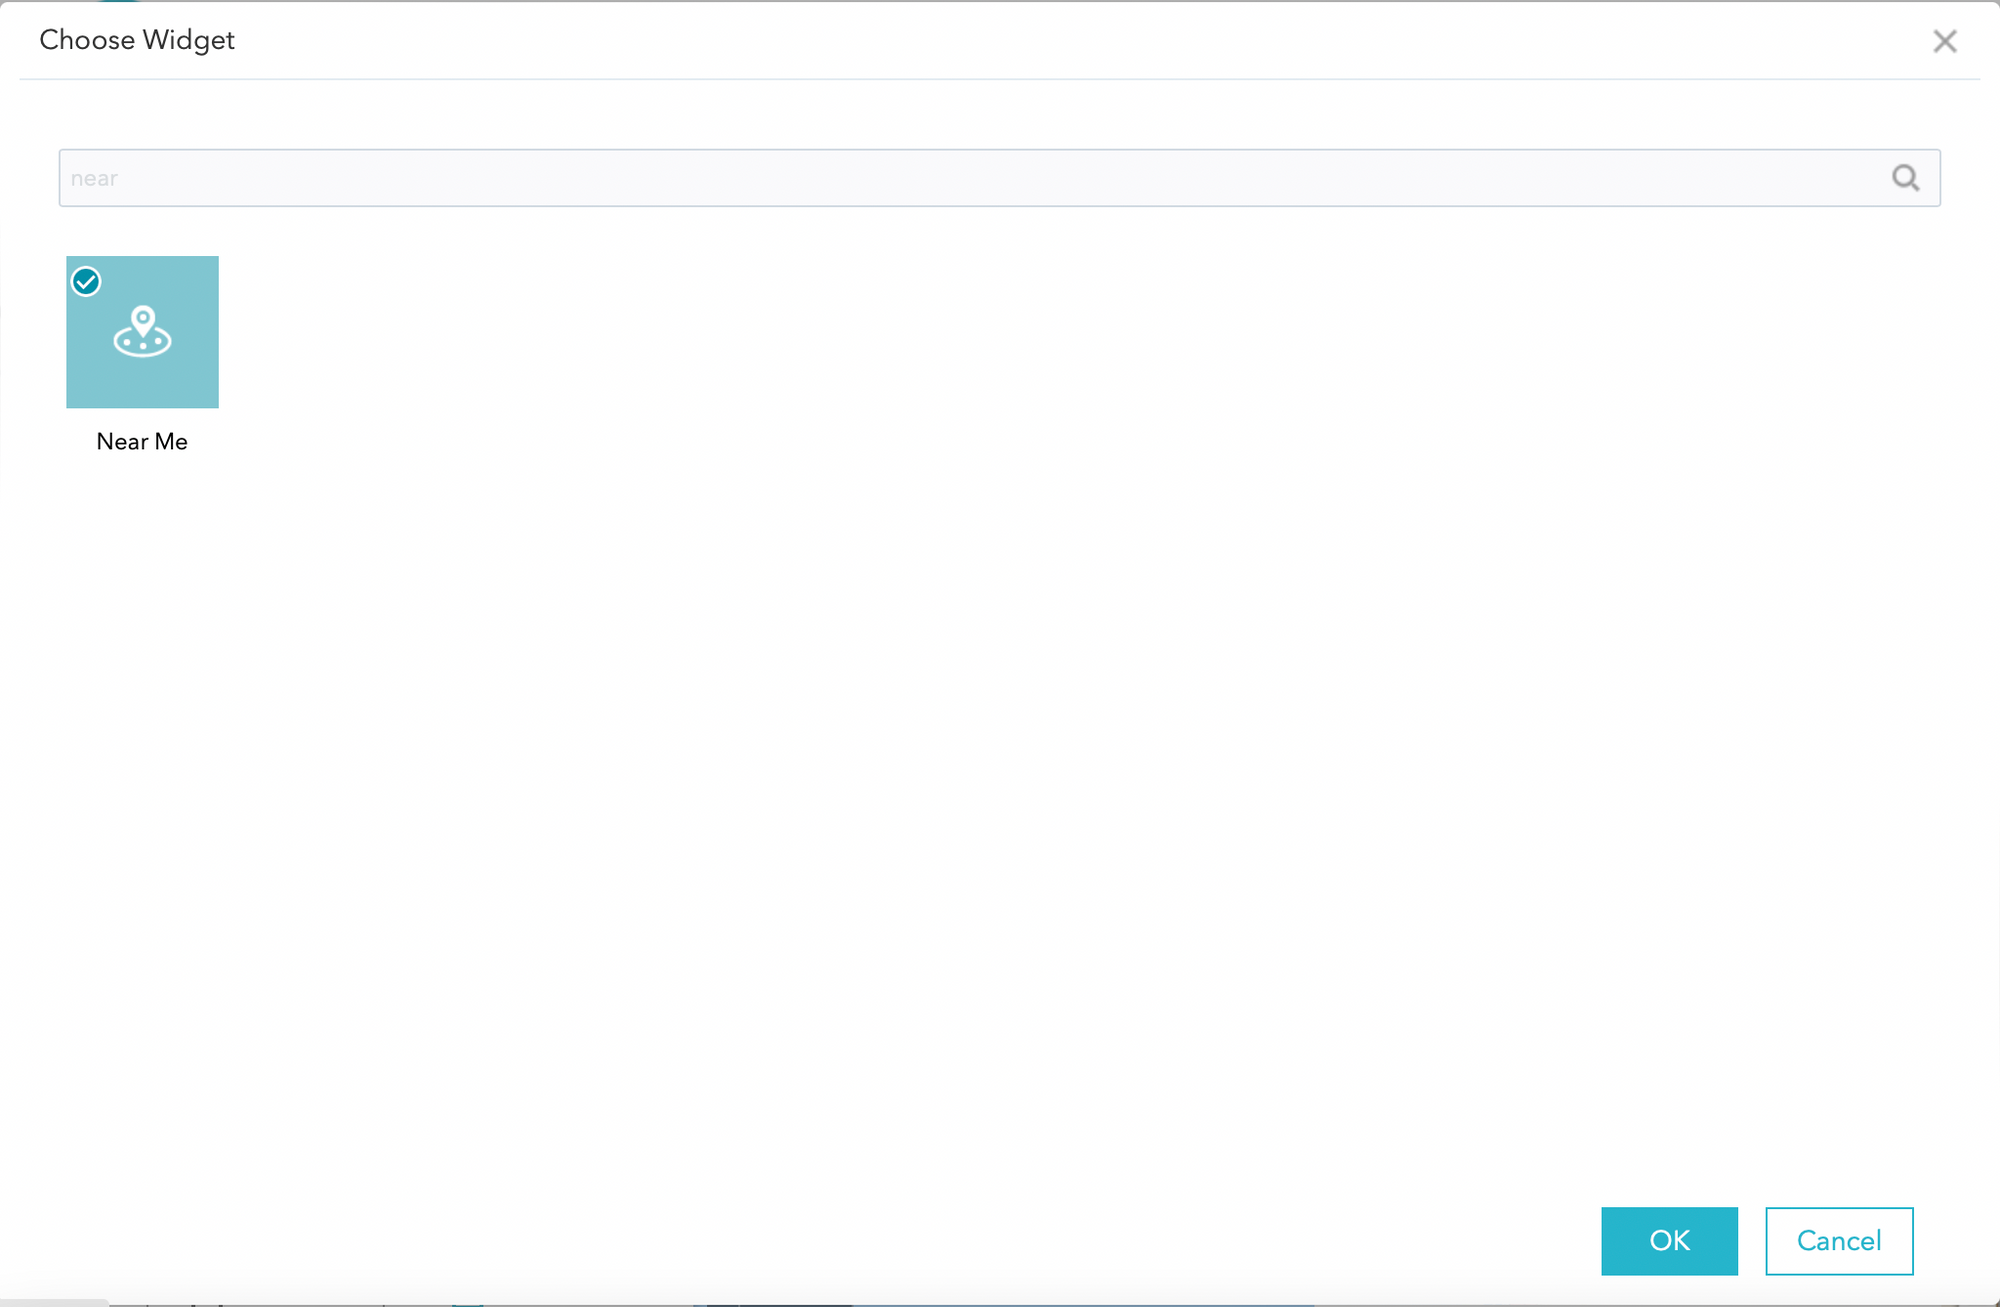
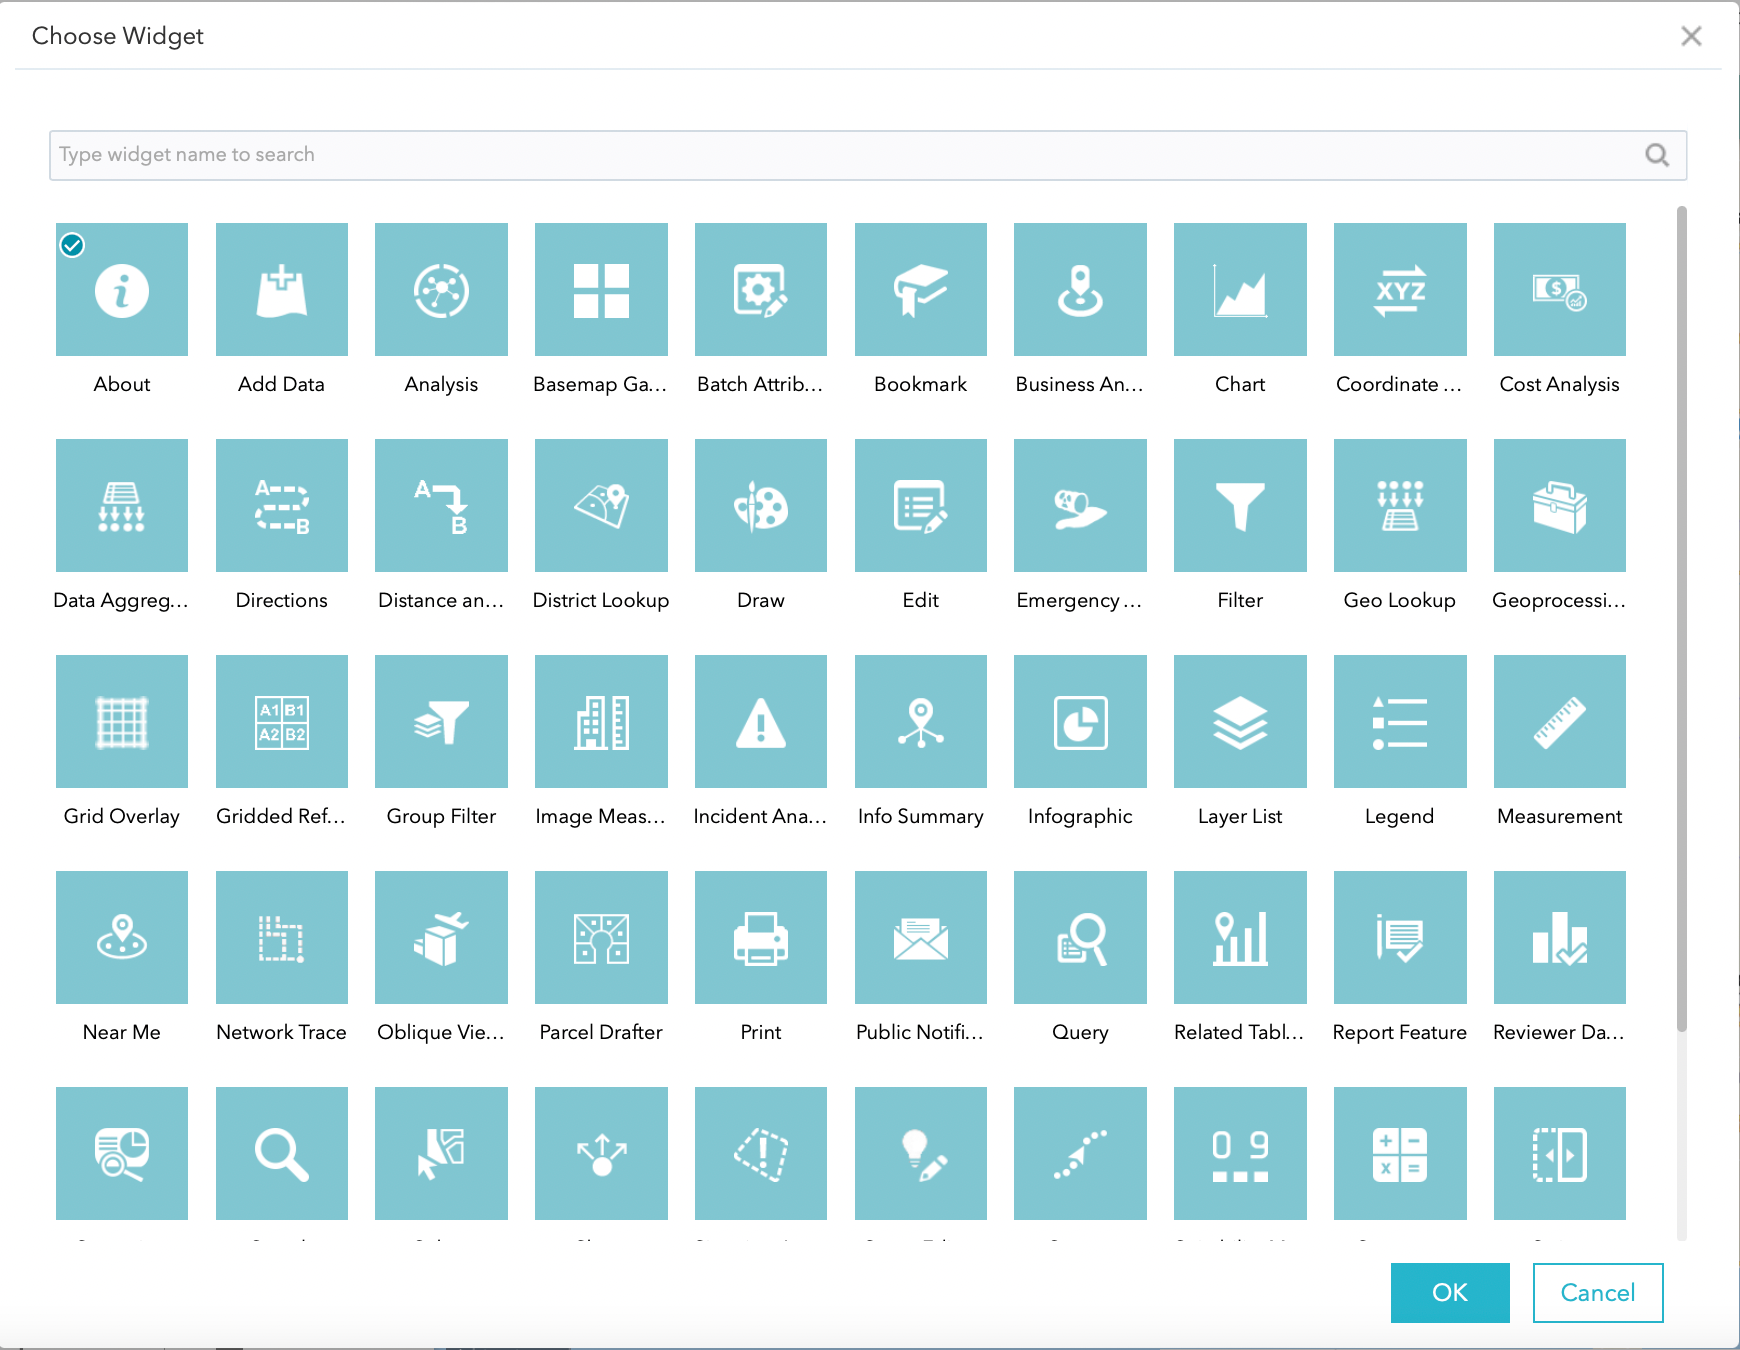
You're presented with a long list of options!
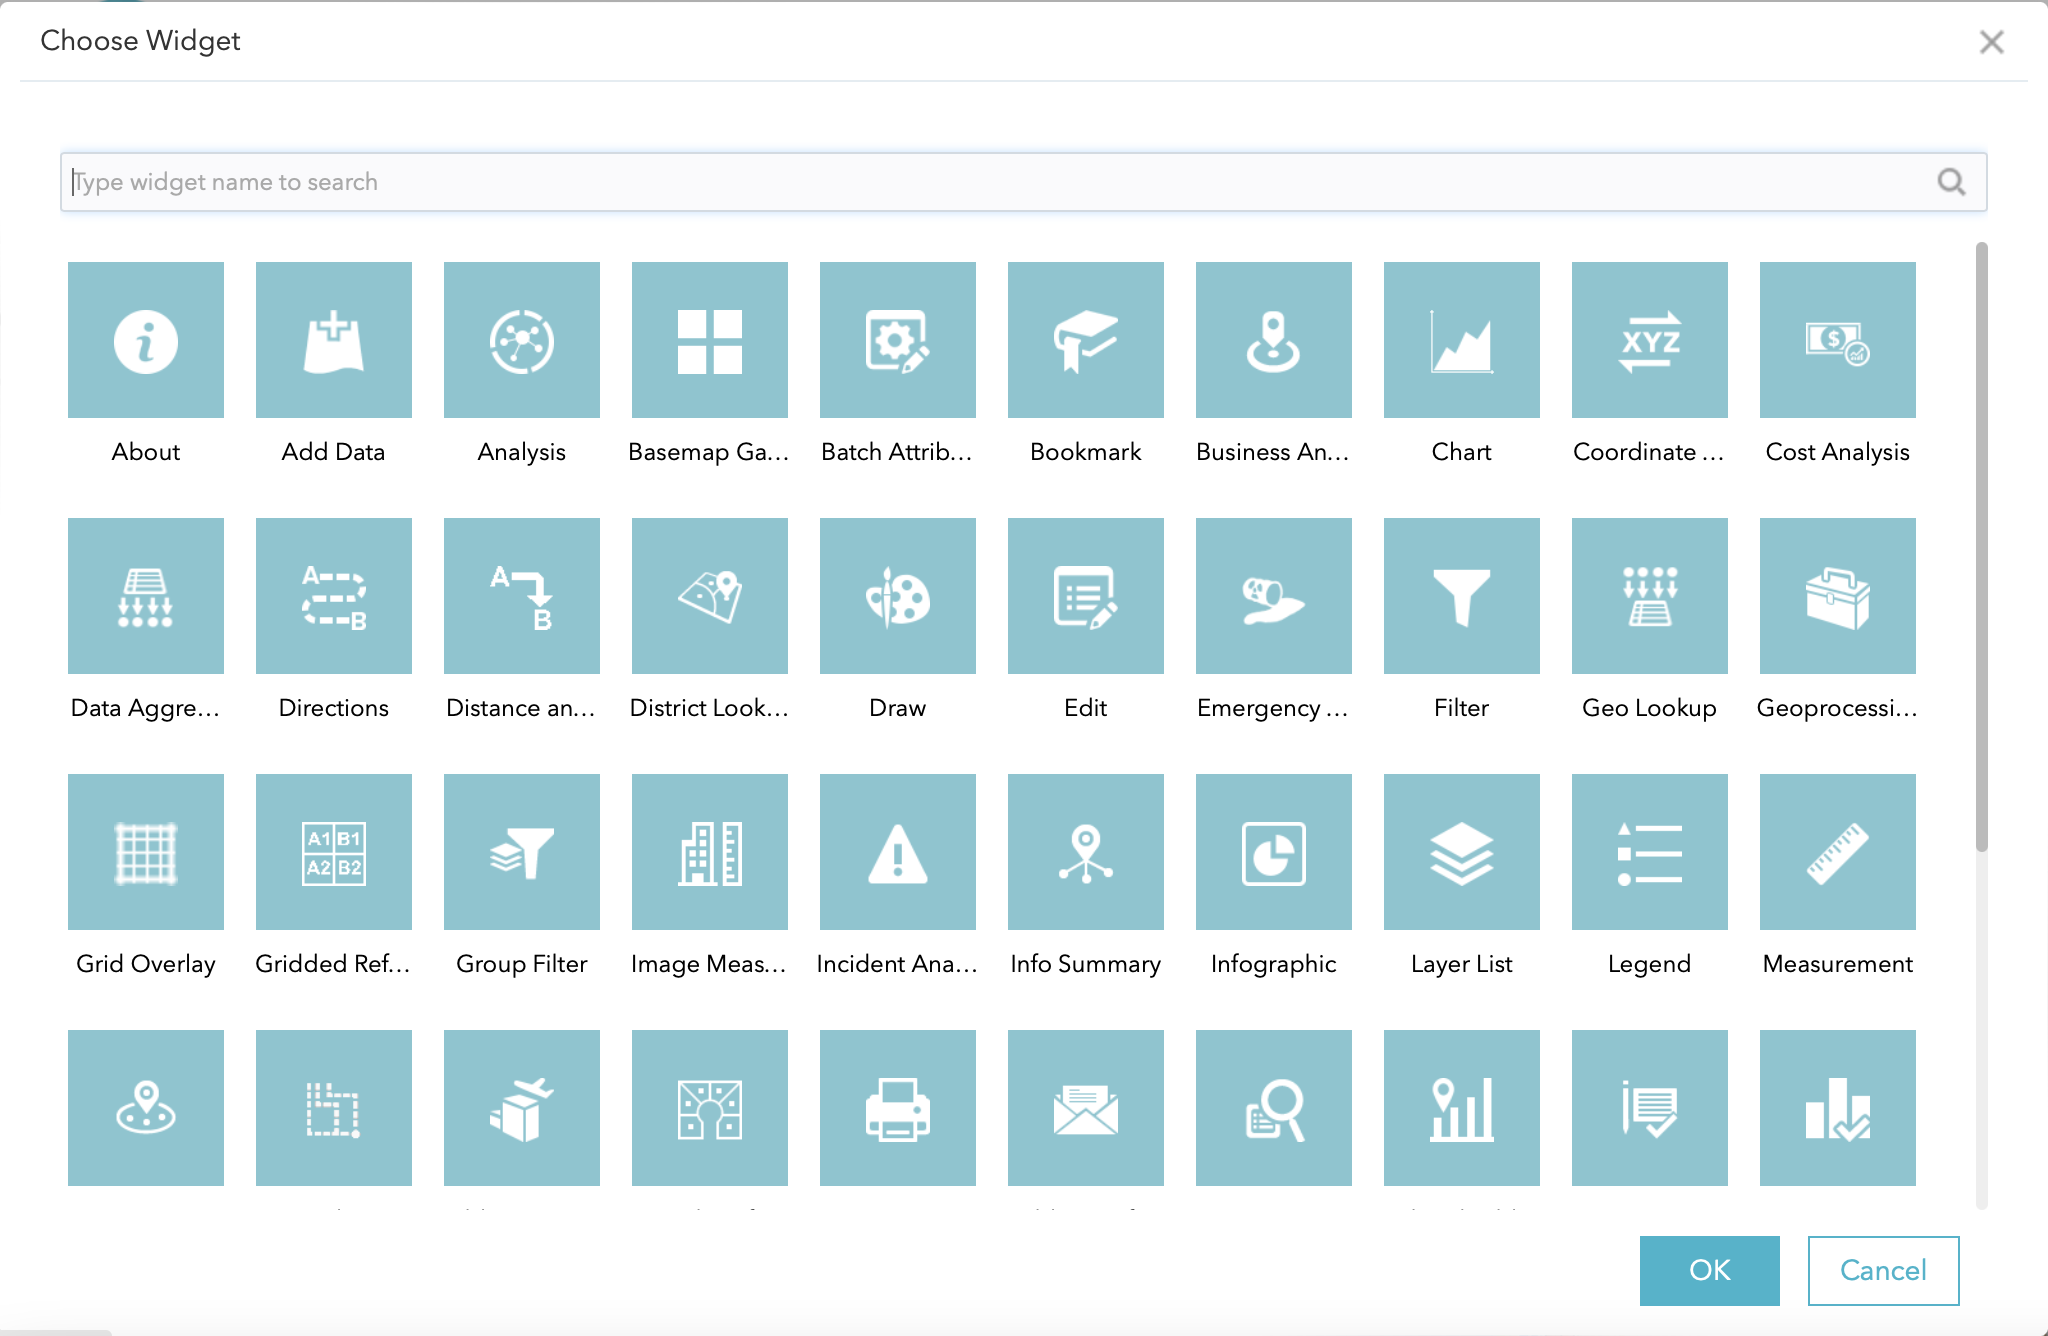
In the search box, enter near. Next, select the Near Me widget and hit OK.
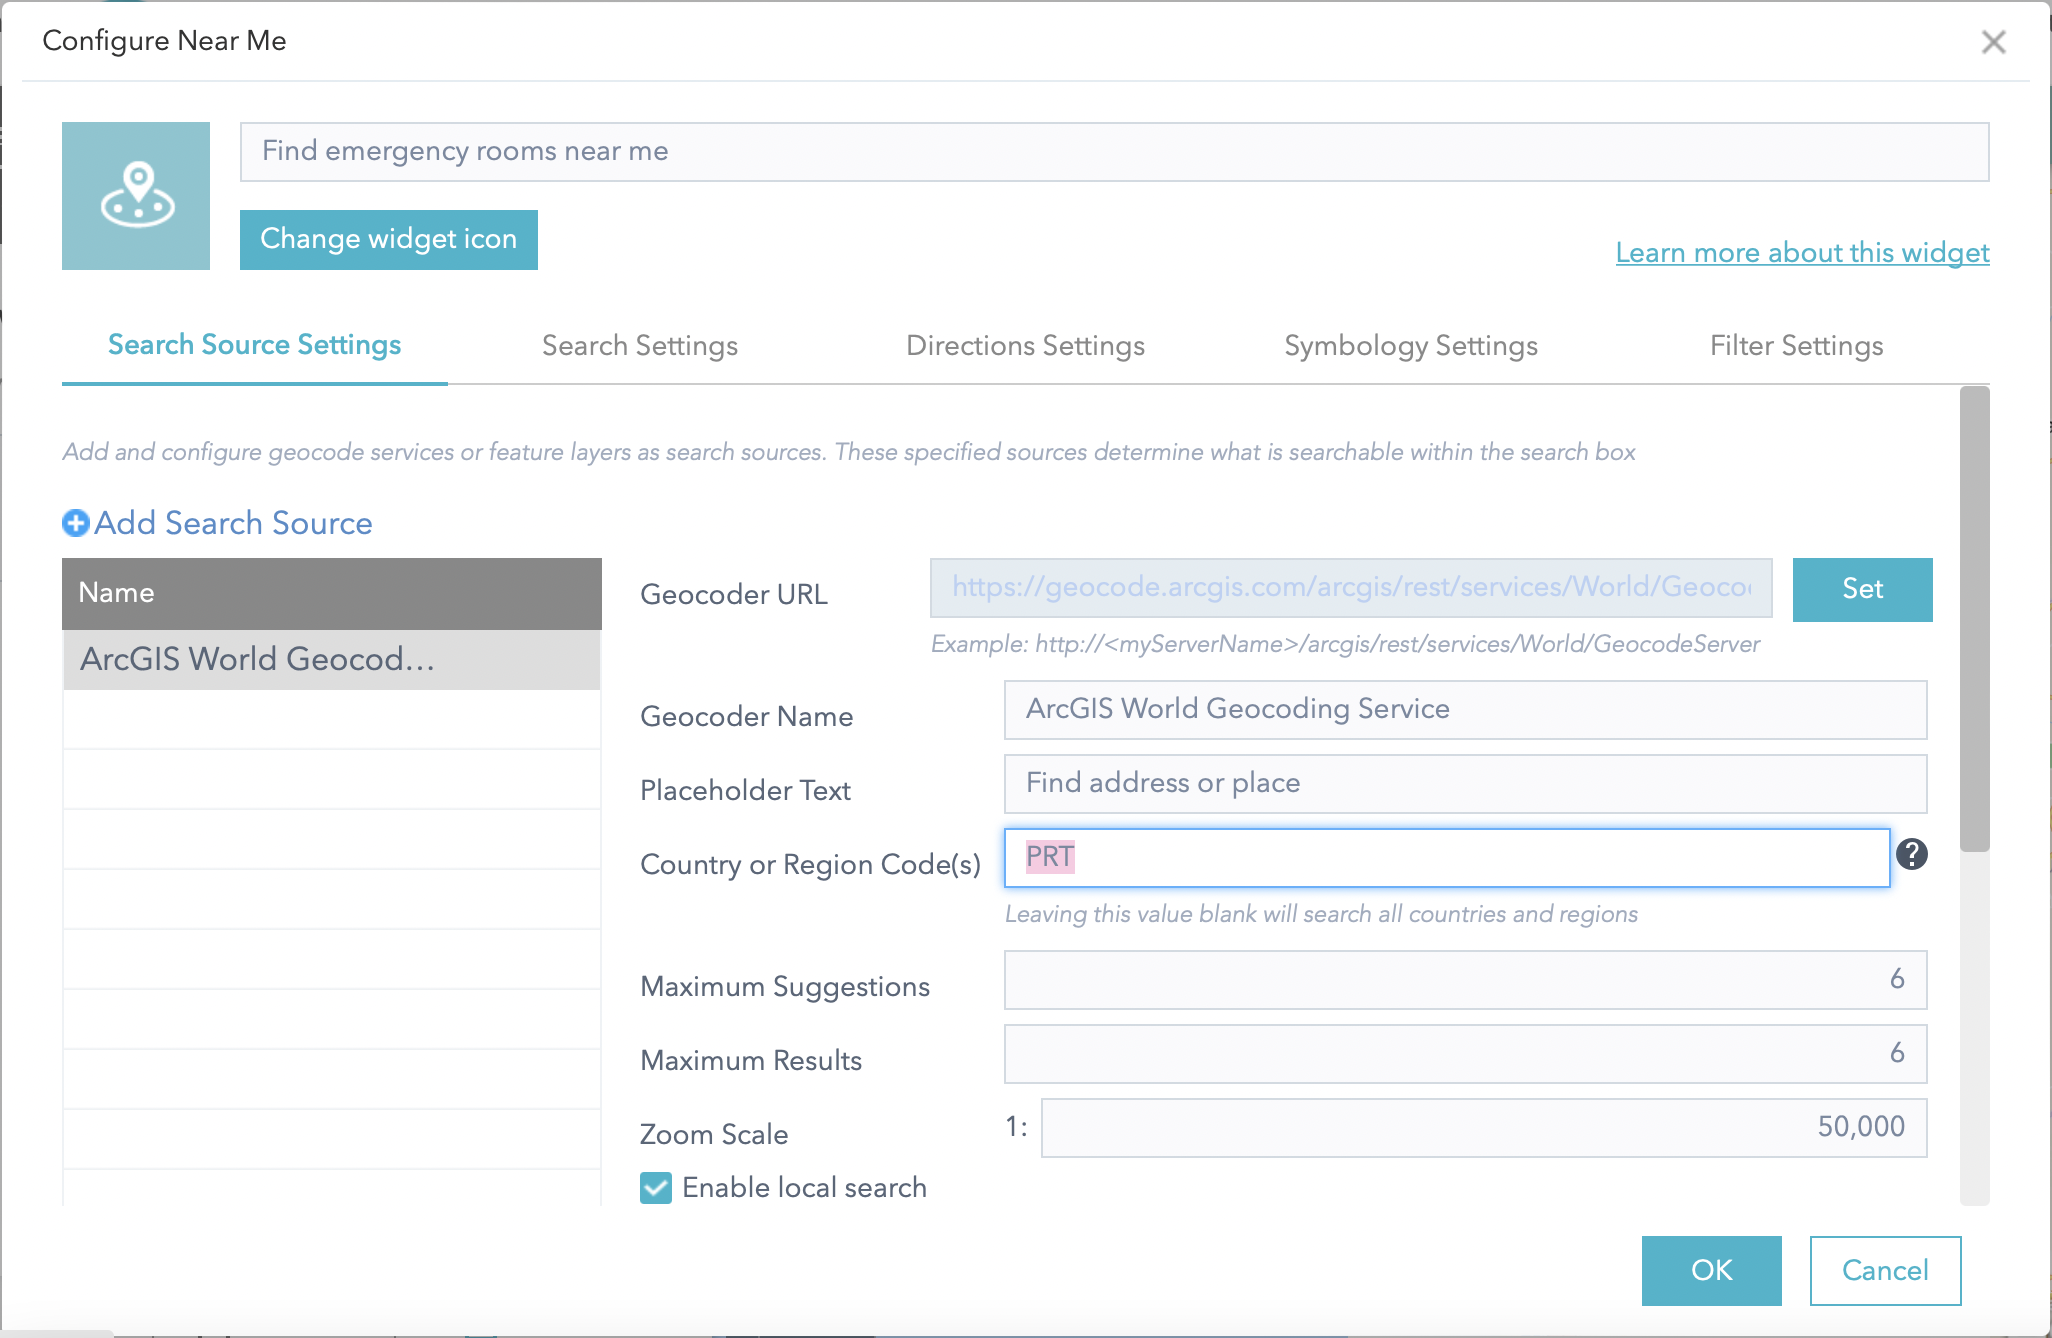
You're taken the widget configuration window.
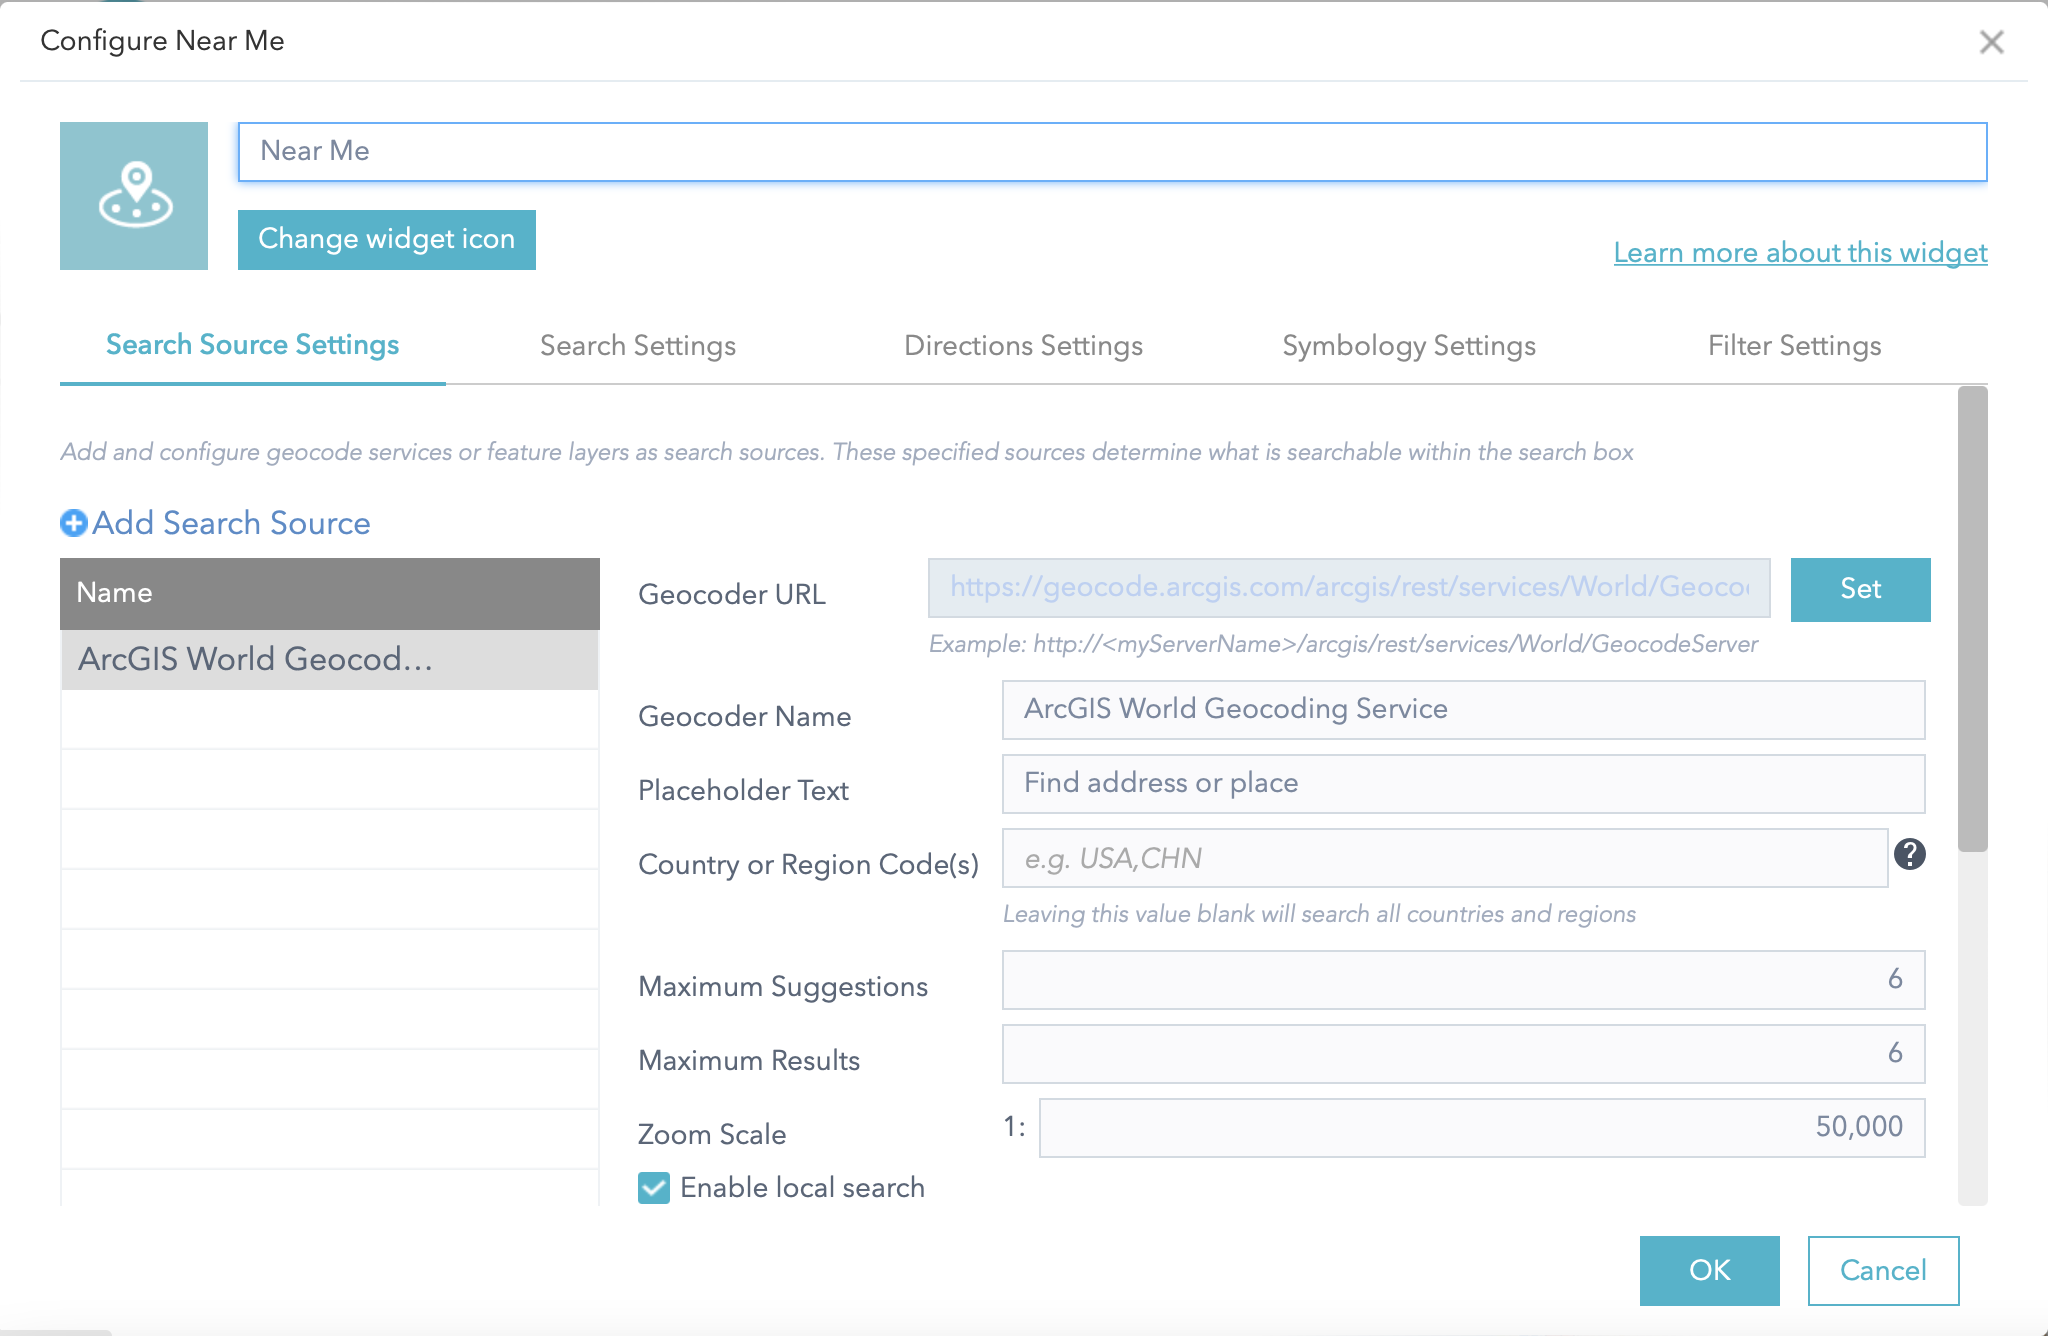
Start by changing the widget's name to Find emergency rooms near me. Set up the Country or Region Code(s) (in this case, PRT for Portugal).
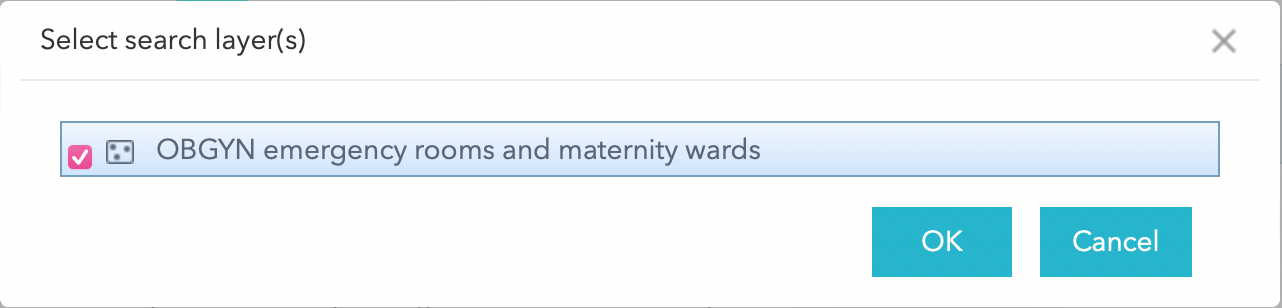
Move on to the second tab, Search Settings. Set the search layer.
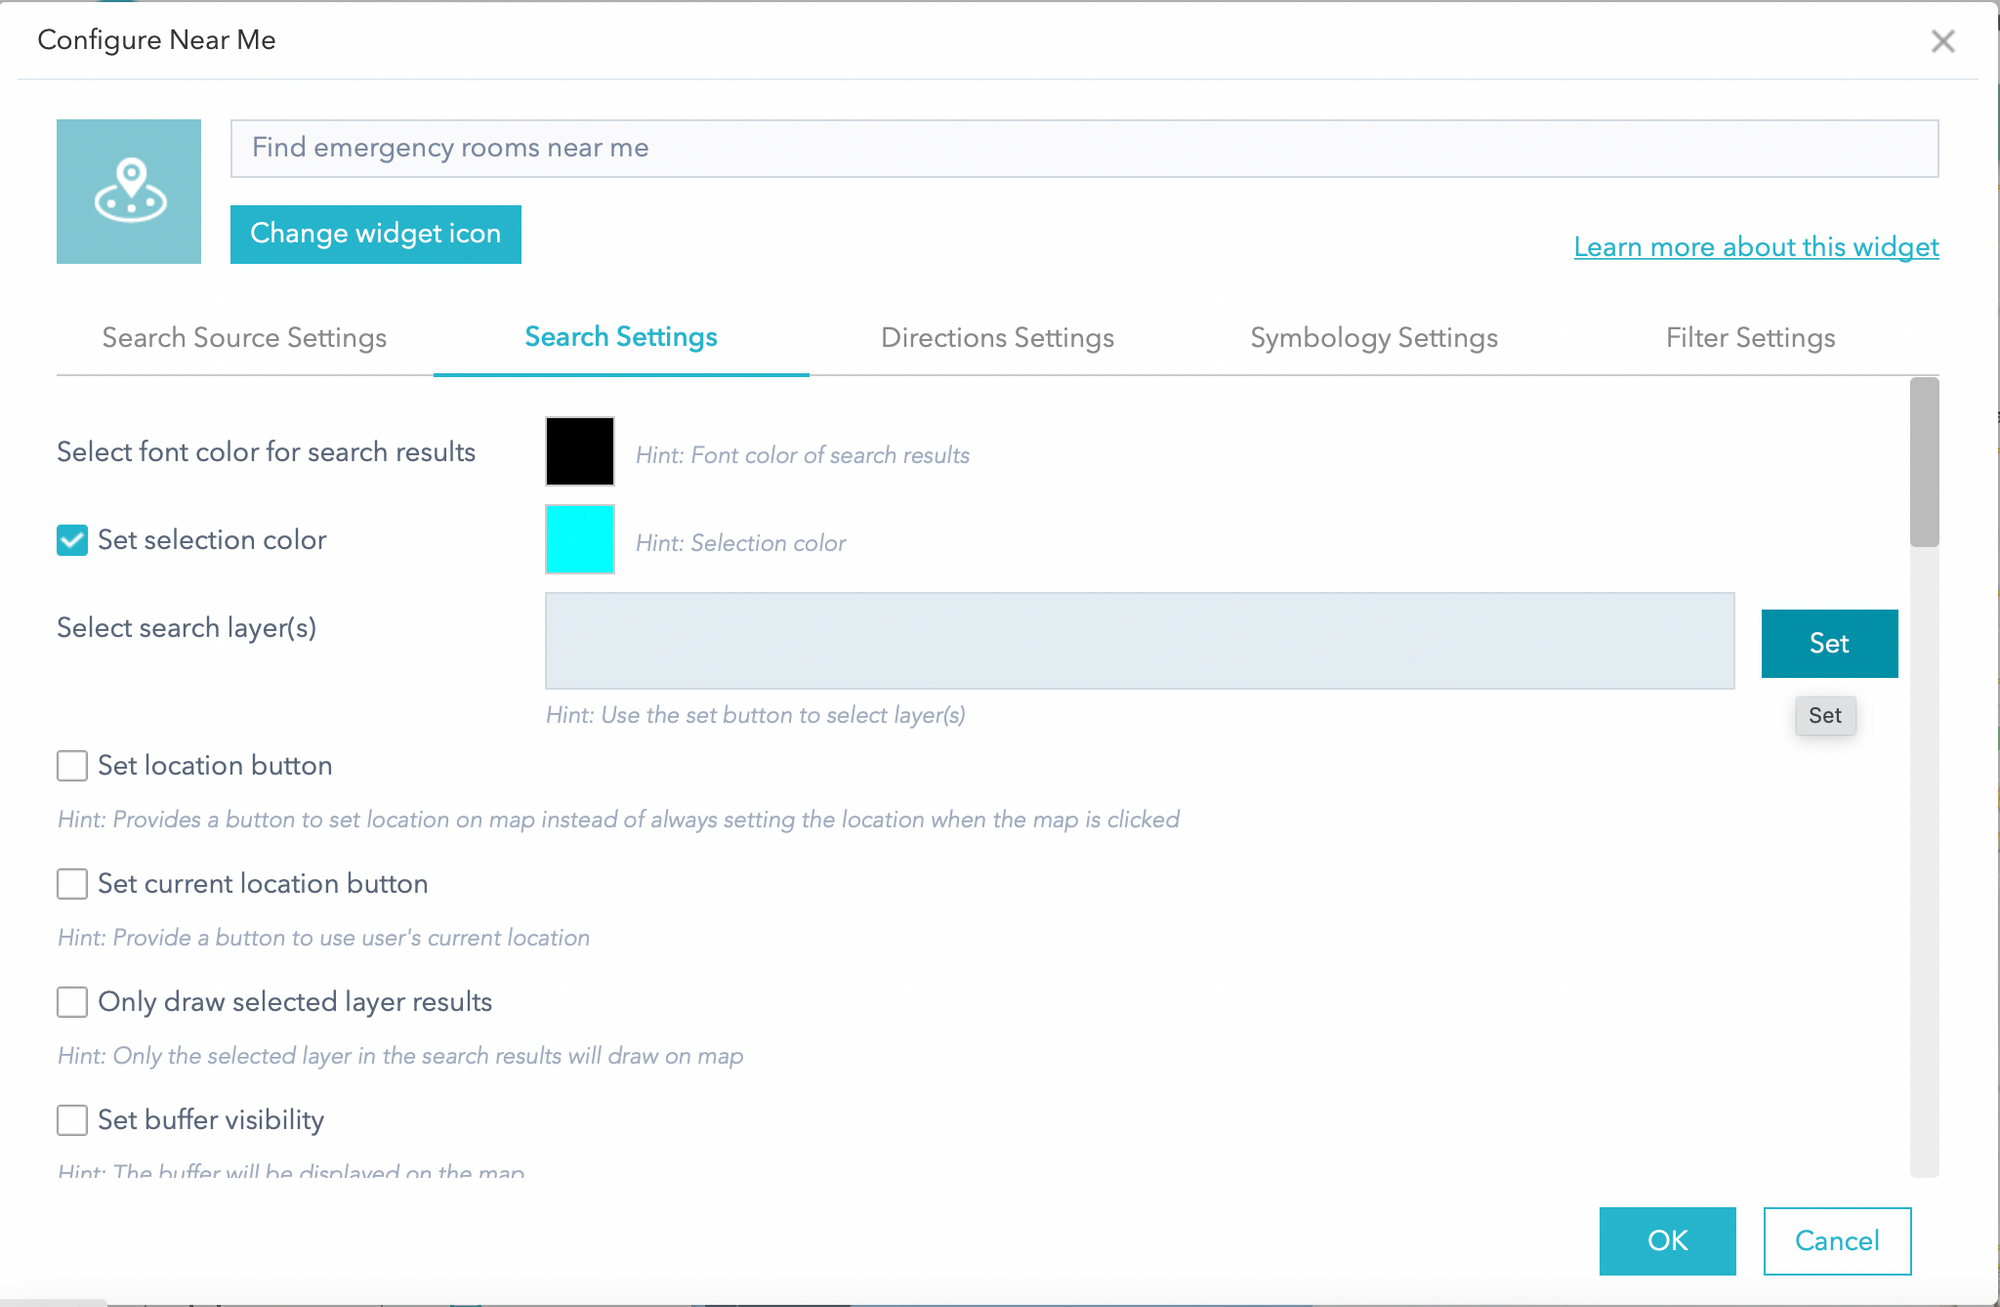
Choose the layer from the map (you should only see one here!). Click OK.
Turn on Set location button, Set current location button and Set Buffer visibility.
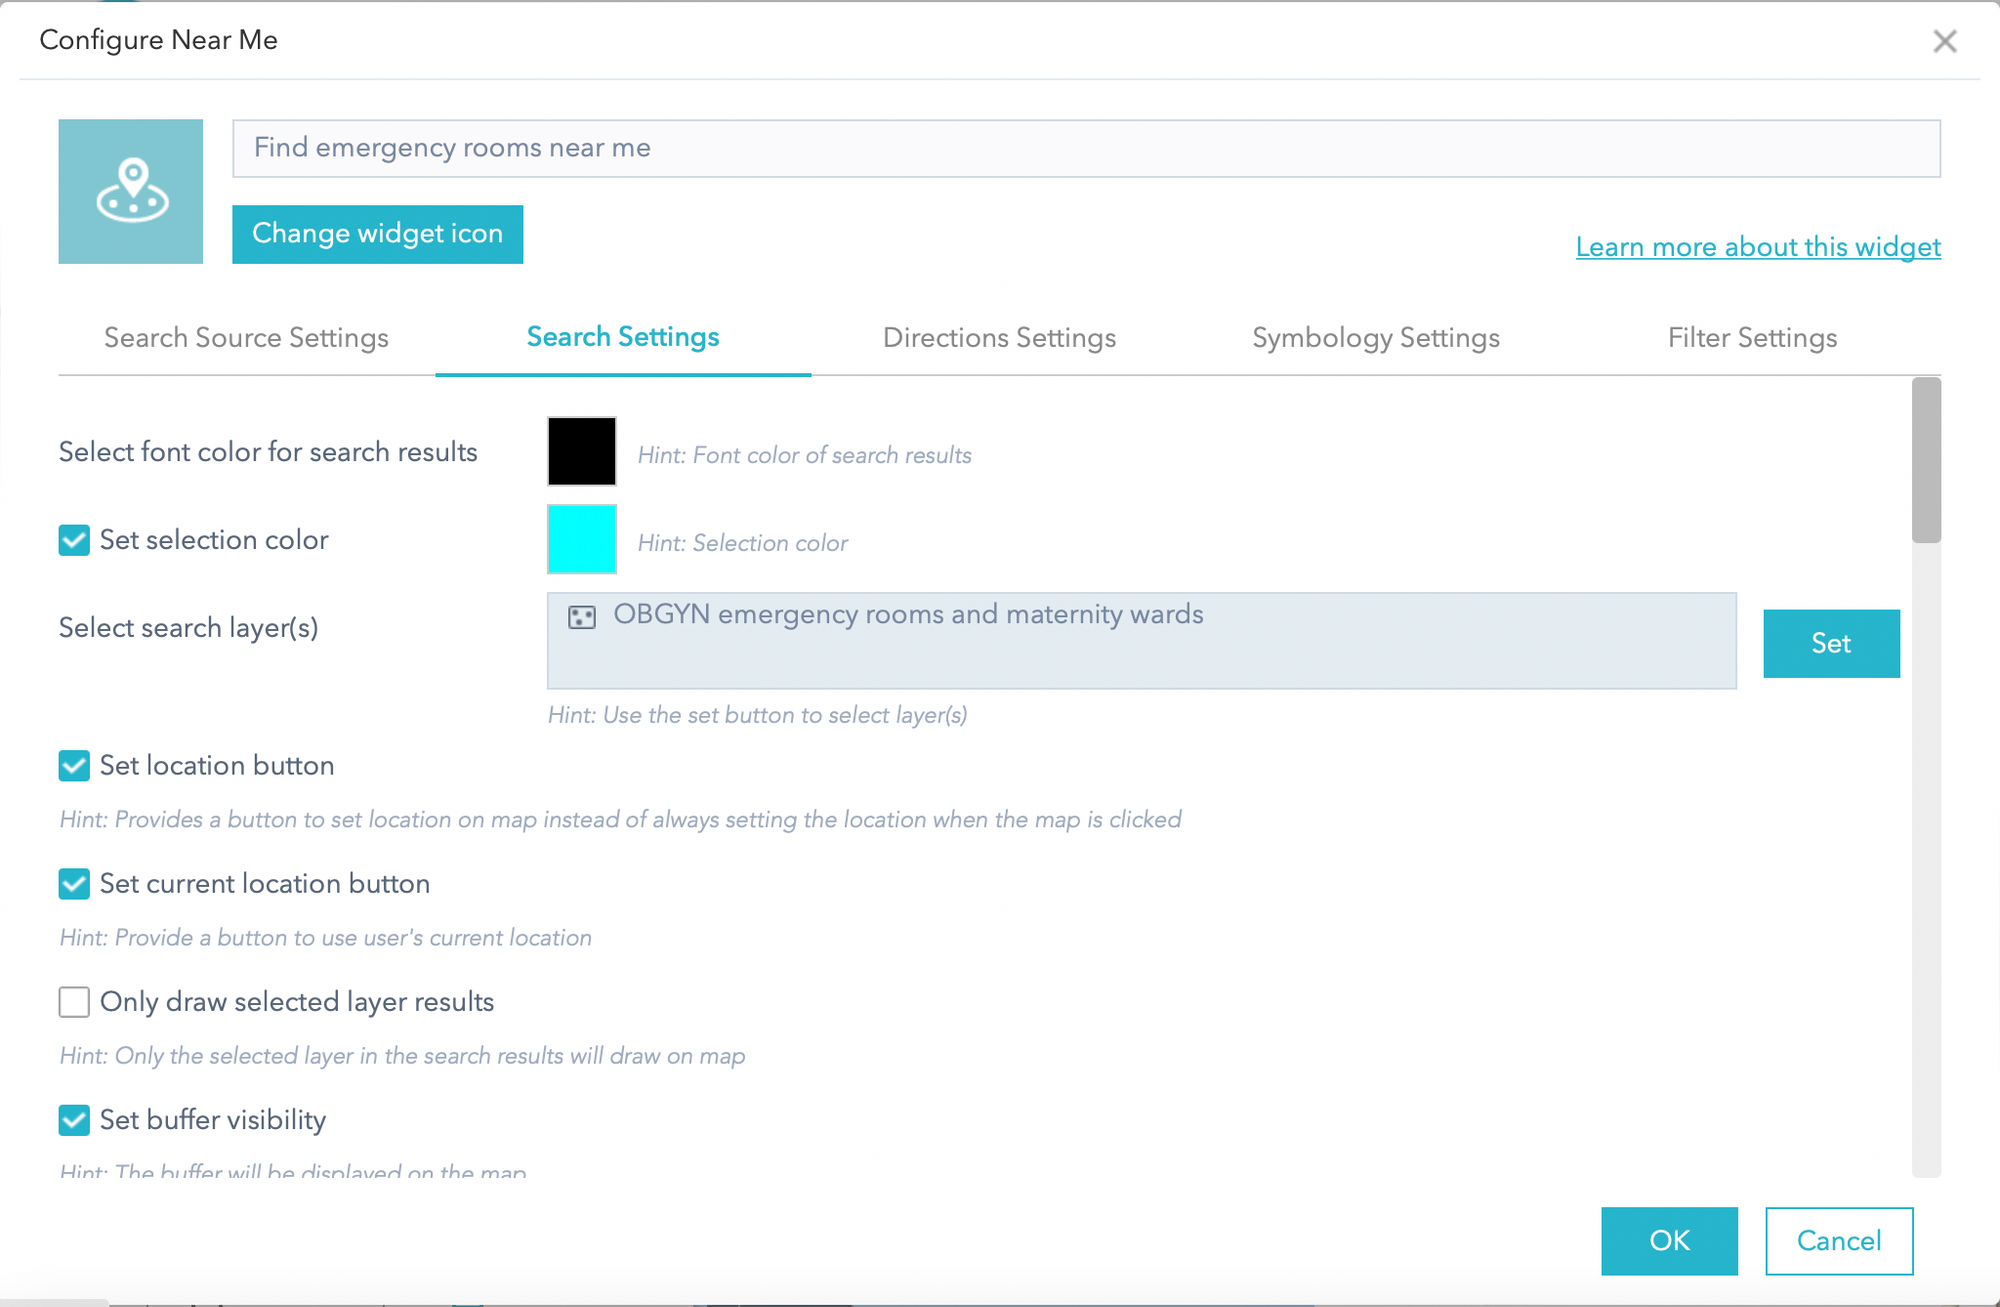
In Set buffer symbol, feel free to change colour and transparency. Set default buffer distance to 50, Set maximum buffer distance to 100, and change the Buffer distance units to Kilometers.
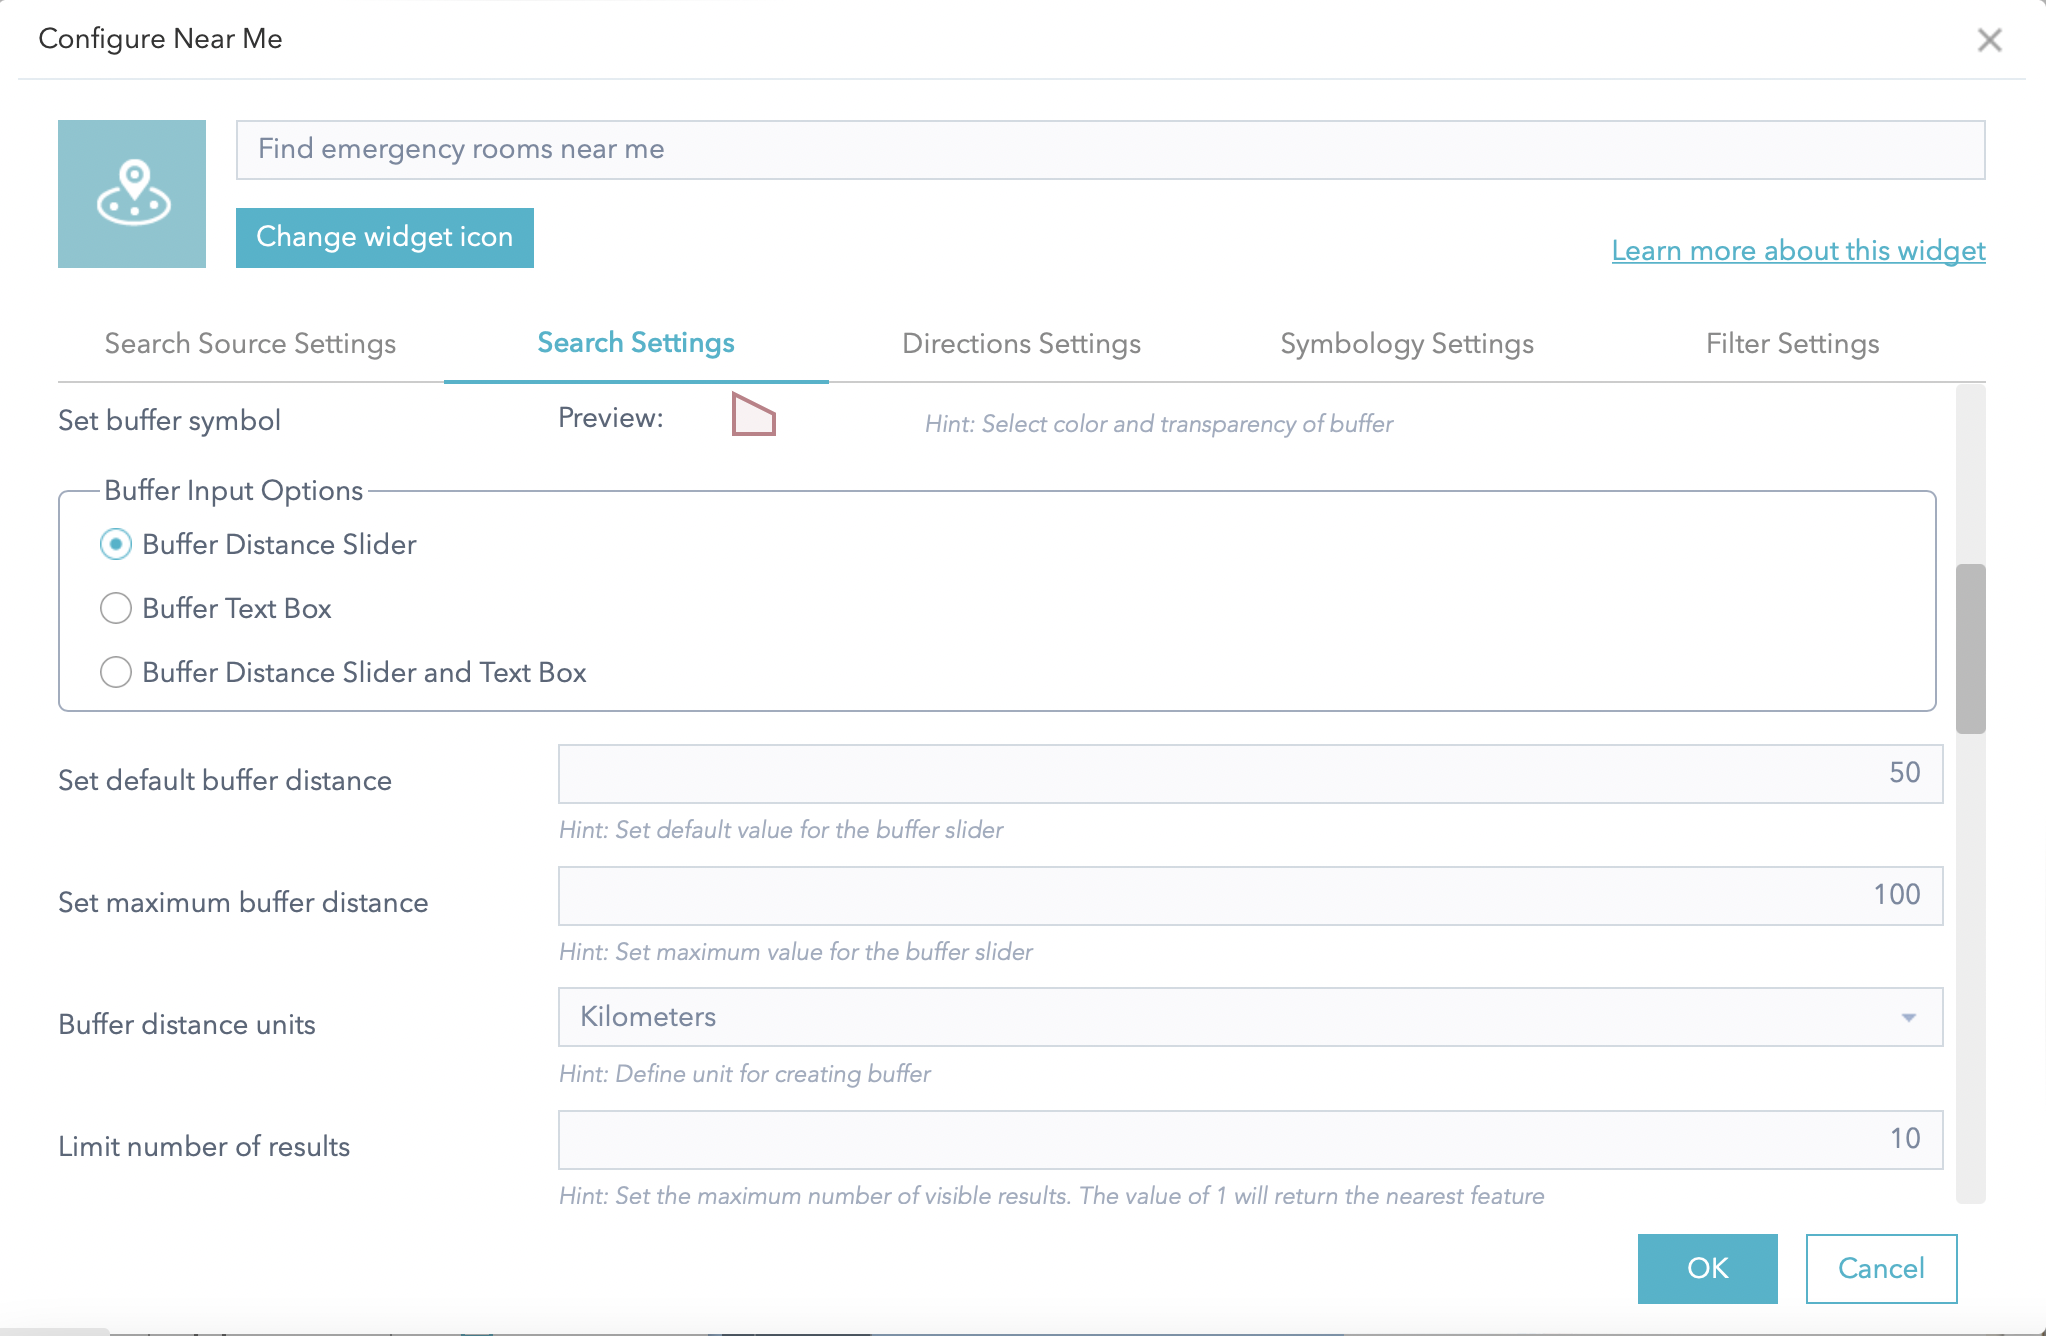
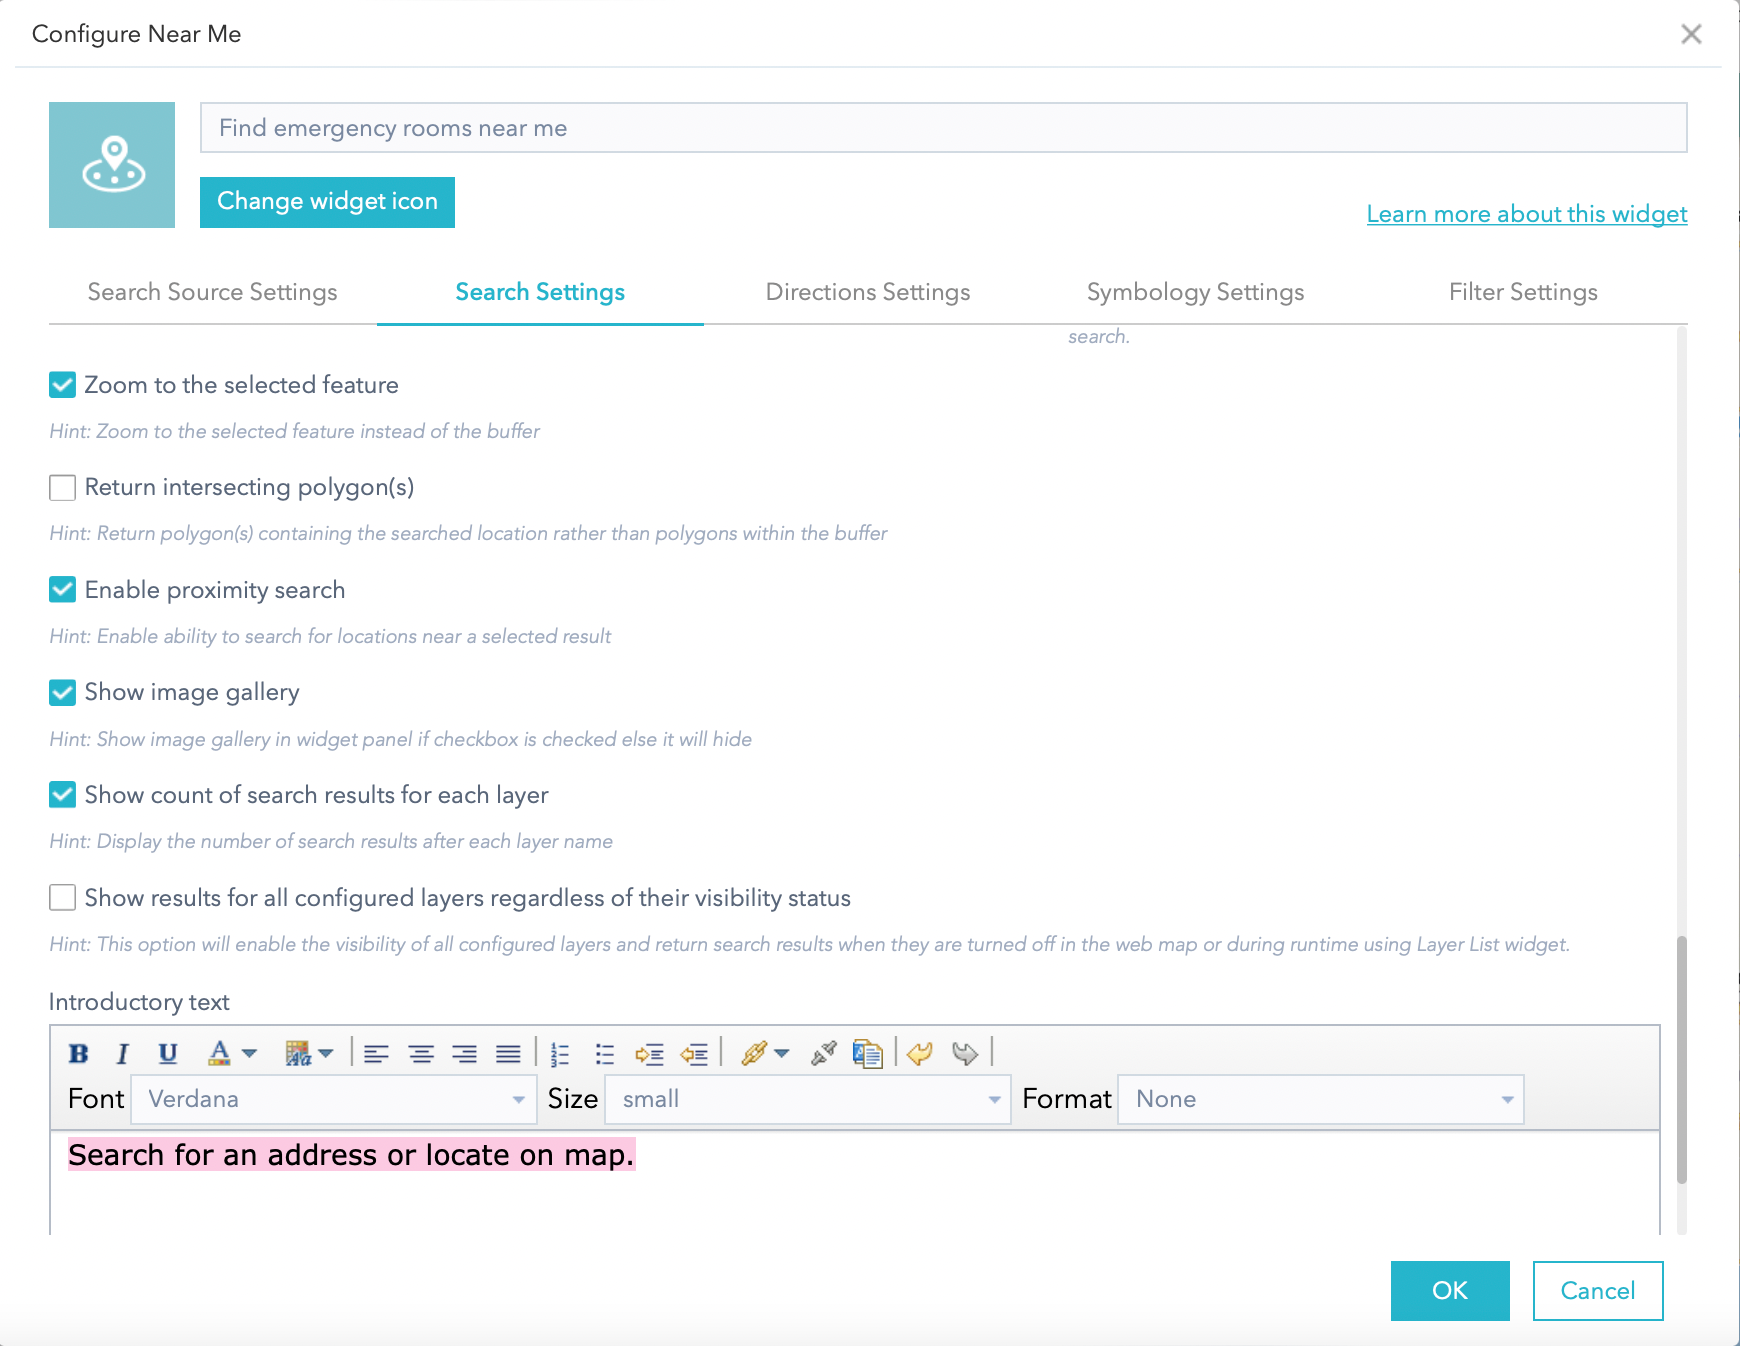
Scroll down. Enter the message to be displayed when no results are found. Also, feel free to change the symbol for searched address or clicked location.
Continue to scroll down. Turn on the options below, and change the Introductory text as desired.
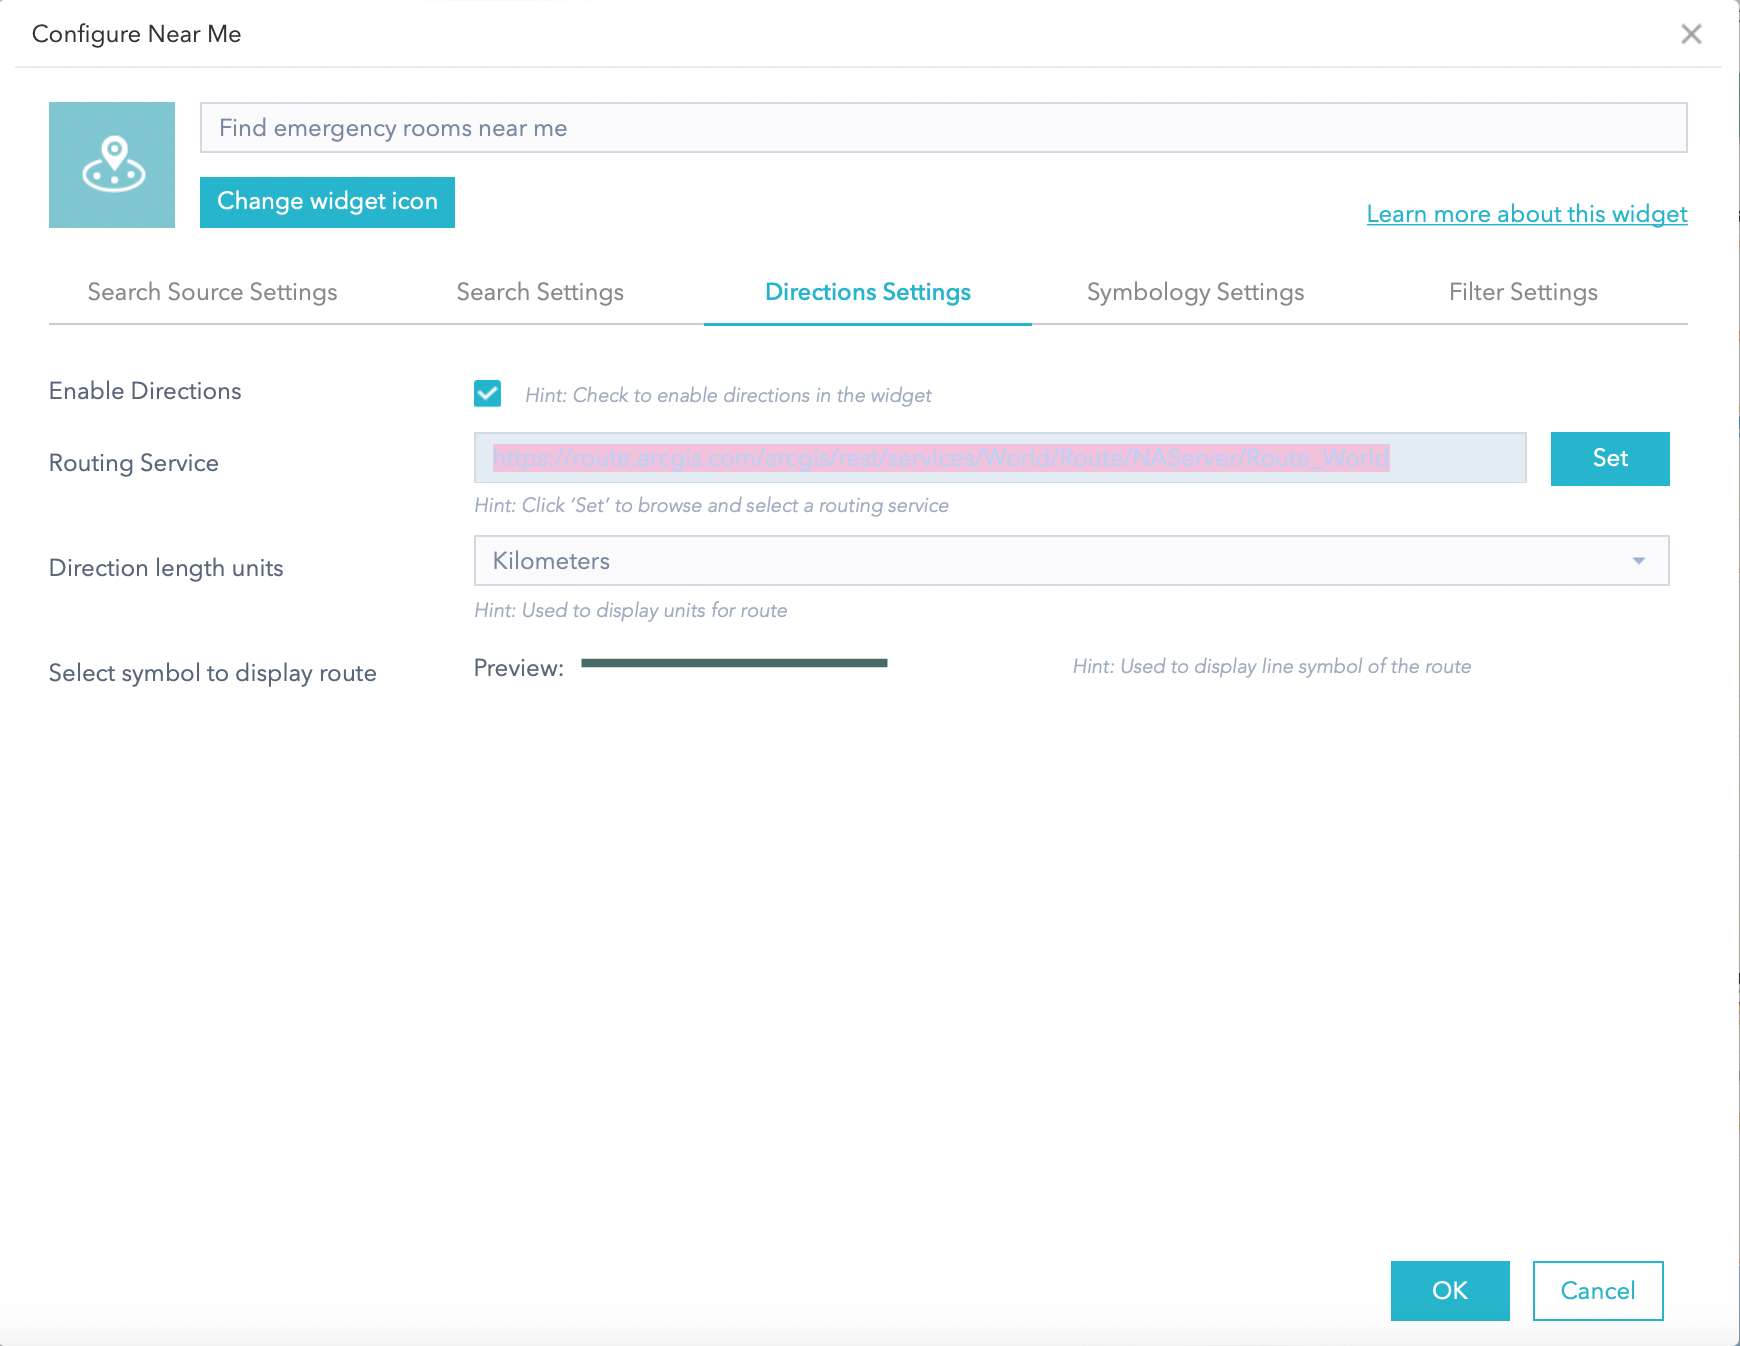
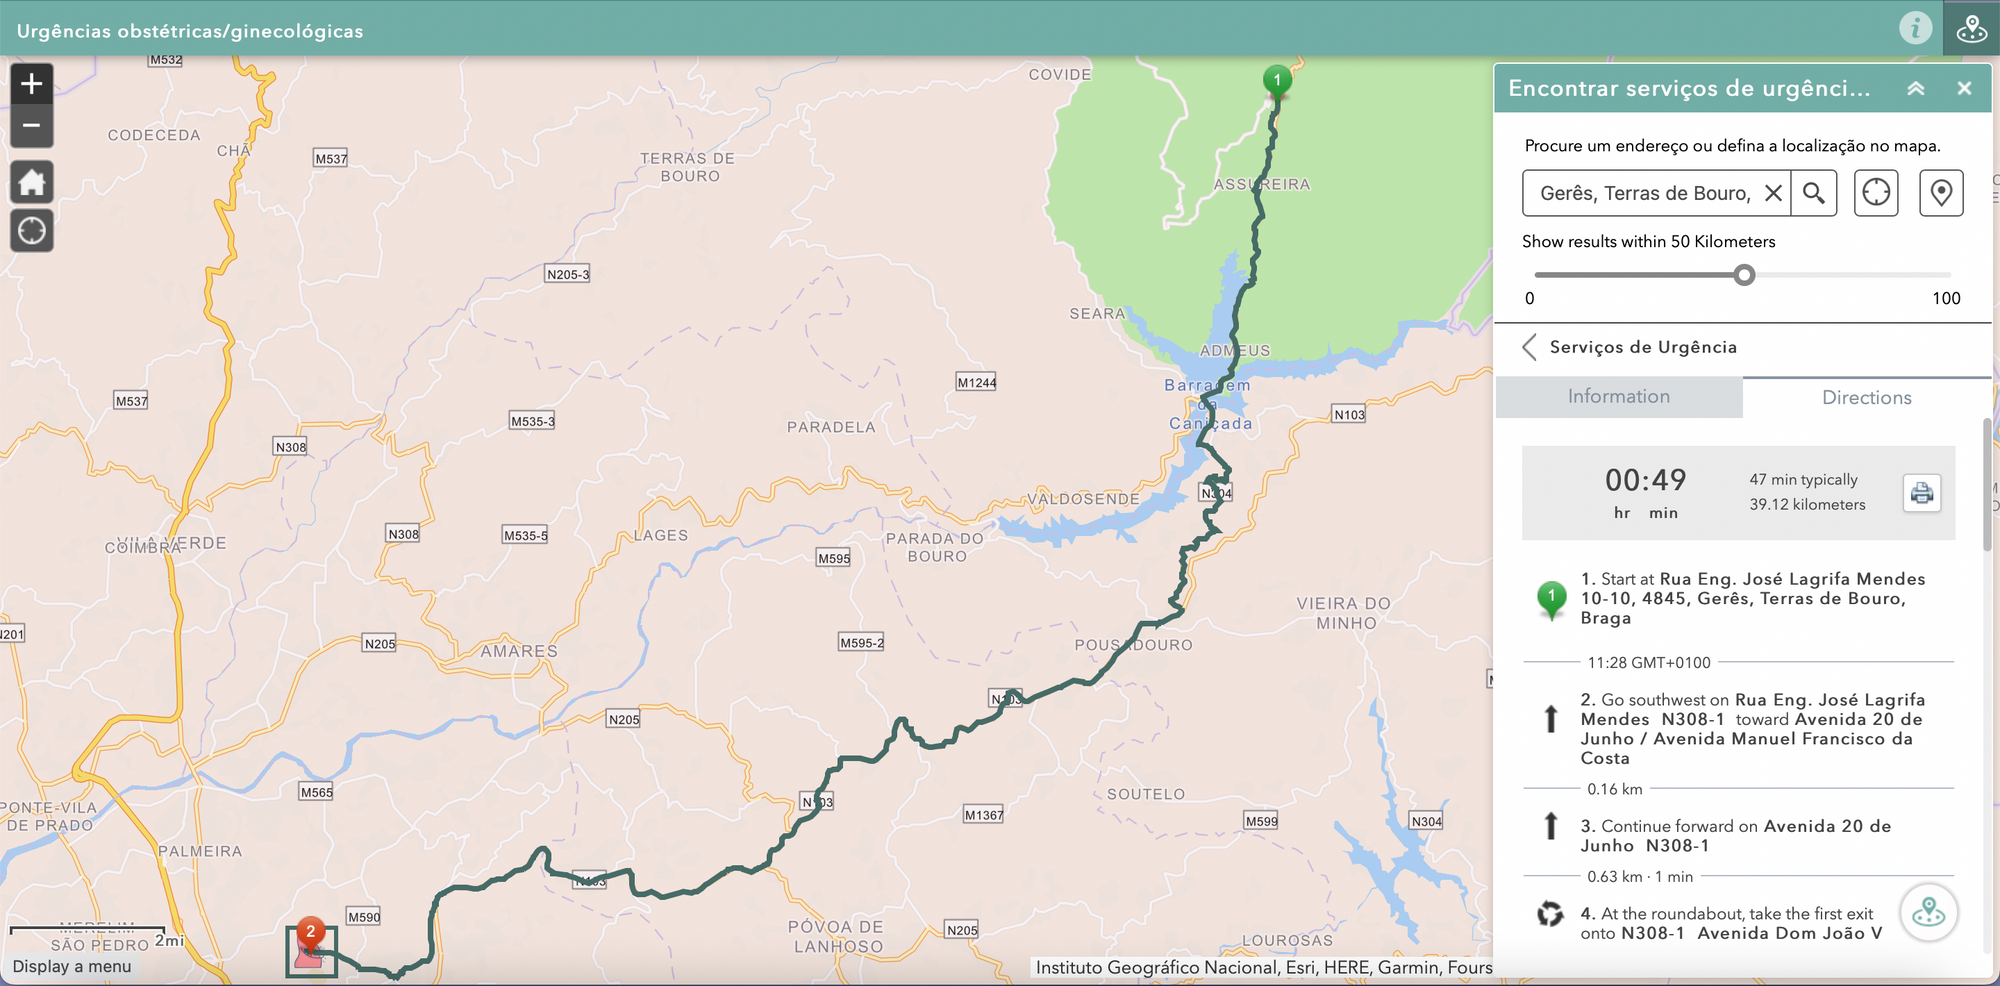
Move on to Directions Settings. Enable Directions. Copy the Routing Service URL - you'll need this later.
You can also customise the symbol to display the route.
The remaining two tabs - Symbology Settings and Filter Settings - won't need any further configuration. Click OK.
Now that you've customised the Near Me widget, save the app.
Widget configuration: About
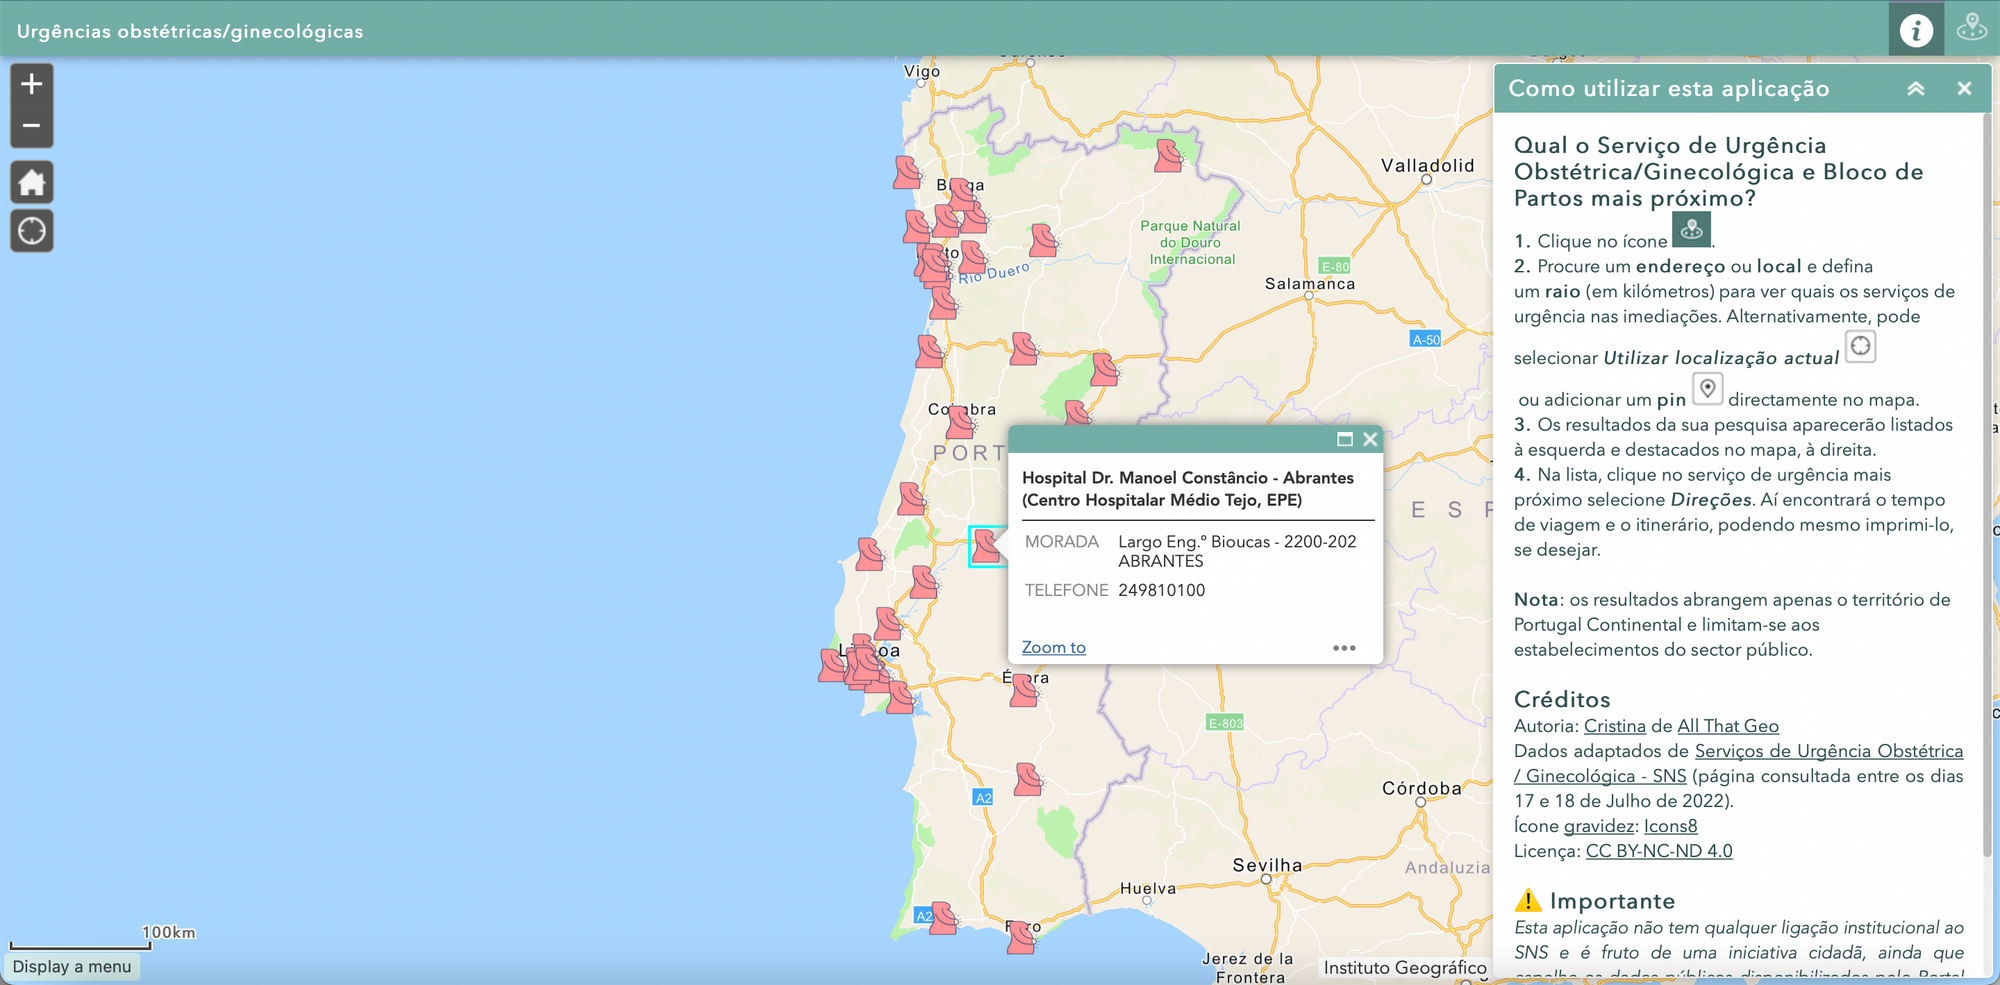
Even if this app is quite intuitive, we'd better add some explanatory text or introduction to let users know what it is all about. The best way to do it is by adding the About widget.
To add the widget to the controller, click on the + sign.
Select the About widget and hit OK.
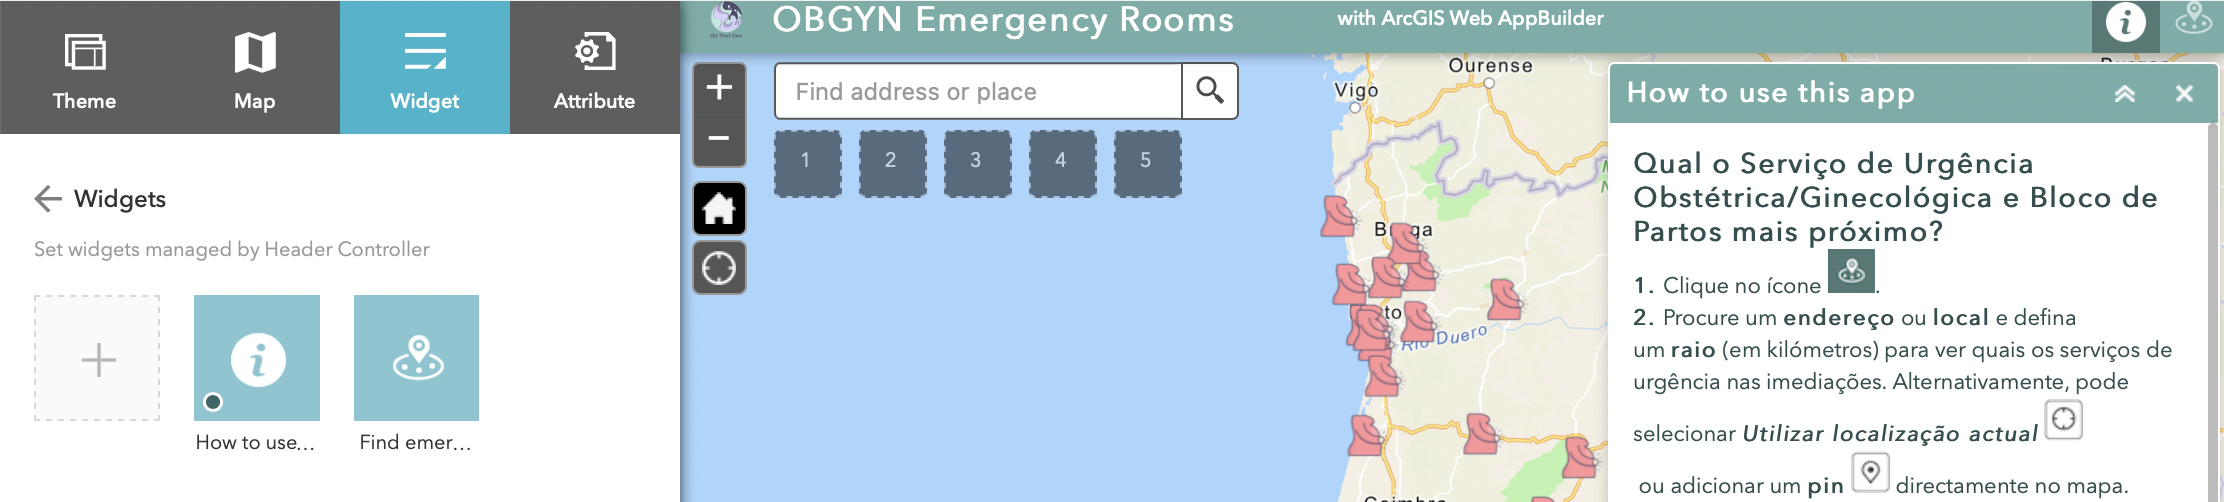
Change the name to How to use this app.
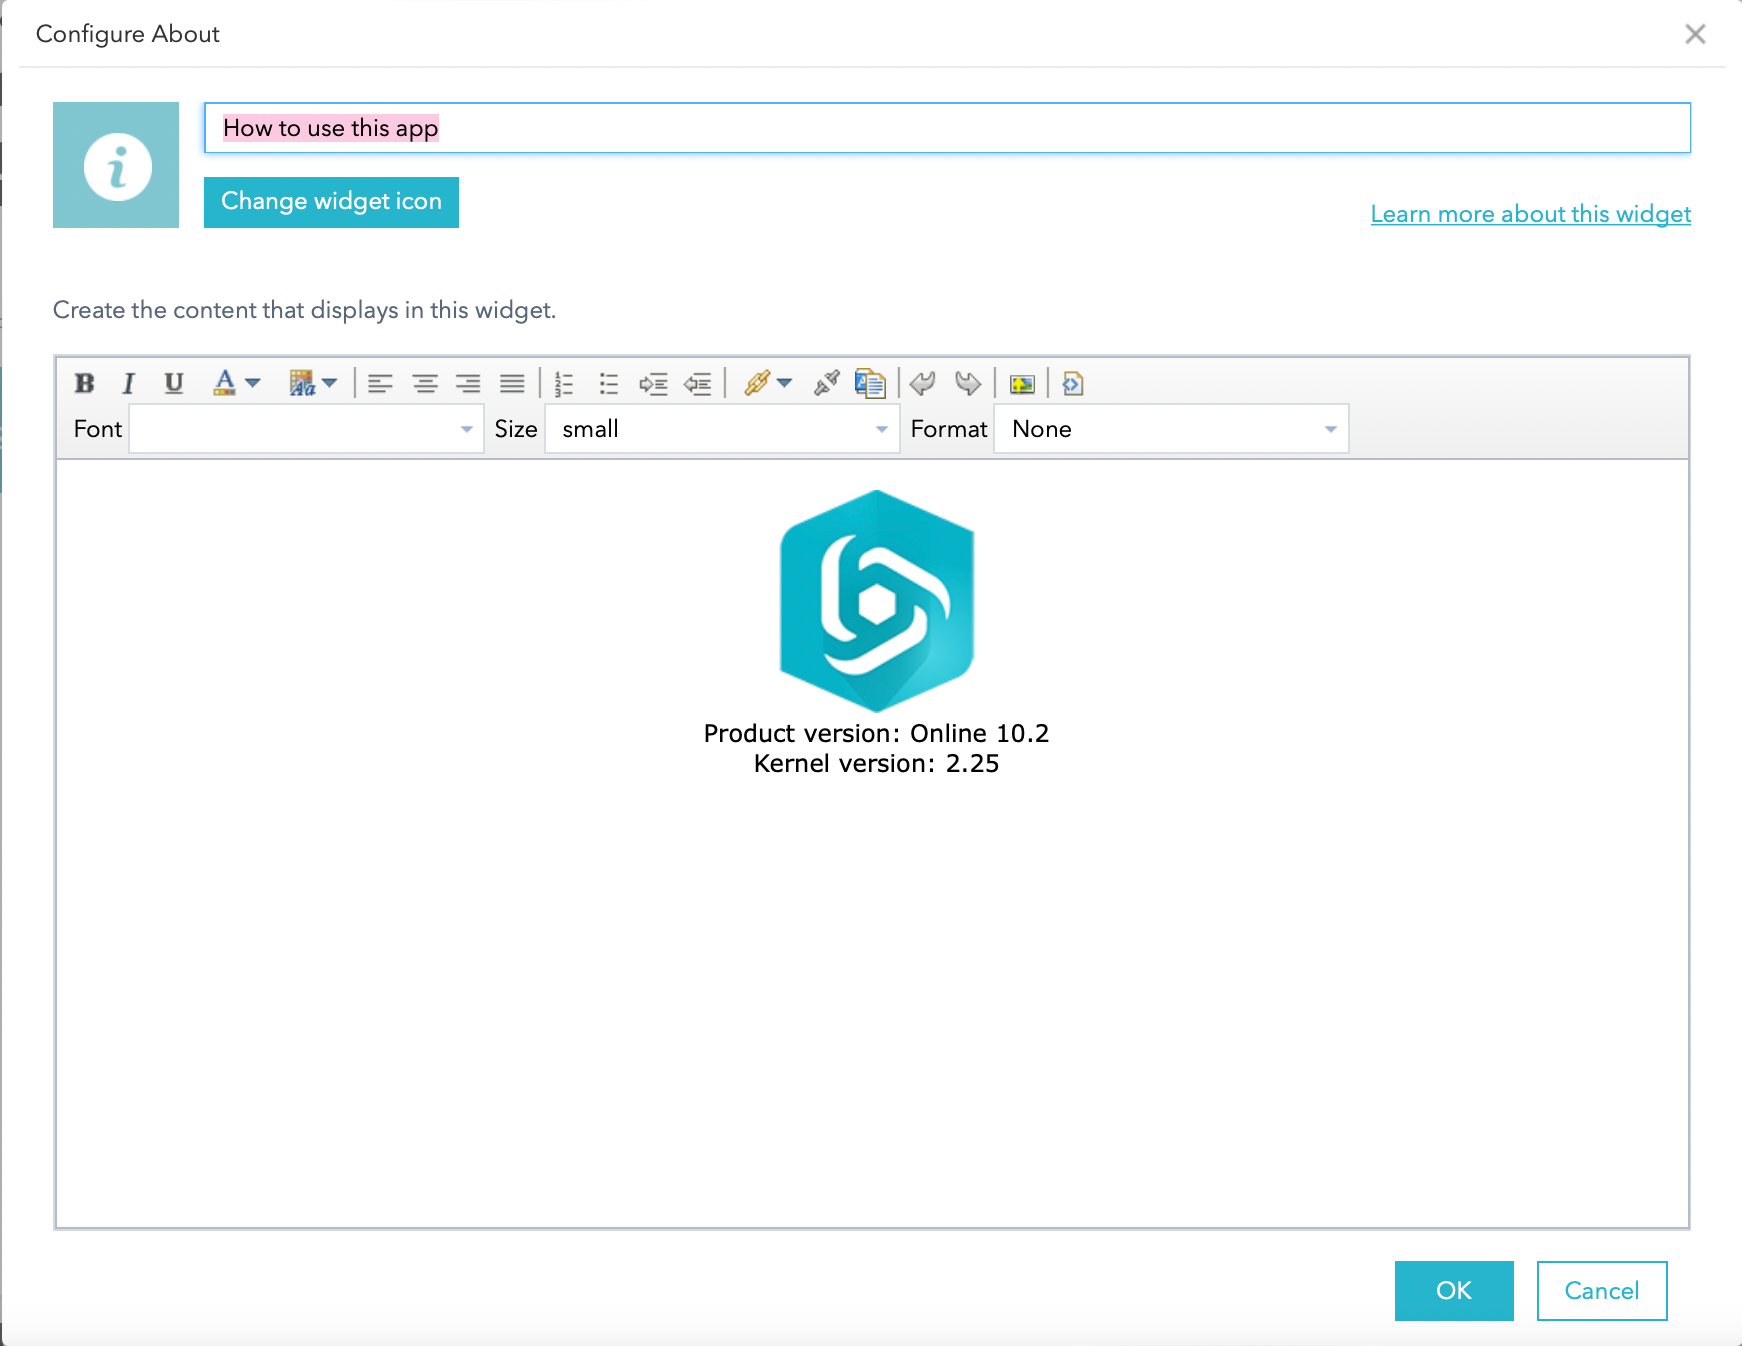
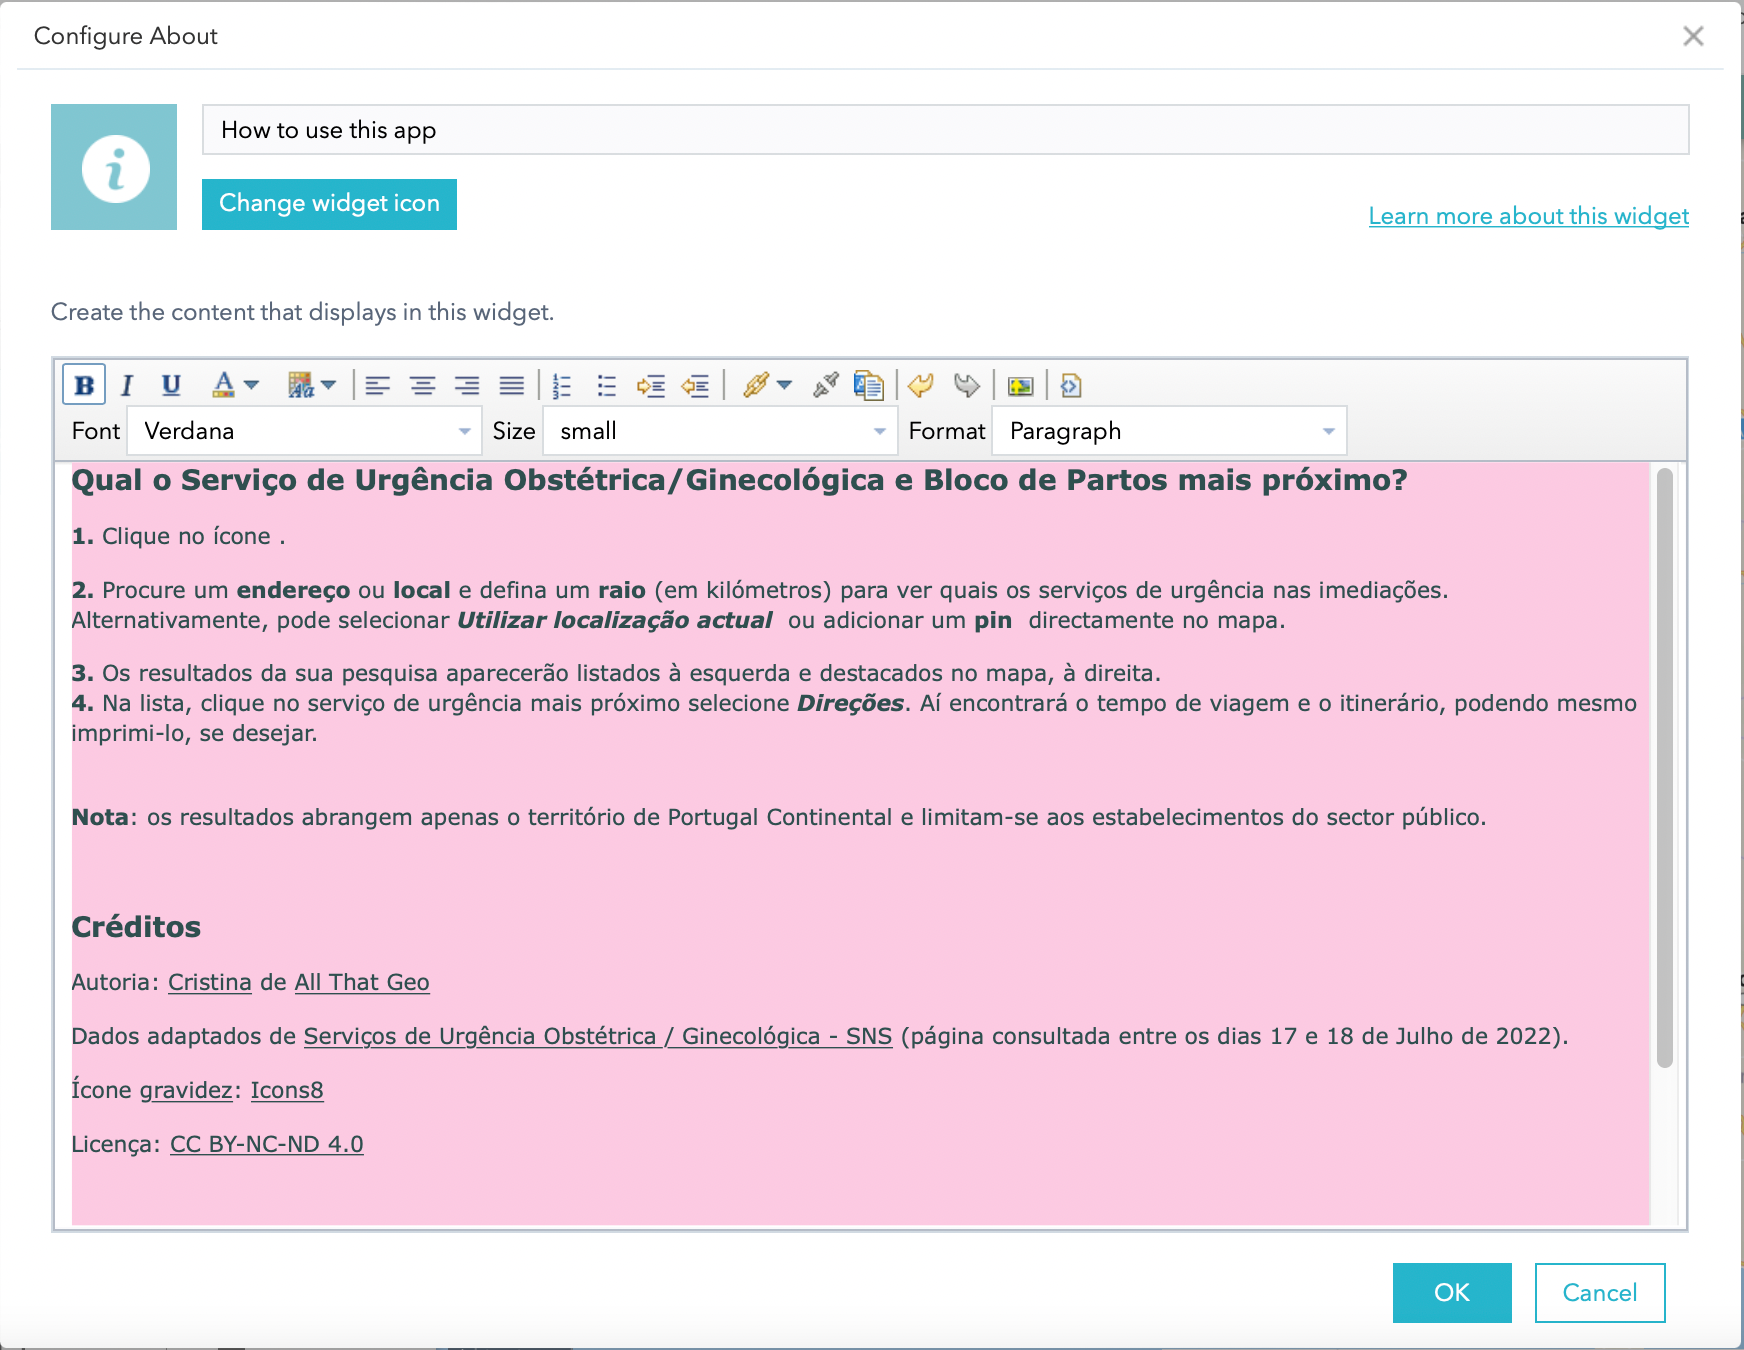
Add pertinent information such as instructions, credits, data sources, and a disclaimer in the content box. Once you're done, click OK.
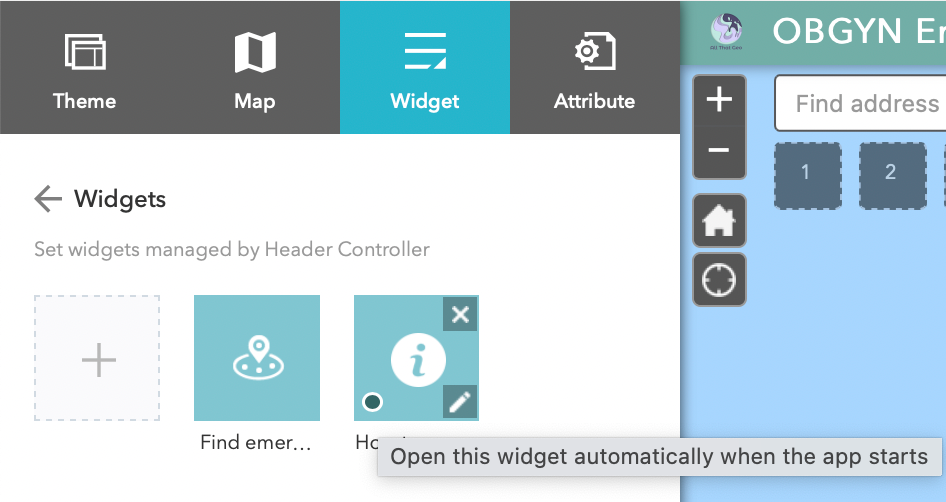
Since this widget provides essential information, we want users to see it before doing anything else on the app. So, click on the circle positioned on the lower left of the About widget to Open this widget automatically when the app starts.
Also, reorder the widgets (by drag-and-dropping) so that the About widget shows on the left of the Near Me widget.
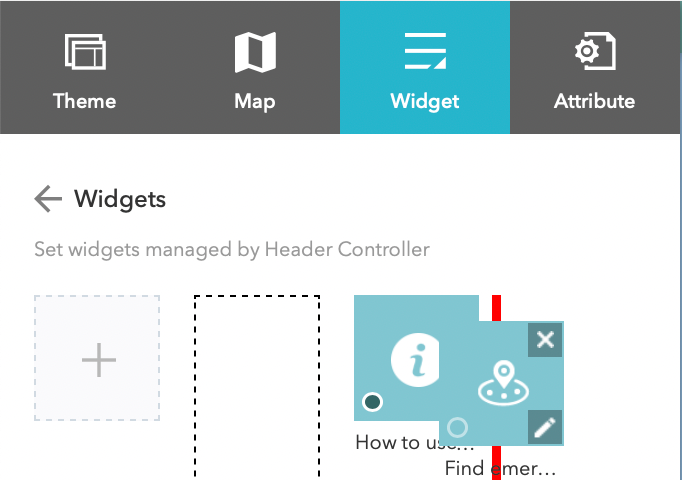
Make sure they both show as such:
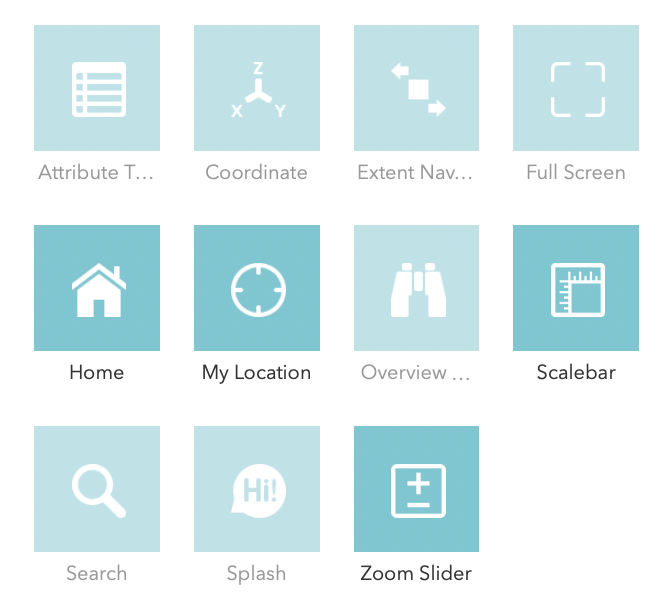
Now click on the back arrow. Notice there are a few active widgets (those not greyed out). We won't need all of them to be visible in the app, so click on the eye icon on the top right of the following widgets:
- Attribute Table
- Coordinate
- Overview
- Search
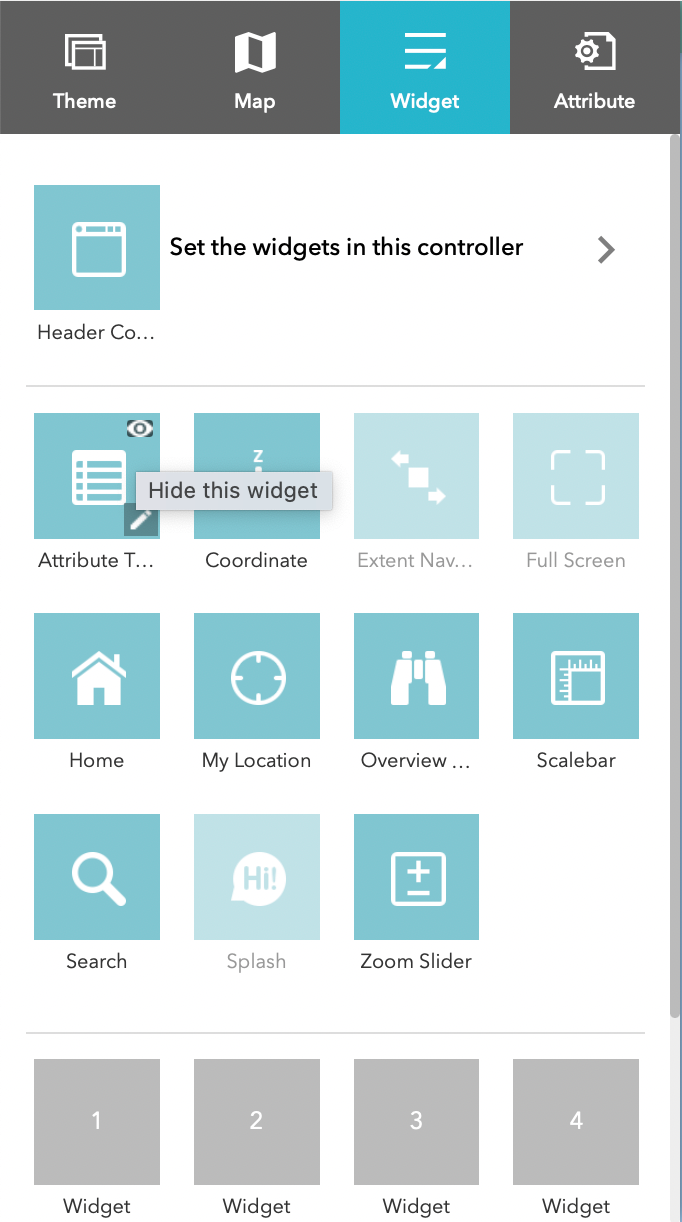
You should end up with something similar to this:
Save the app before proceeding.
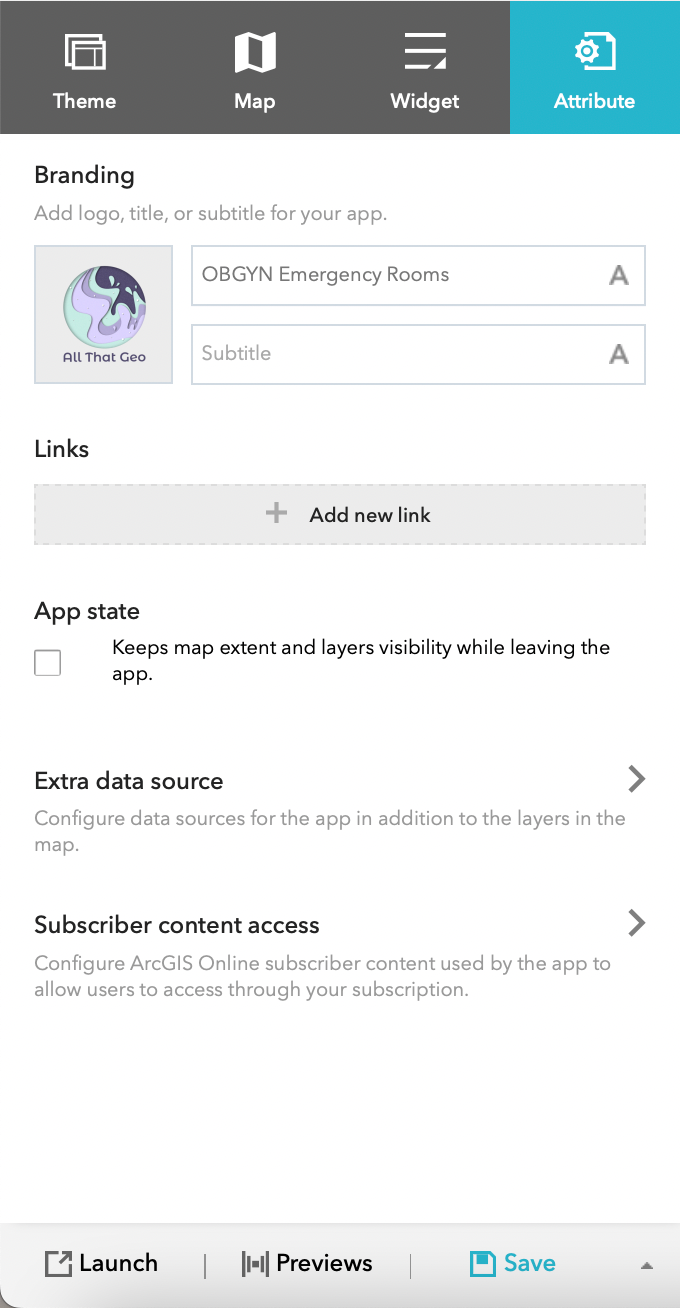
Attribute configuration
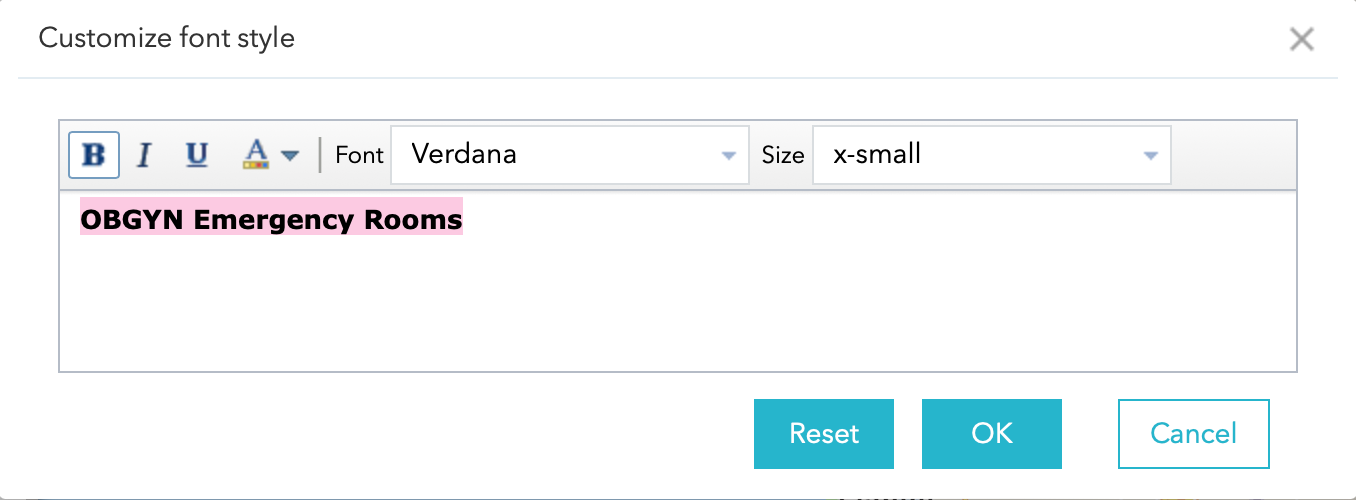
We've finally arrived at the last tab of the builder, Attribute. Delete the text in Subtitle and click on the A next to the Title to Customize font style.
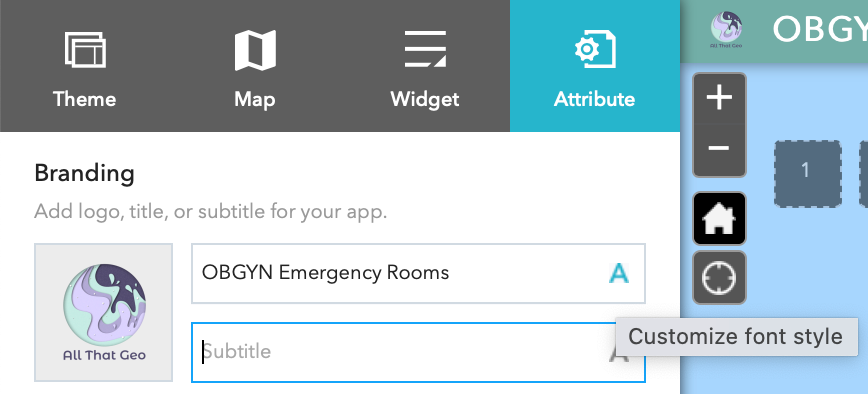
Change the size to x-small and make it bold.
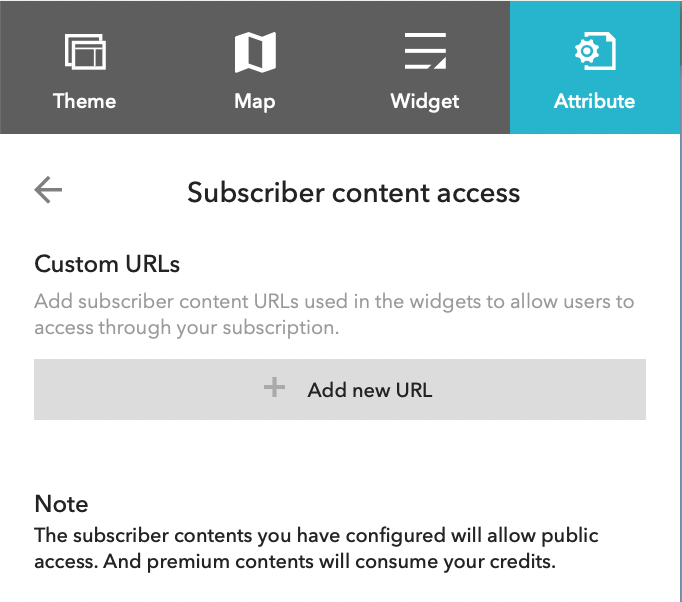
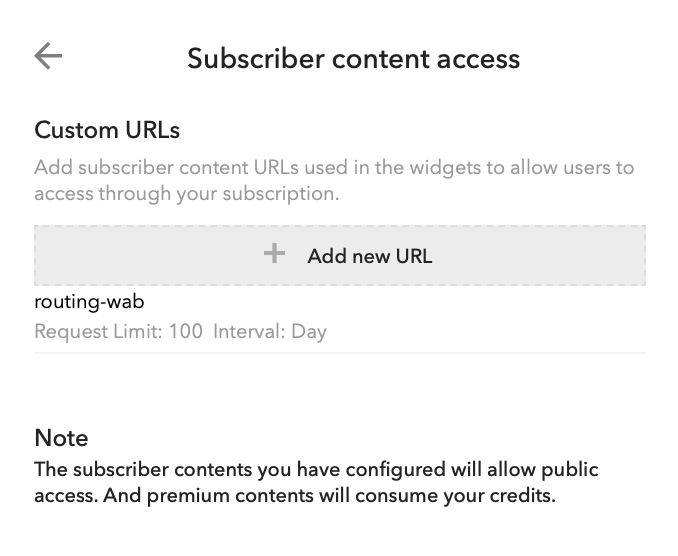
Now select Subscriber content access.
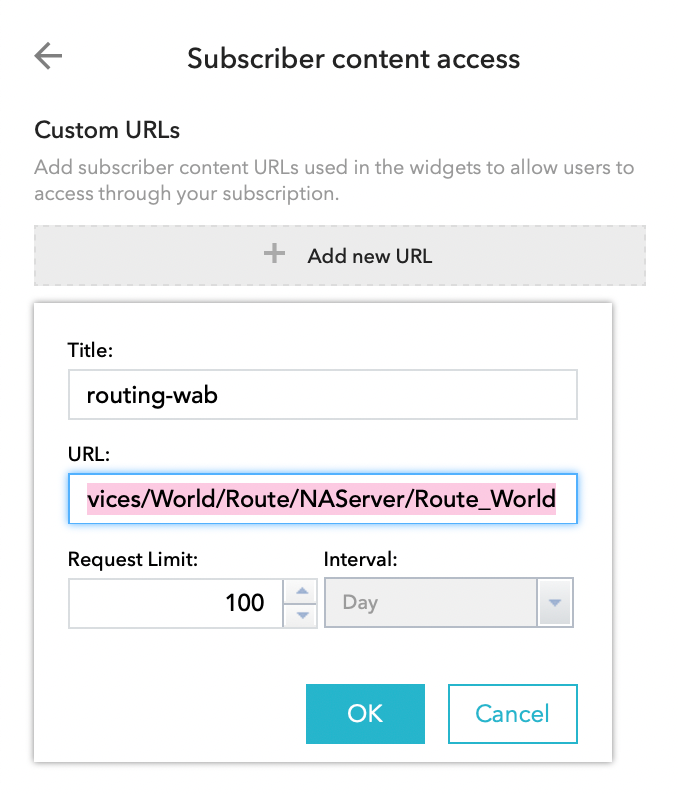
Here, you'll add the ArcGIS Online service needed for the app to perform directions when accessed publicly. Click on Add new URL.
Give it a Title and paste the URL you saved earlier in this tutorial (when configuring the Near Me widget). Also, set up the maximum requests you want to allow.
Save the app.
4 Share your work
Choose → Prepare → Create → Share
Now that we've configured the app, we want to ensure it is ready to be shared with the public. So, click on Previews (bottom of the page).

Here, you can test how the app looks when accessed through different devices.
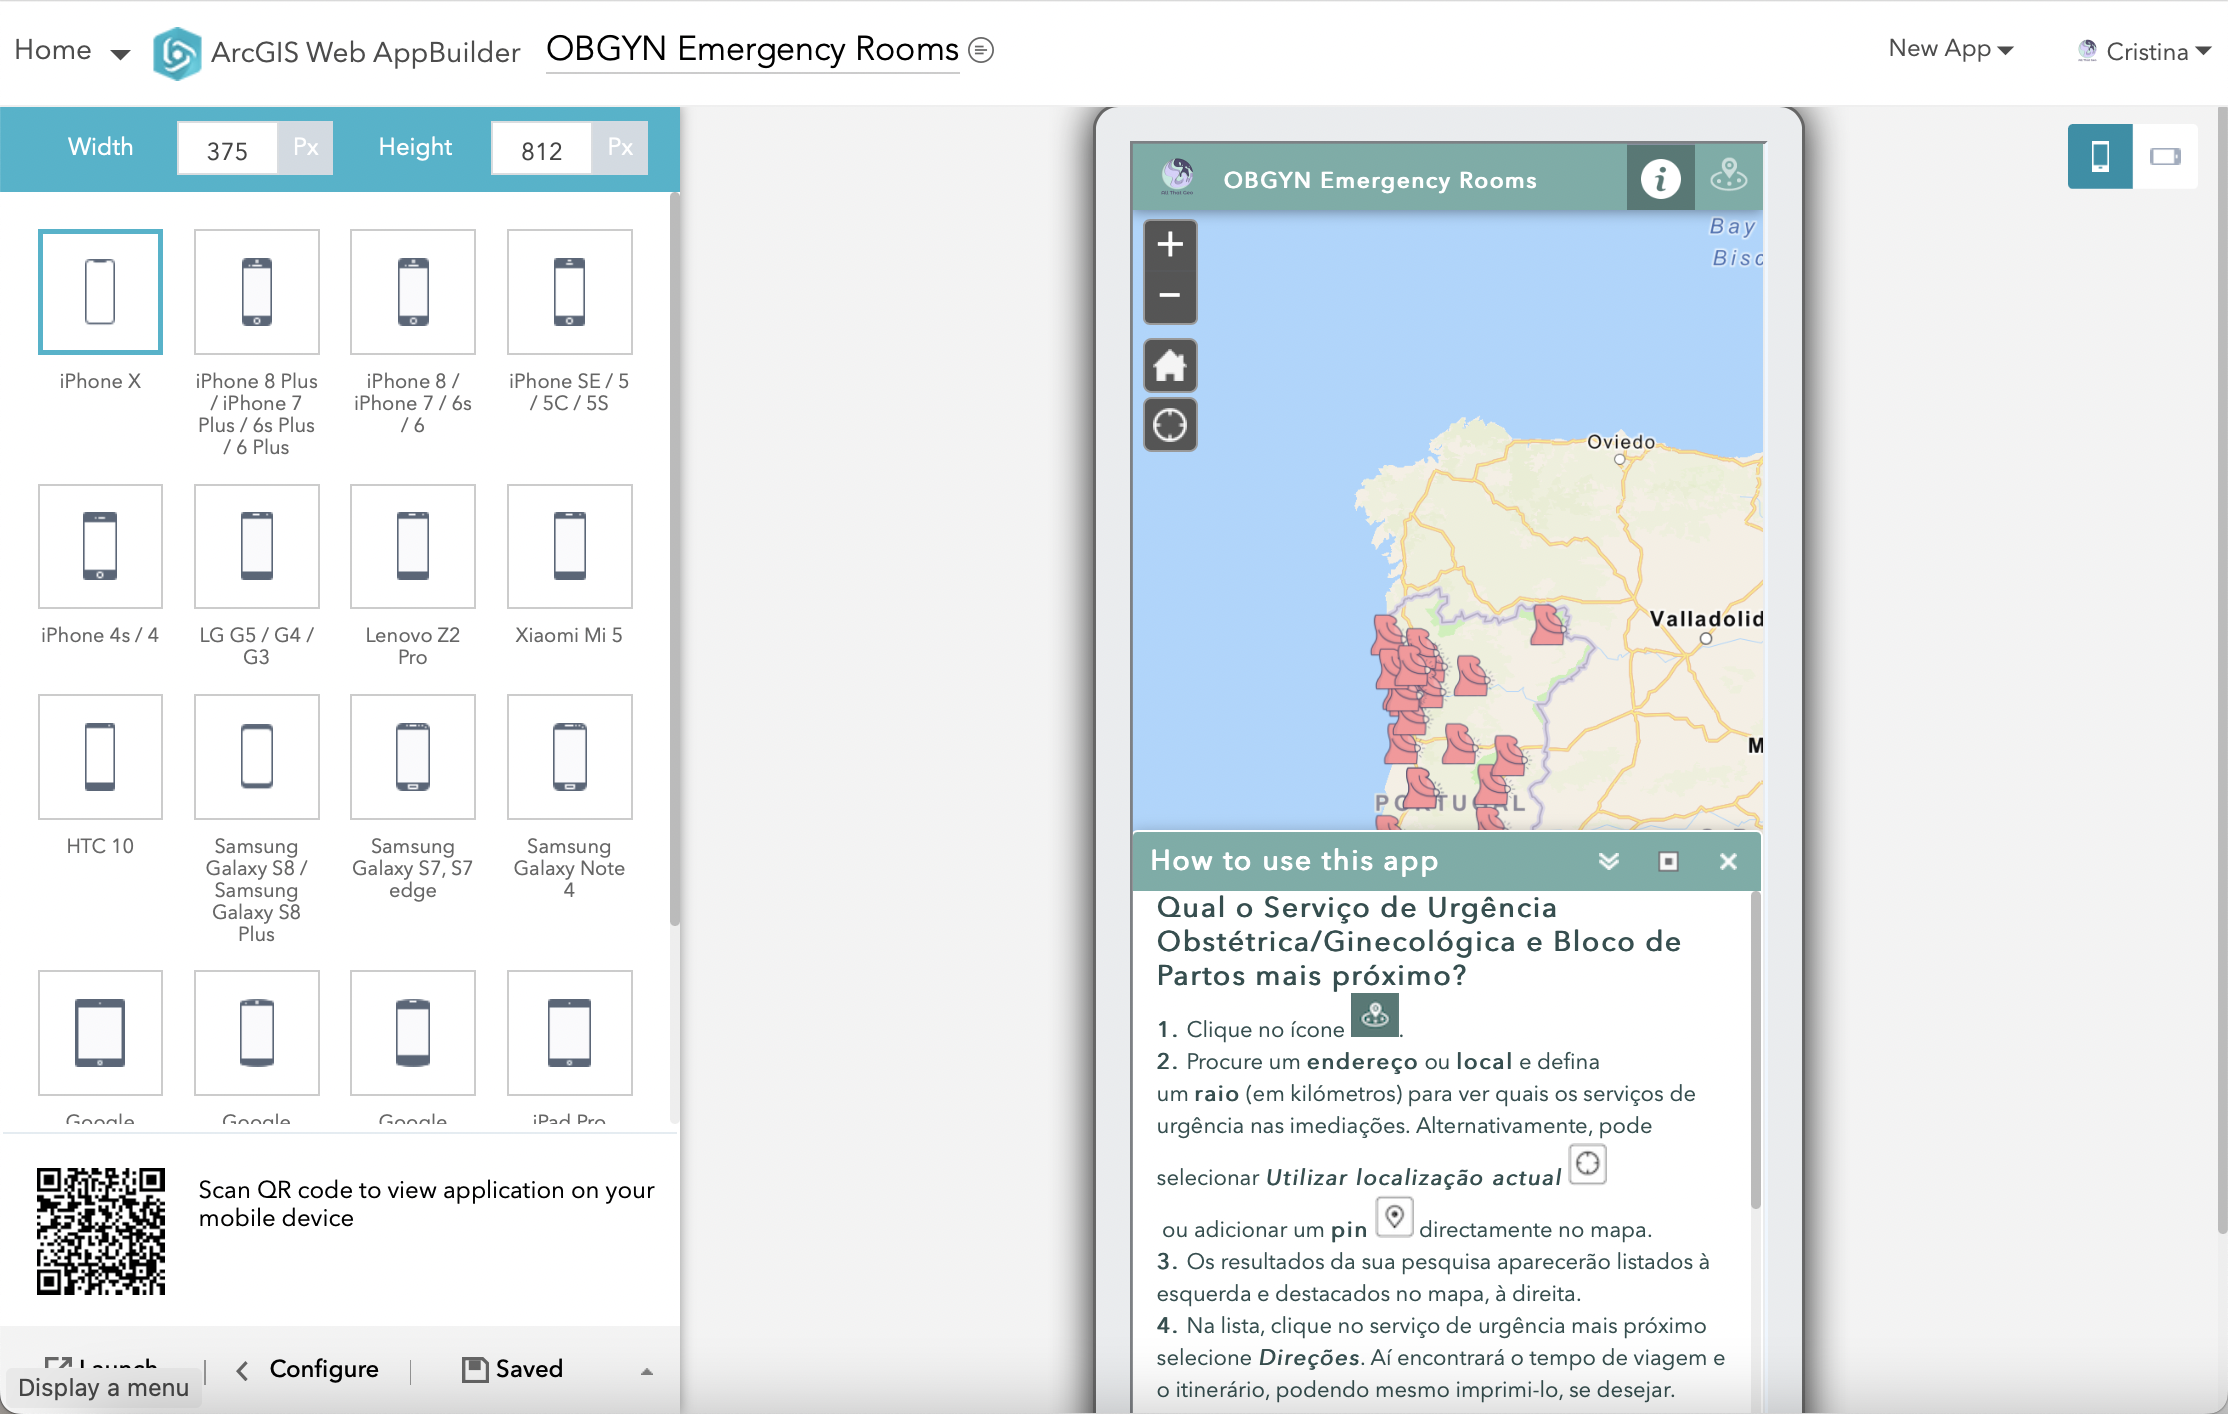
If you need to make adjustments, go back to the builder by clicking on < Configure.

If no adjustments are needed at this stage, you can also test it on your mobile by scanning the QR code...

... or hitting Launch to check how it looks on a full-size screen.

Happy with the result? Let's share it!
Click on Home (top left) and Content.
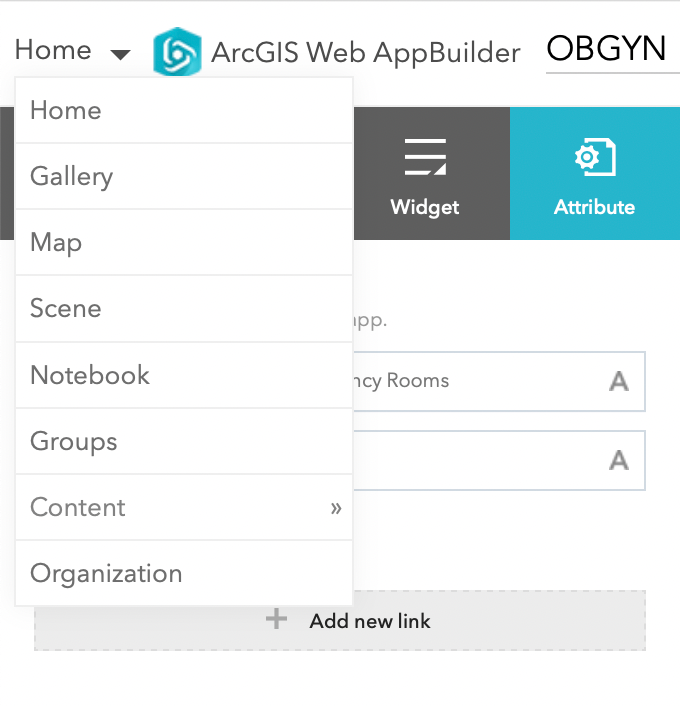
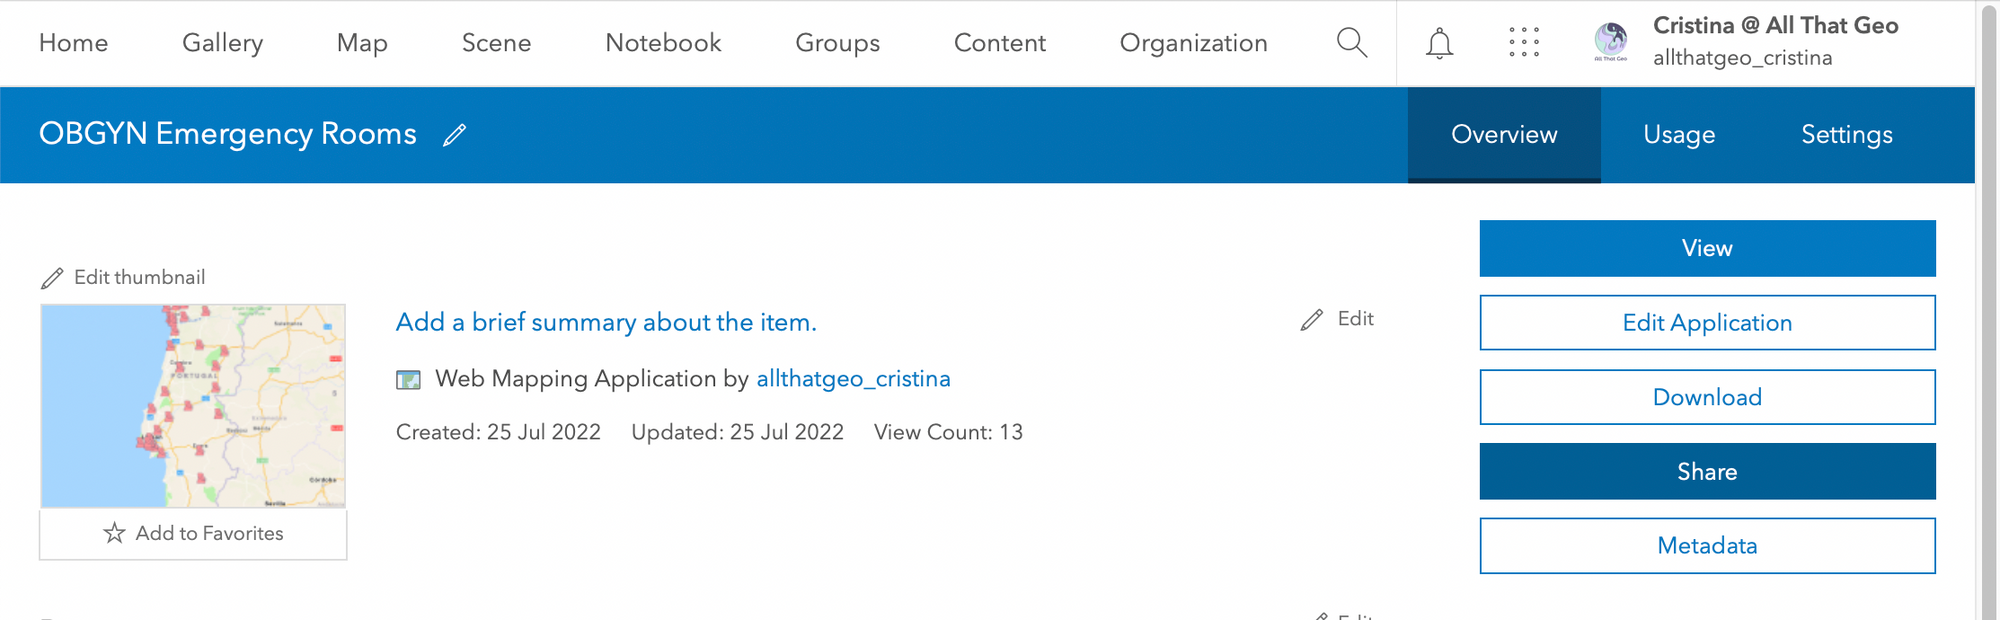
Find the OBGYN Emergency Rooms Web Mapping Application in My Content. Click on it.
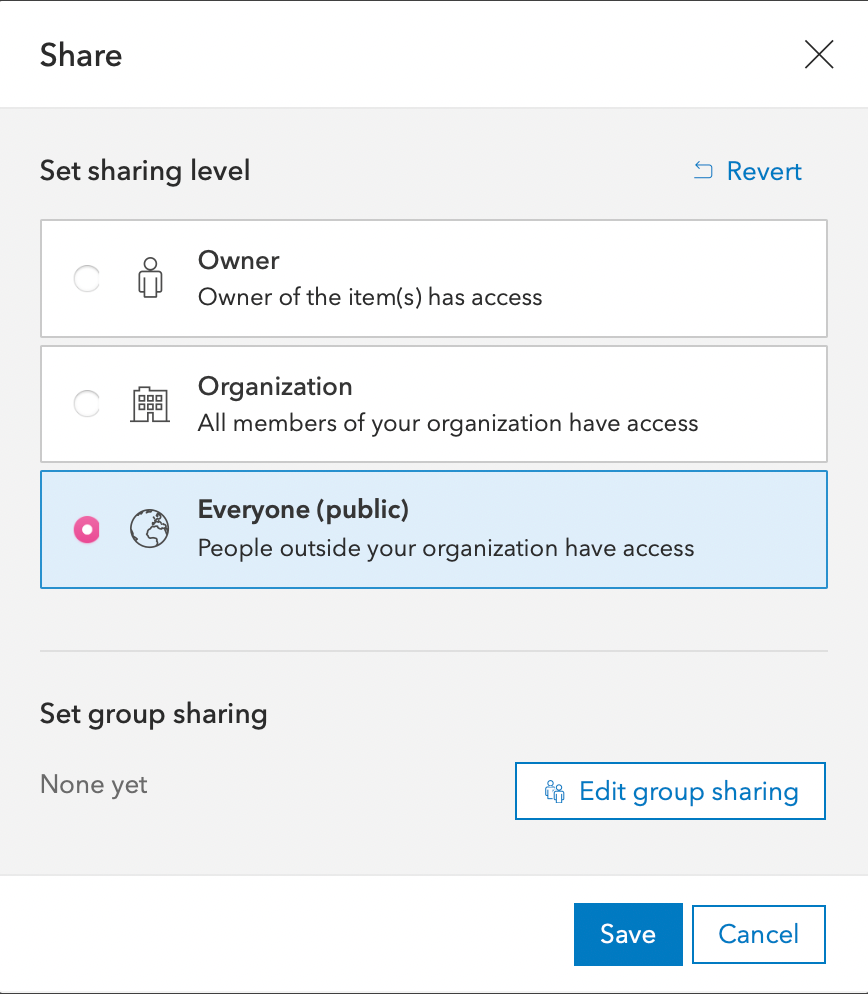
On the item's Overview page, hit the Share button on the right.
Set sharing level to Everyone (public) and hit Save.
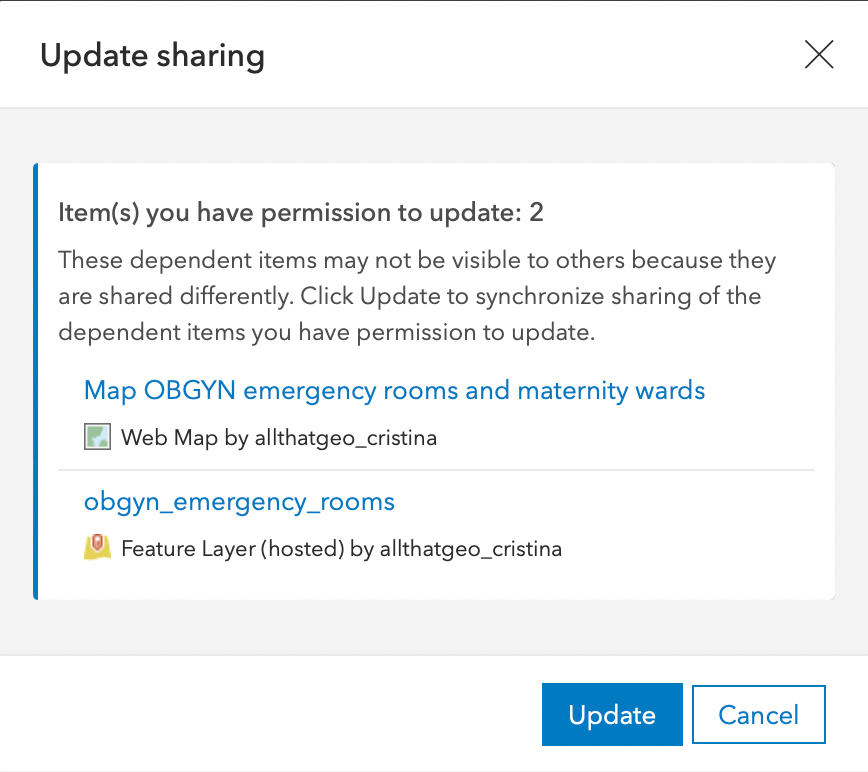
You'll get a warning saying that both the map used in the app and the dataset behind it are not shared publicly. Click Update to change these two items' sharing permissions.
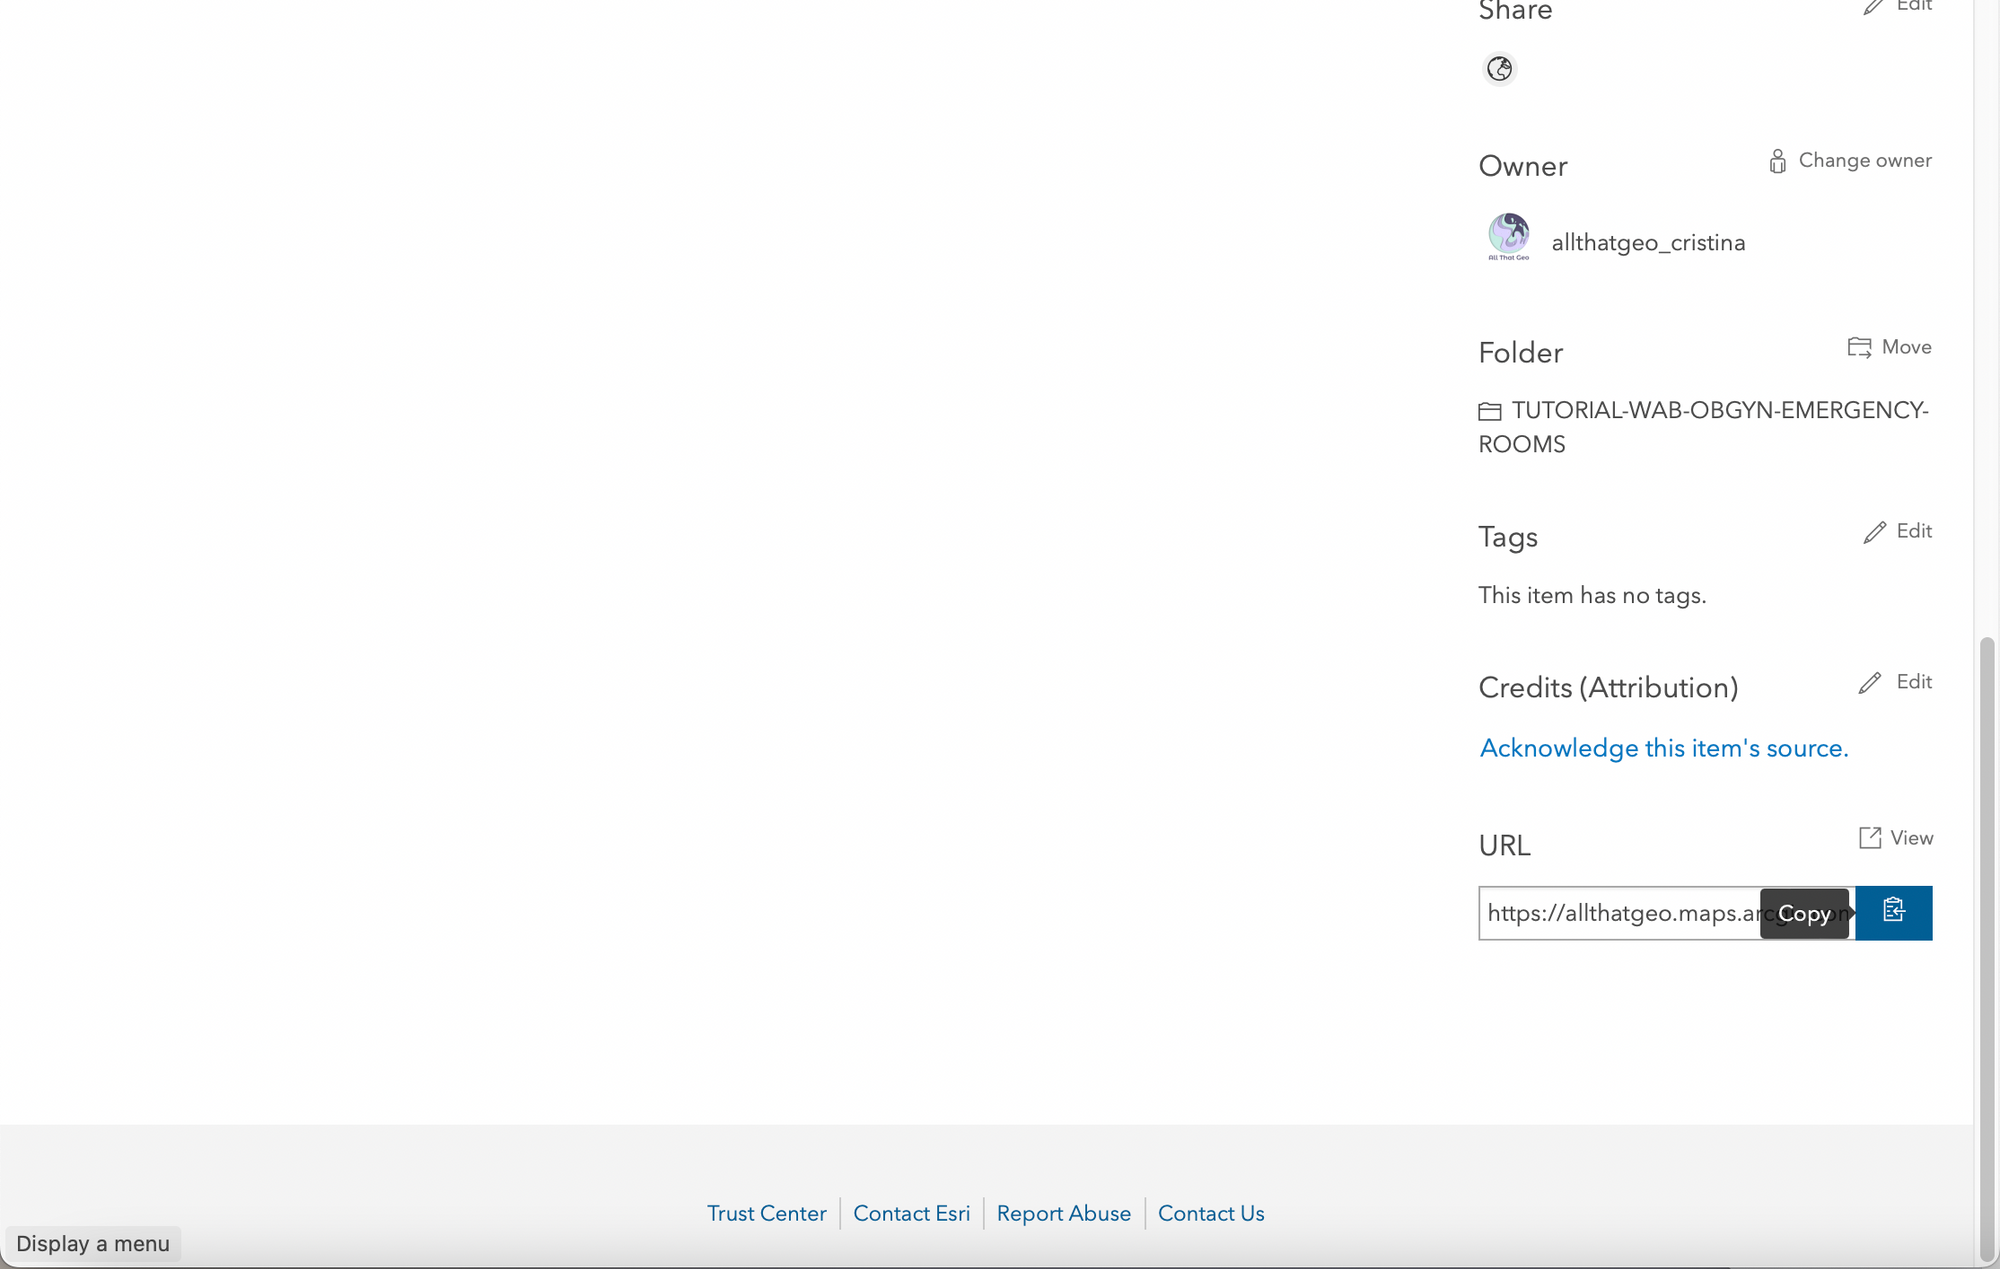
Find the app's URL at the bottom right of the page. Copy it and share it away!
🍲 Swap out moment
Like in a cooking TV show, here's the one I prepared earlier 👇
Make a short URL to customise your app even further
Can't wait to share this app you've built with others? You may want to make the URL memorable. I wrote a post on using a short URL here:
 Cristina
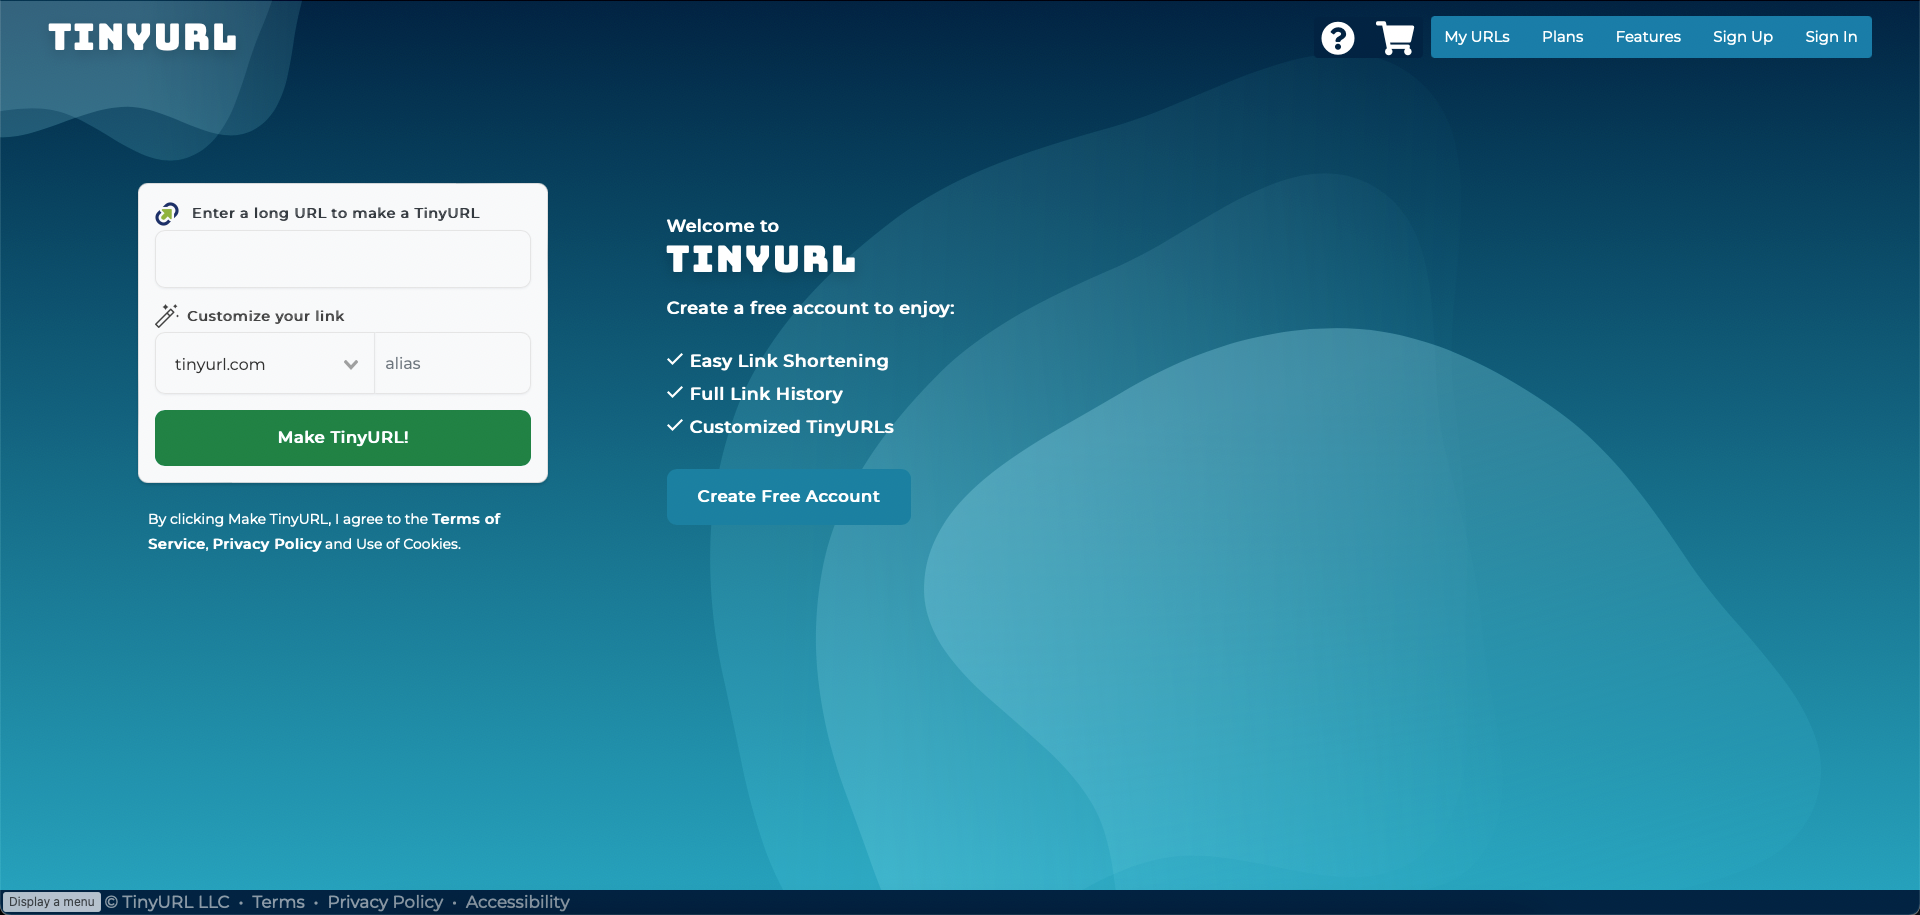
🎉 Congratulations! You have just created an app to find the nearest emergency rooms to any given point!
In this tutorial, you have practised:
- Extracting the data from the source and adding it to ArcGIS Online.
- Creating an app with ArcGIS Web AppBuilder.
- Configuring widgets: Near me (including routing service) and About.
- Previewing the app in different screen sizes and publishing it for public access.
🚀 How to further this workflow
As I mentioned earlier in this tutorial, the opening times of each emergency room could be integrated into the app. We could then create a filter to show only the open services (disregarding the temporarily closed ones) without having to contact them beforehand.


Member discussion